
Photographing your own baby at home
Photographing your own baby at home can be really tricky. During Lockdown photographers aren’t allowed to work, so there is no one available to record these precious moments for you.
TOP TIPS FOR PHOTOGRAPHING YOUR BABY AT HOME
When my children were born, I loved photography but I didn’t know much about photographing a new baby. So, the photos I took, although I love them, definitely don’t look as good as I thought they would. As a newborn baby photographer in Southwater near Horsham, I would like to give you share some top tips on how to photograph your own baby during this time. Hopefully you will then have some lovely memories of your baby to look back on. It doesn’t matter what camera or phone you have, the following can be taken on anything.
1. Lighting
My first tip for photographing your baby at home is to think about the light. If the light is rubbish the photo will be rubbish.
Firstly, when it comes to light, you do not want it too harsh! Rather than place your baby in full sunlight, find an area where the light is softer. This way the beautiful light falls on your baby because you don’t get the strong shadows. The way to do this is move your baby away for any bright spots, where direct sunlight is hitting it. Imagine you are out in the sun on a cloudless day. On the floor you can see lots of shadows and lots of bright spots. This is the type of light you want to avoid. A cloudy day is much better because the sun is covered by the cloud, so doesn’t cause harsh shadows but a nice soft light. That’s how you want it in your home.
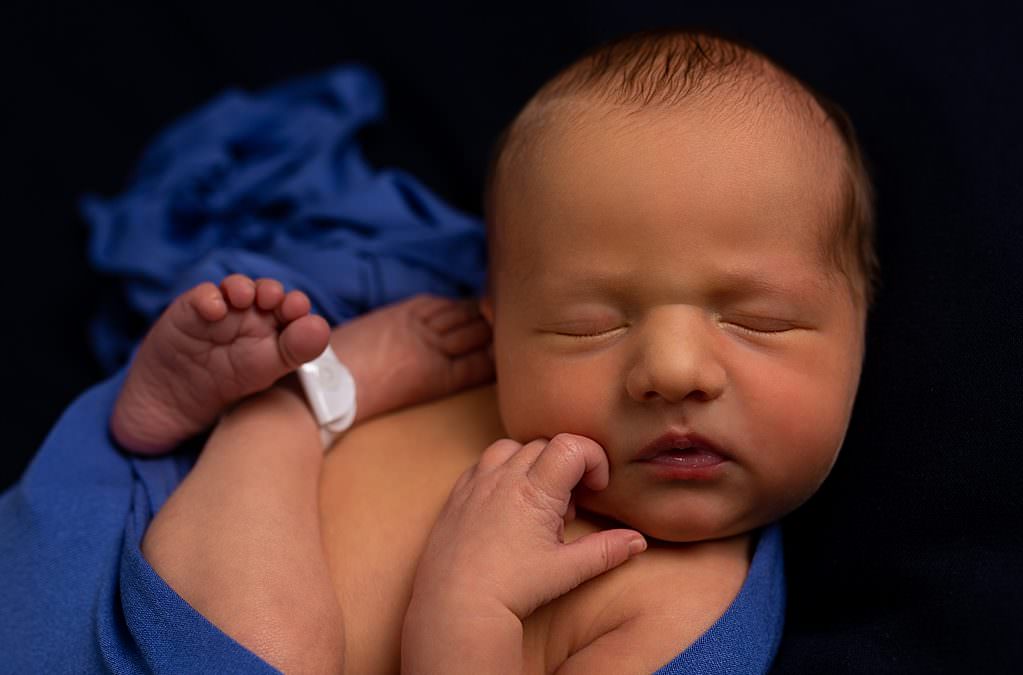
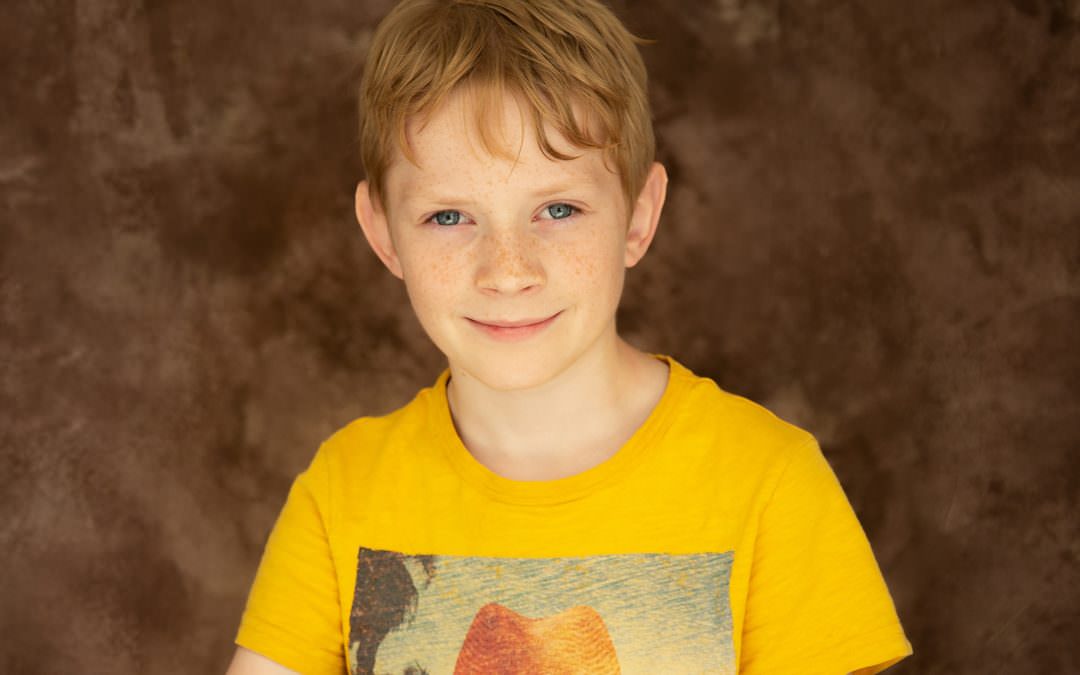
Secondly, you want the light to coming from the head end rather than their feet to the light. An easy way to see this is to get a torch and stand in the dark, in front of mirror. Now turn the torch on and put it under your chin, see how it gives you a really scary look? This is what happens to your baby when the shadows go the wrong way. With faces you do not want the light coming from below! You can see by the catchlight (white bit) in the eyes of the baby below that the light is coming from top left.
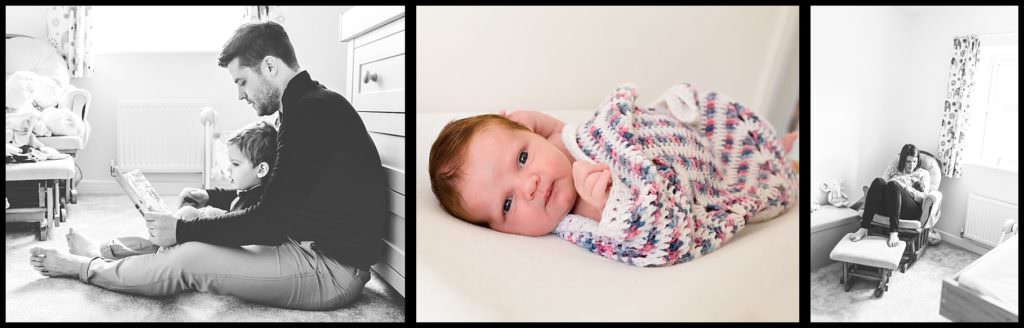
2. Positioning your baby
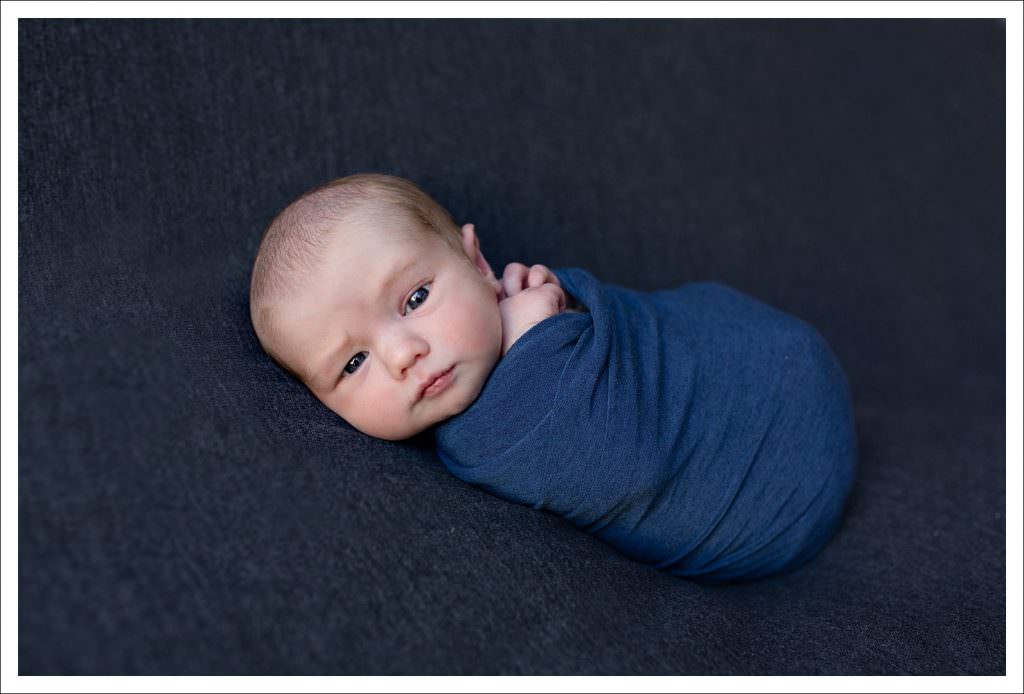
The easiest place to photograph your baby at home is on the bed. Imagine the window is on your side of the bed. To get the best light for you baby, turn them towards the window, so that they are laying 45 degrees to it. Their head should be towards your pillow and their feet towards your partners feet end of the bed. This was they are getting lovely light going across their face. When taking the photo tilt your camera slightly, so that the babies head is higher that its legs or at least level. If you have the head lower that the bottom in your photo, it feels like your baby is falling down. Using blankets and little scarves to wrap your little one will make them feel secure and stops them wriggling quite so much. Also stand slightly towards their head end, as you don’t want to be looking up their nostrils or at their private bits.
3. When
Ensure that your baby is well fed and that the session fits in with their schedule. Ideally, you need them to be asleep, or at least very relaxed. You are lucky that you are photographing your baby at home so you can easily time it so they are asleep. It is also important that the room you are using is nice and warm. Ensure you also have books or things to do for siblings because they may want to become involved. Changing mats are also a great place to photograph your little one as these can be easily moved around the room to make use of the best light. Just make sure someone else is near to help keep your baby safe.
4. What to photograph
Getting close ups of your new baby are great for capturing their tiny features. Using items to show perspective are perfect, such as the wedding rings, shown below.

You can straight away see how small the features are because bands fit easily on the the babies tiny toes. Ensure the features are in focus when you take photo and if you’re zooming in be sure to keep your camera very still.
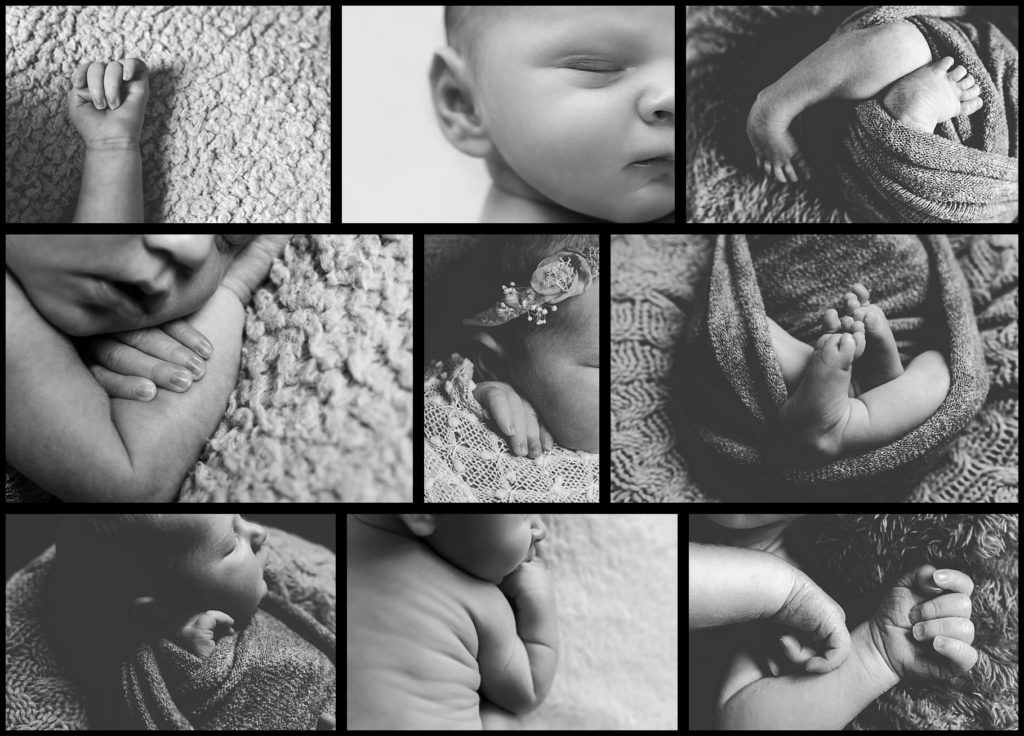
Close ups make wonder collages too and with phone editing software such a Snapseed and collage software such as Moldiv everything is so much easier.
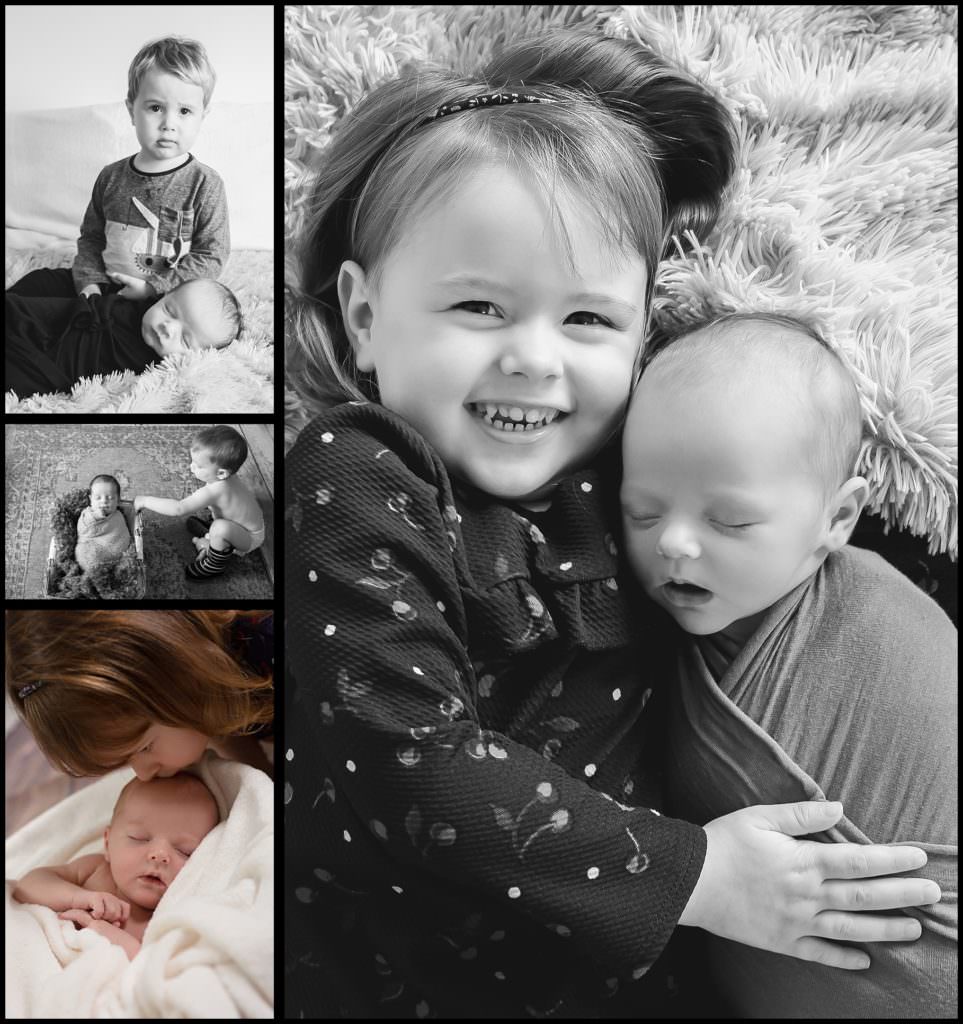
5. Siblings
siblings love to get involved, whereas others hate it. By laying your baby on the bed with a lovely fluffy blanket and some pillows underneath, it is an easy way to get brothers and sisters involved. They can either just sit near the baby or lay down with them and give some gentle kisses. When kissing the baby I tell siblings to give really slow kisses. That way you have time to capture it. Otherwise they normally give the fastest kiss ever and you miss it! Another tip is to wrap your baby in a blanket, so that arms and legs aren’t flailing all over the place and they feel secure. Always ensure that another adult is on hand to assist with the baby while you take the photo. Children do suddenly get bored and offload baby.
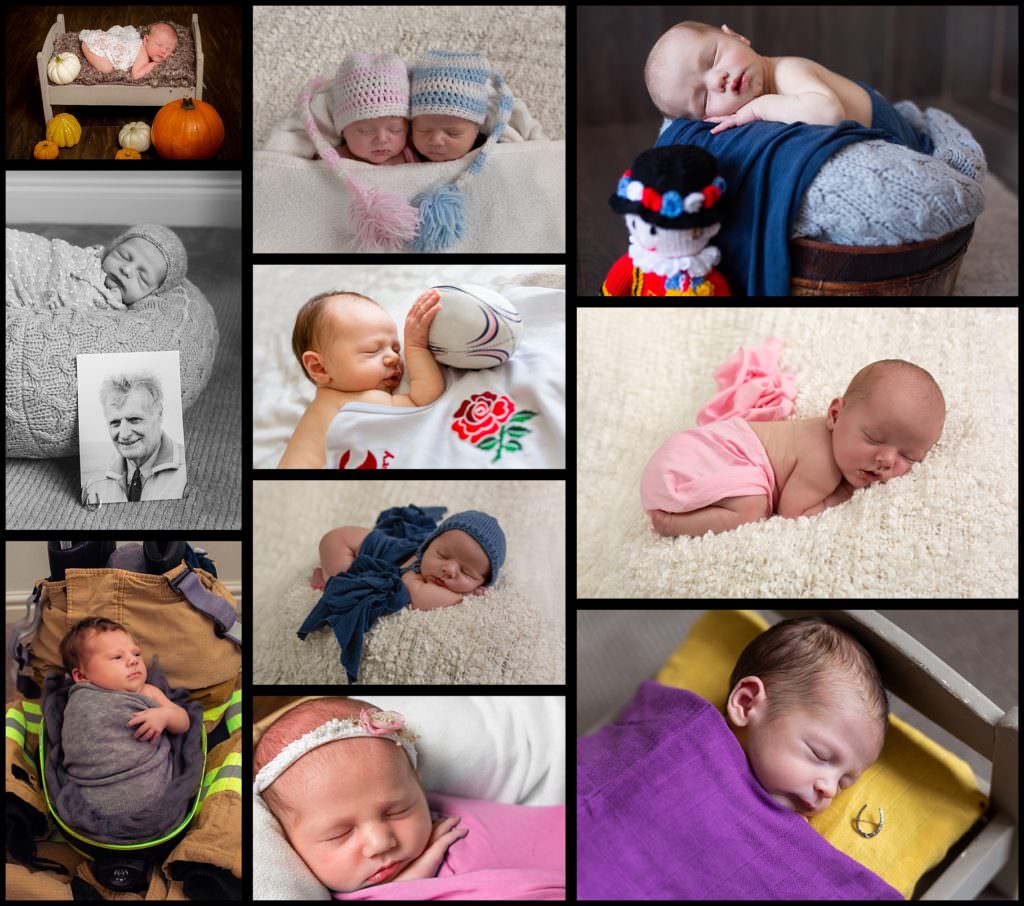
Addition Items
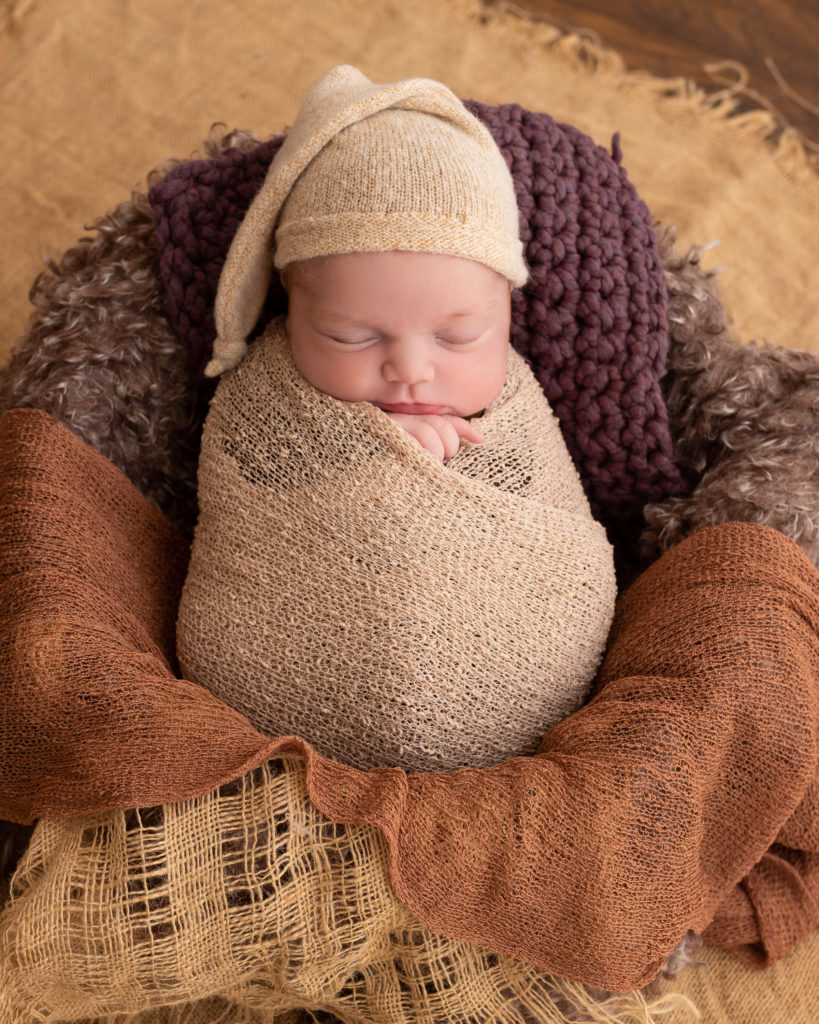
Using hats, blankets, wraps and toys are a great way to record gifts that you have been given and provide you with additional ways to capture photos of your baby. By using clothing that fits properly means you get the true perspective of how tiny your baby is. Wraps or scarves are a great way to secure baby or an easy way to hide their bits, while making them look even more adorable.
Good Luck
Good luck in capturing your own memories. During a time when photographers aren’t available I hope these tips help you. If you do manage to capture any photos, feel free to share them on my Facebook page If you would rather not photograph your baby at home and would prefer to book a session. Feel free to pop over to my Newborn Section for more information. Due to current Lockdown we do not know when Claire Wilders Photography will able open for newborn sessions but feel free to get in touch. We can then get you in as soon as possible.
Take care

Recent Comments