I’m so glad that you have visited my website because this means that you’re thinking about a family photo session. So, you have come to the right place!
Outdoor session venues
There are so many beautiful areas in Sussex! Where is your favourite place? Mine has always been Tilgate or the beach but recently a client introduced me to Leechpool Woods, in the Autumn, which was stunning!
If you have a favourite place, we can discuss whether it is possible for me to travel to your favourite area or can choose a suitable place for you.
Or, if you have a favourite area to walk your dog, let me know as we may be able to head there for your photo session.
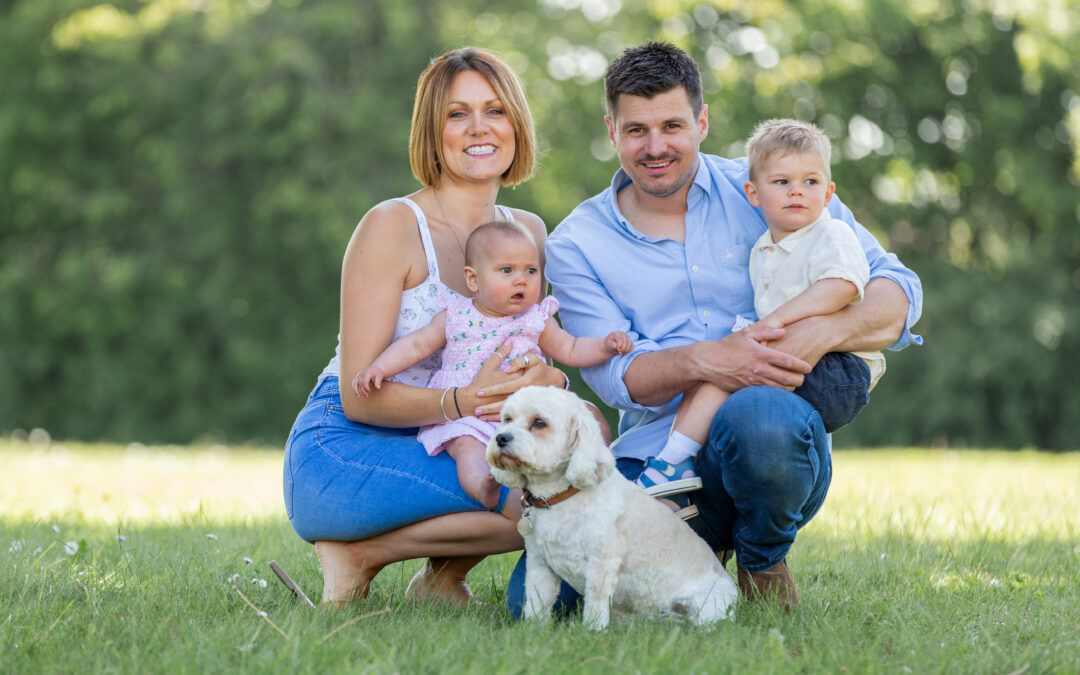
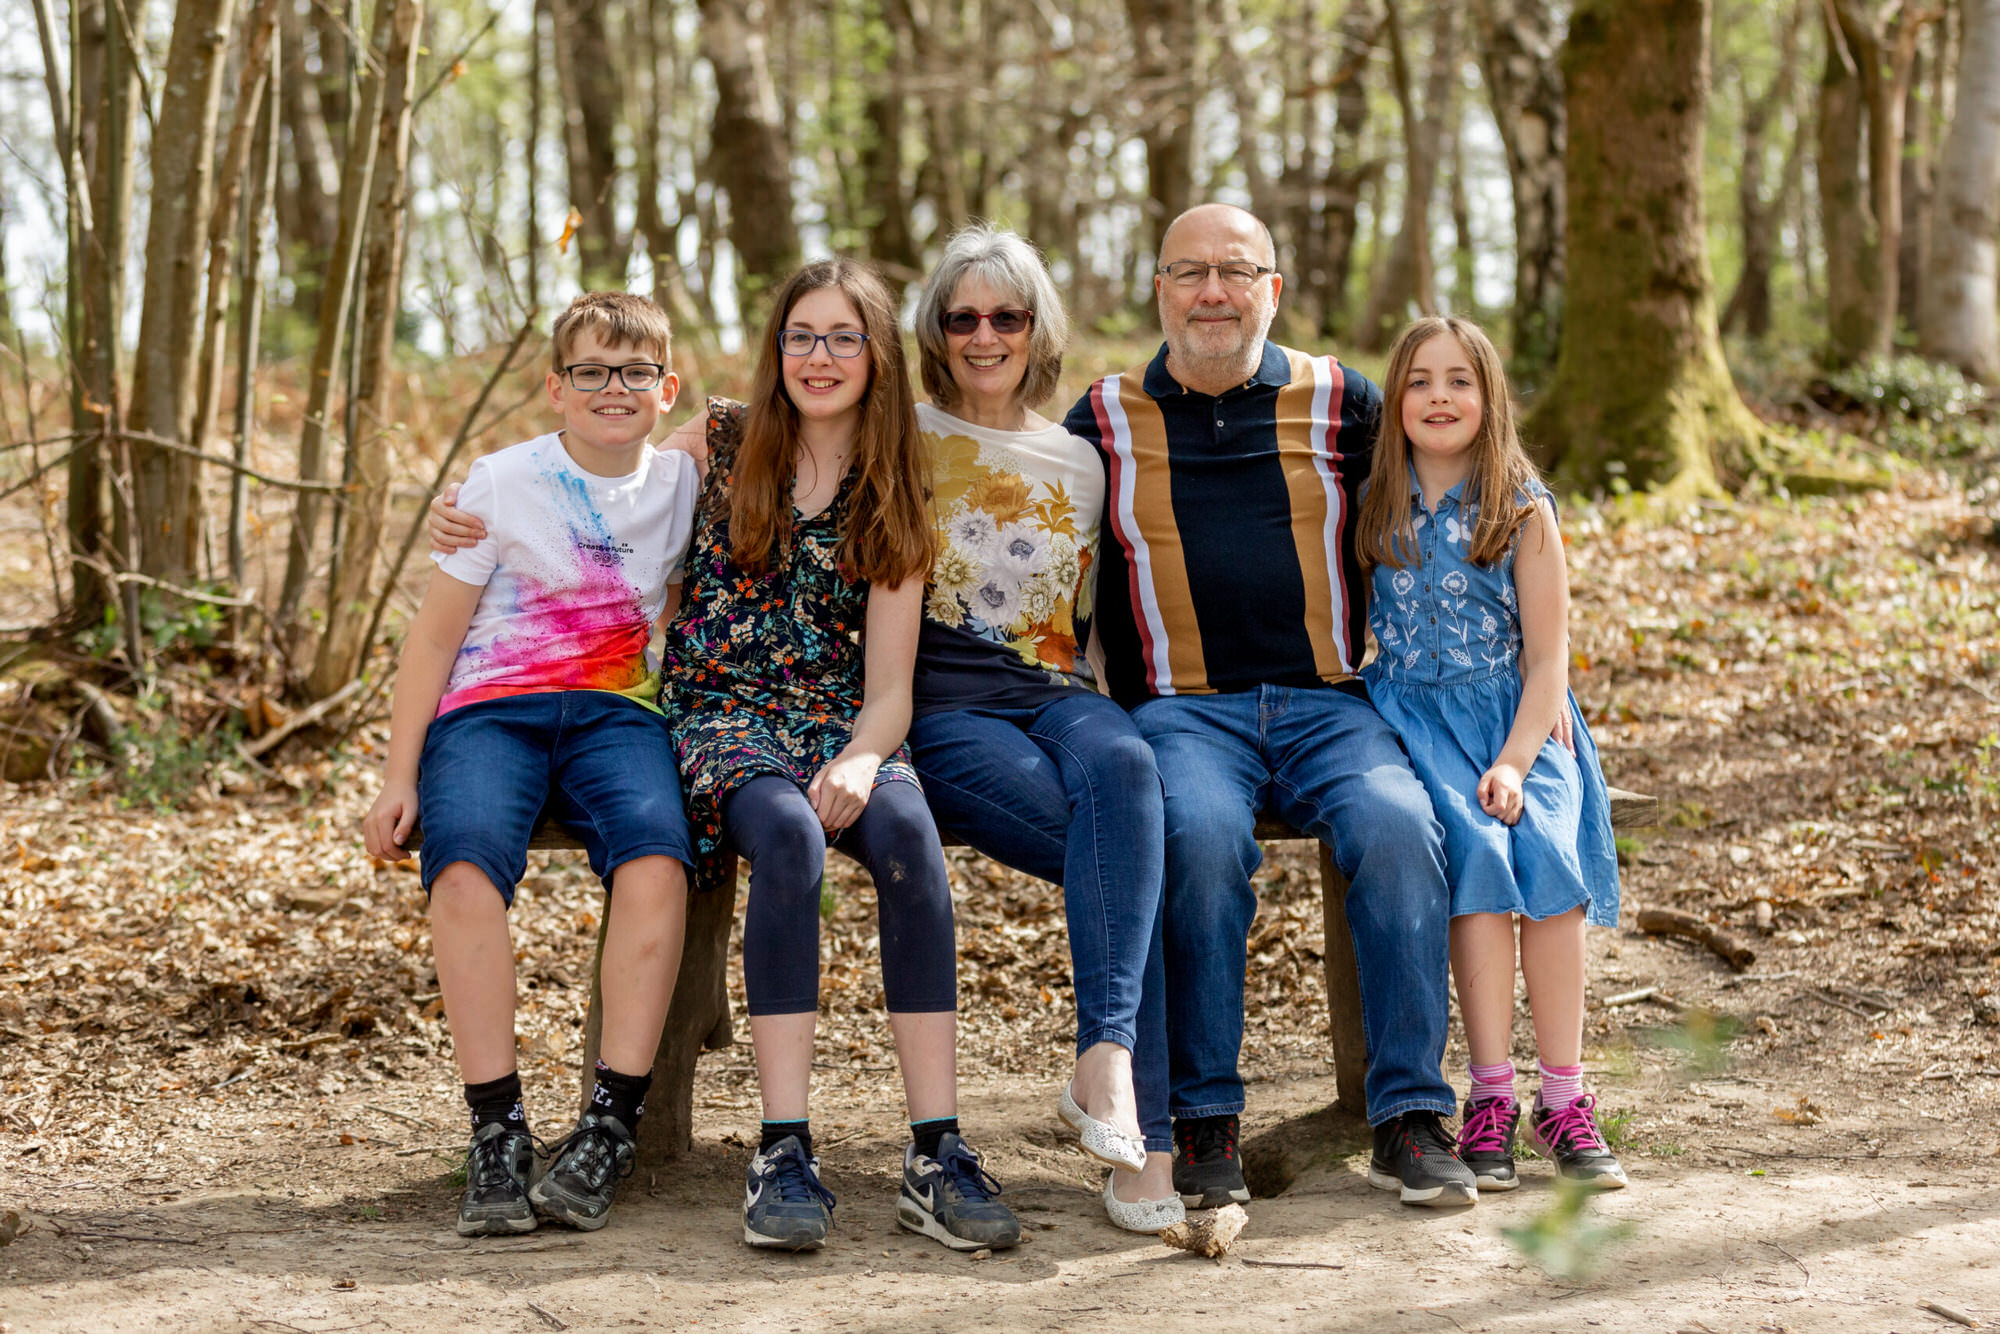
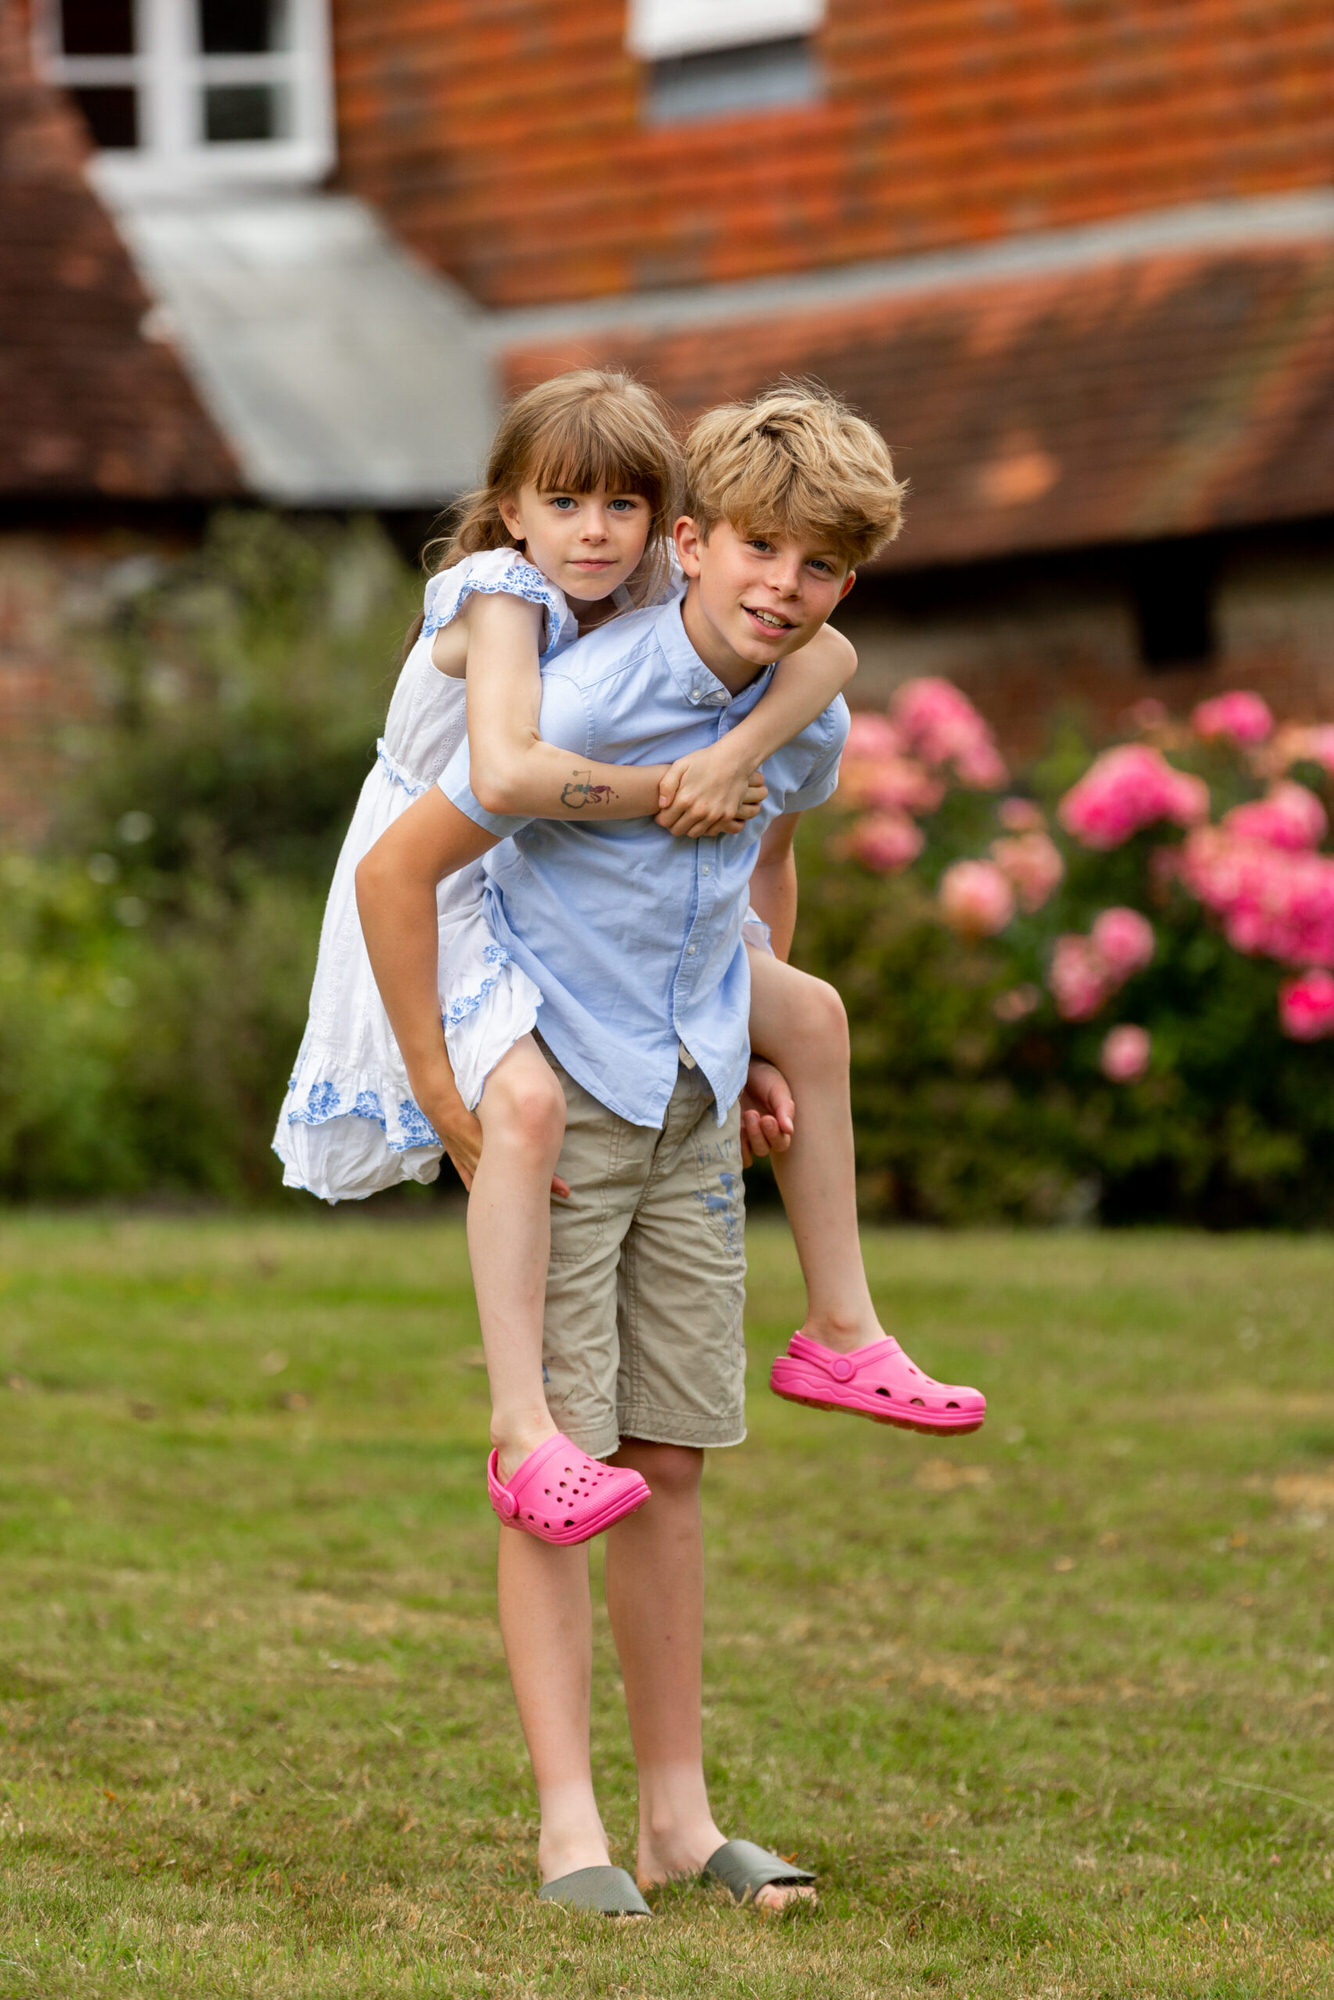
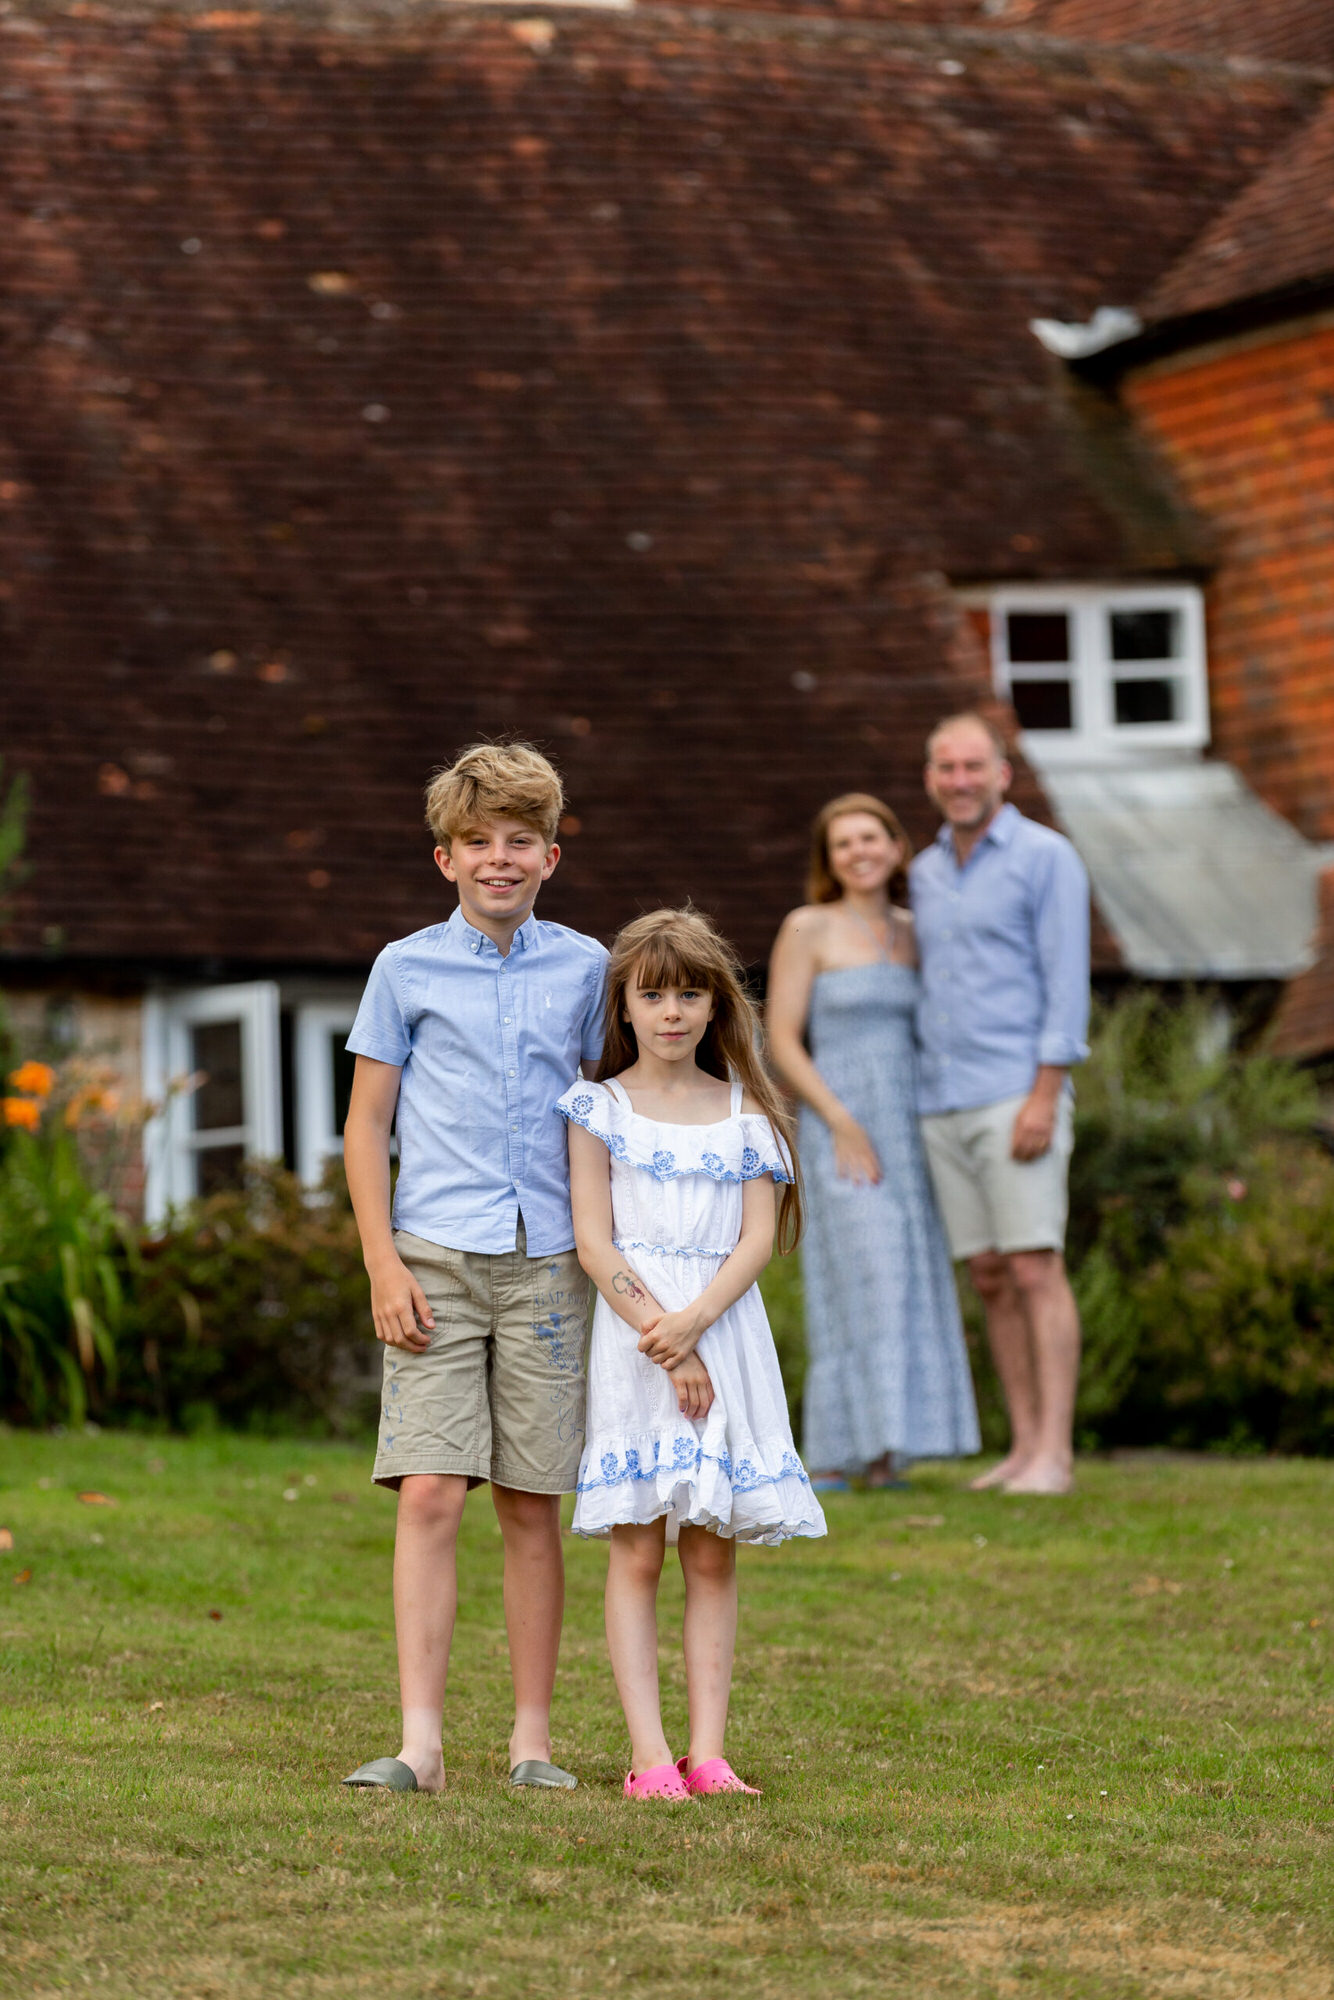
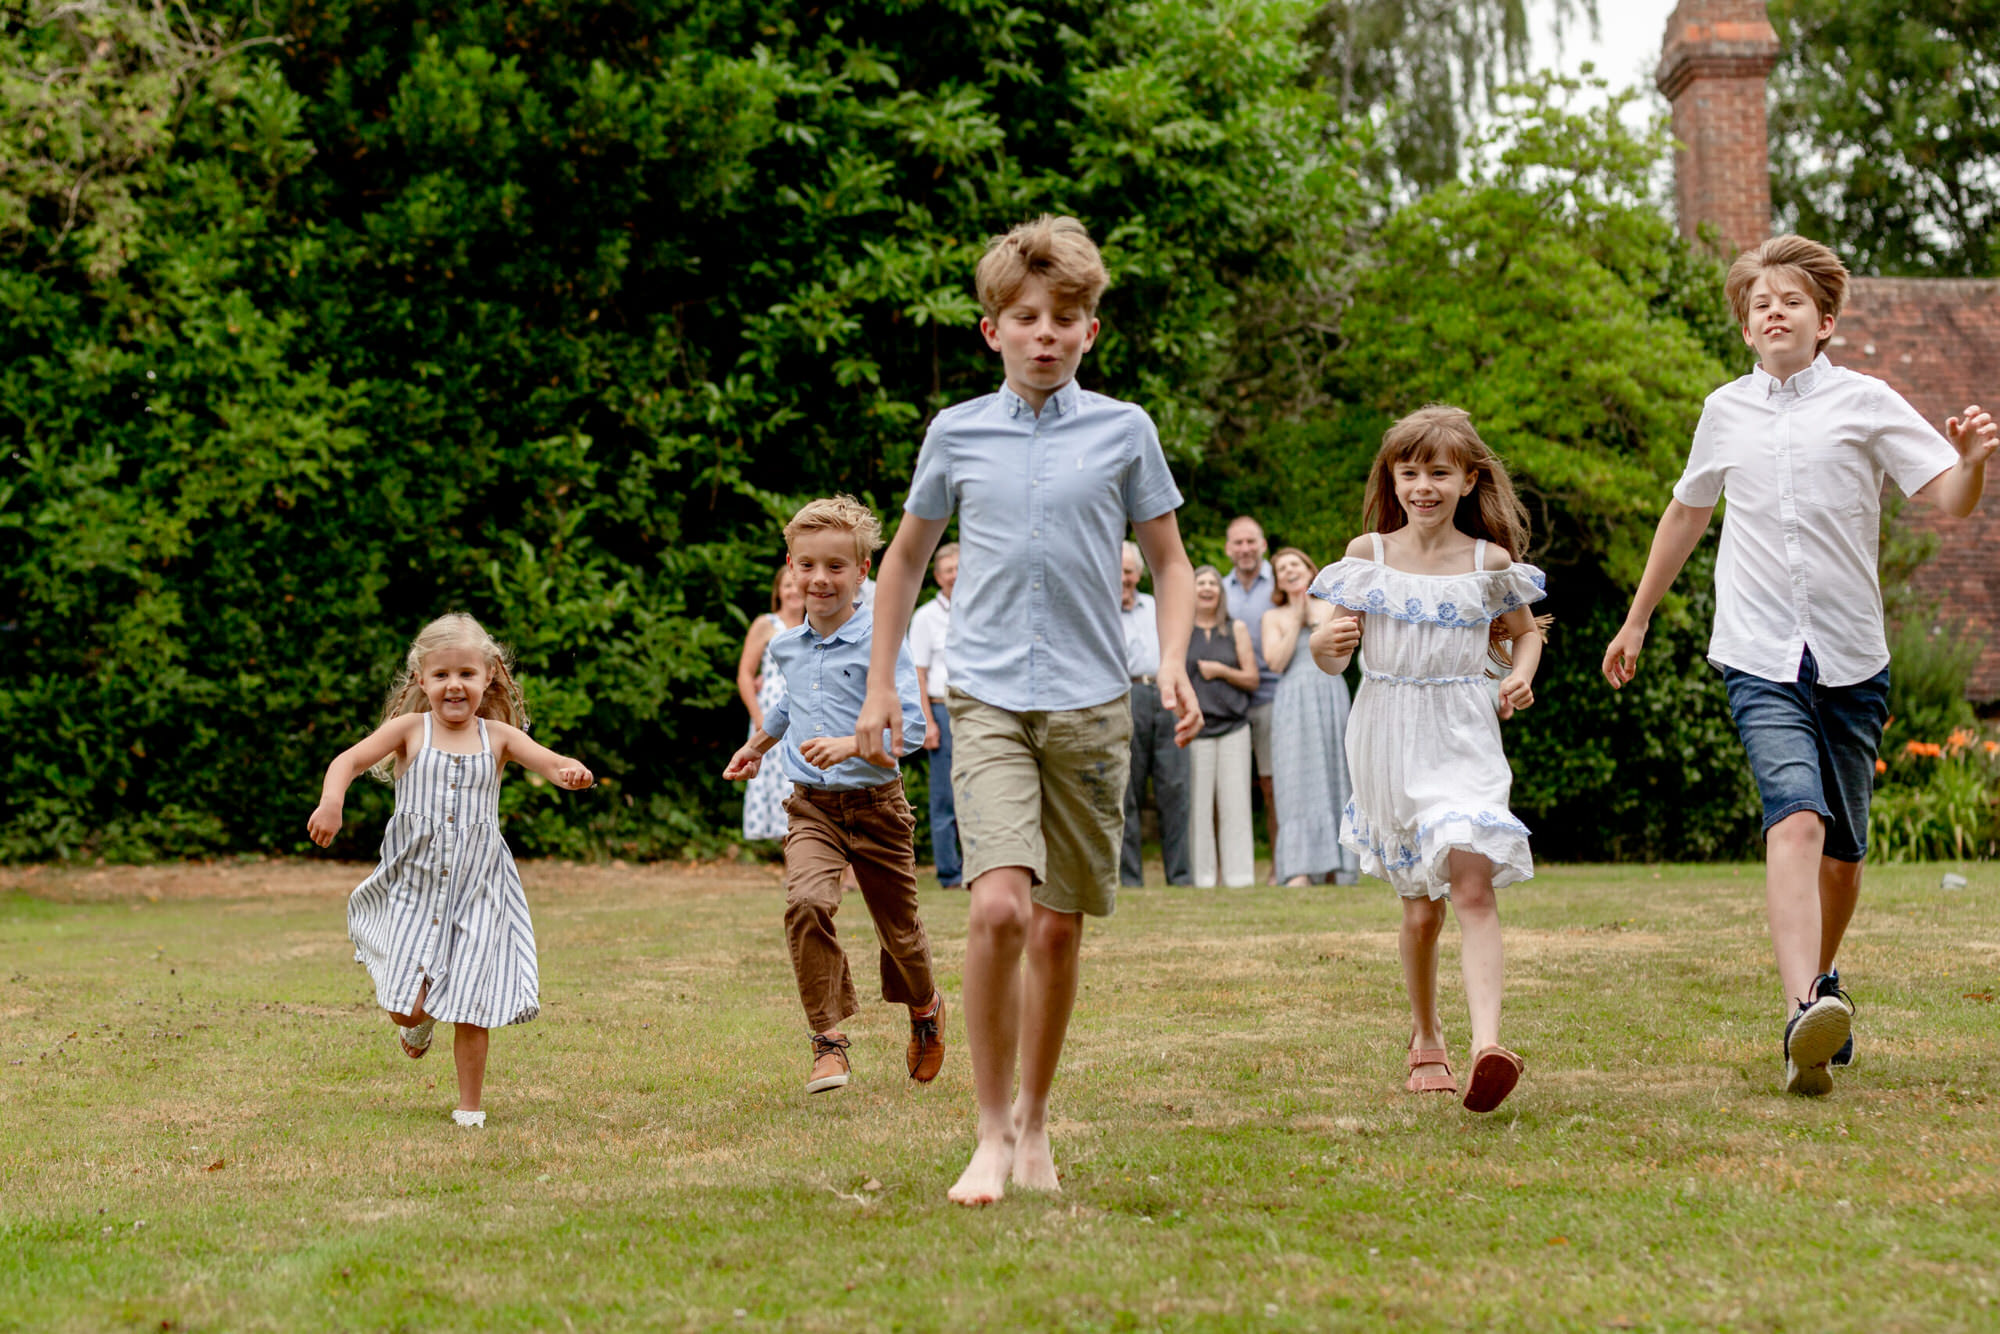
Being outside is ideal for families because it enables your children to be free. They are able to be themselves and play, ensuring natural images.
How does the session work?
Prior to the session, we arrange a date to meet up, which will only be cancelled if the session is heavily raining. A little bit of rain just makes for a fun session!
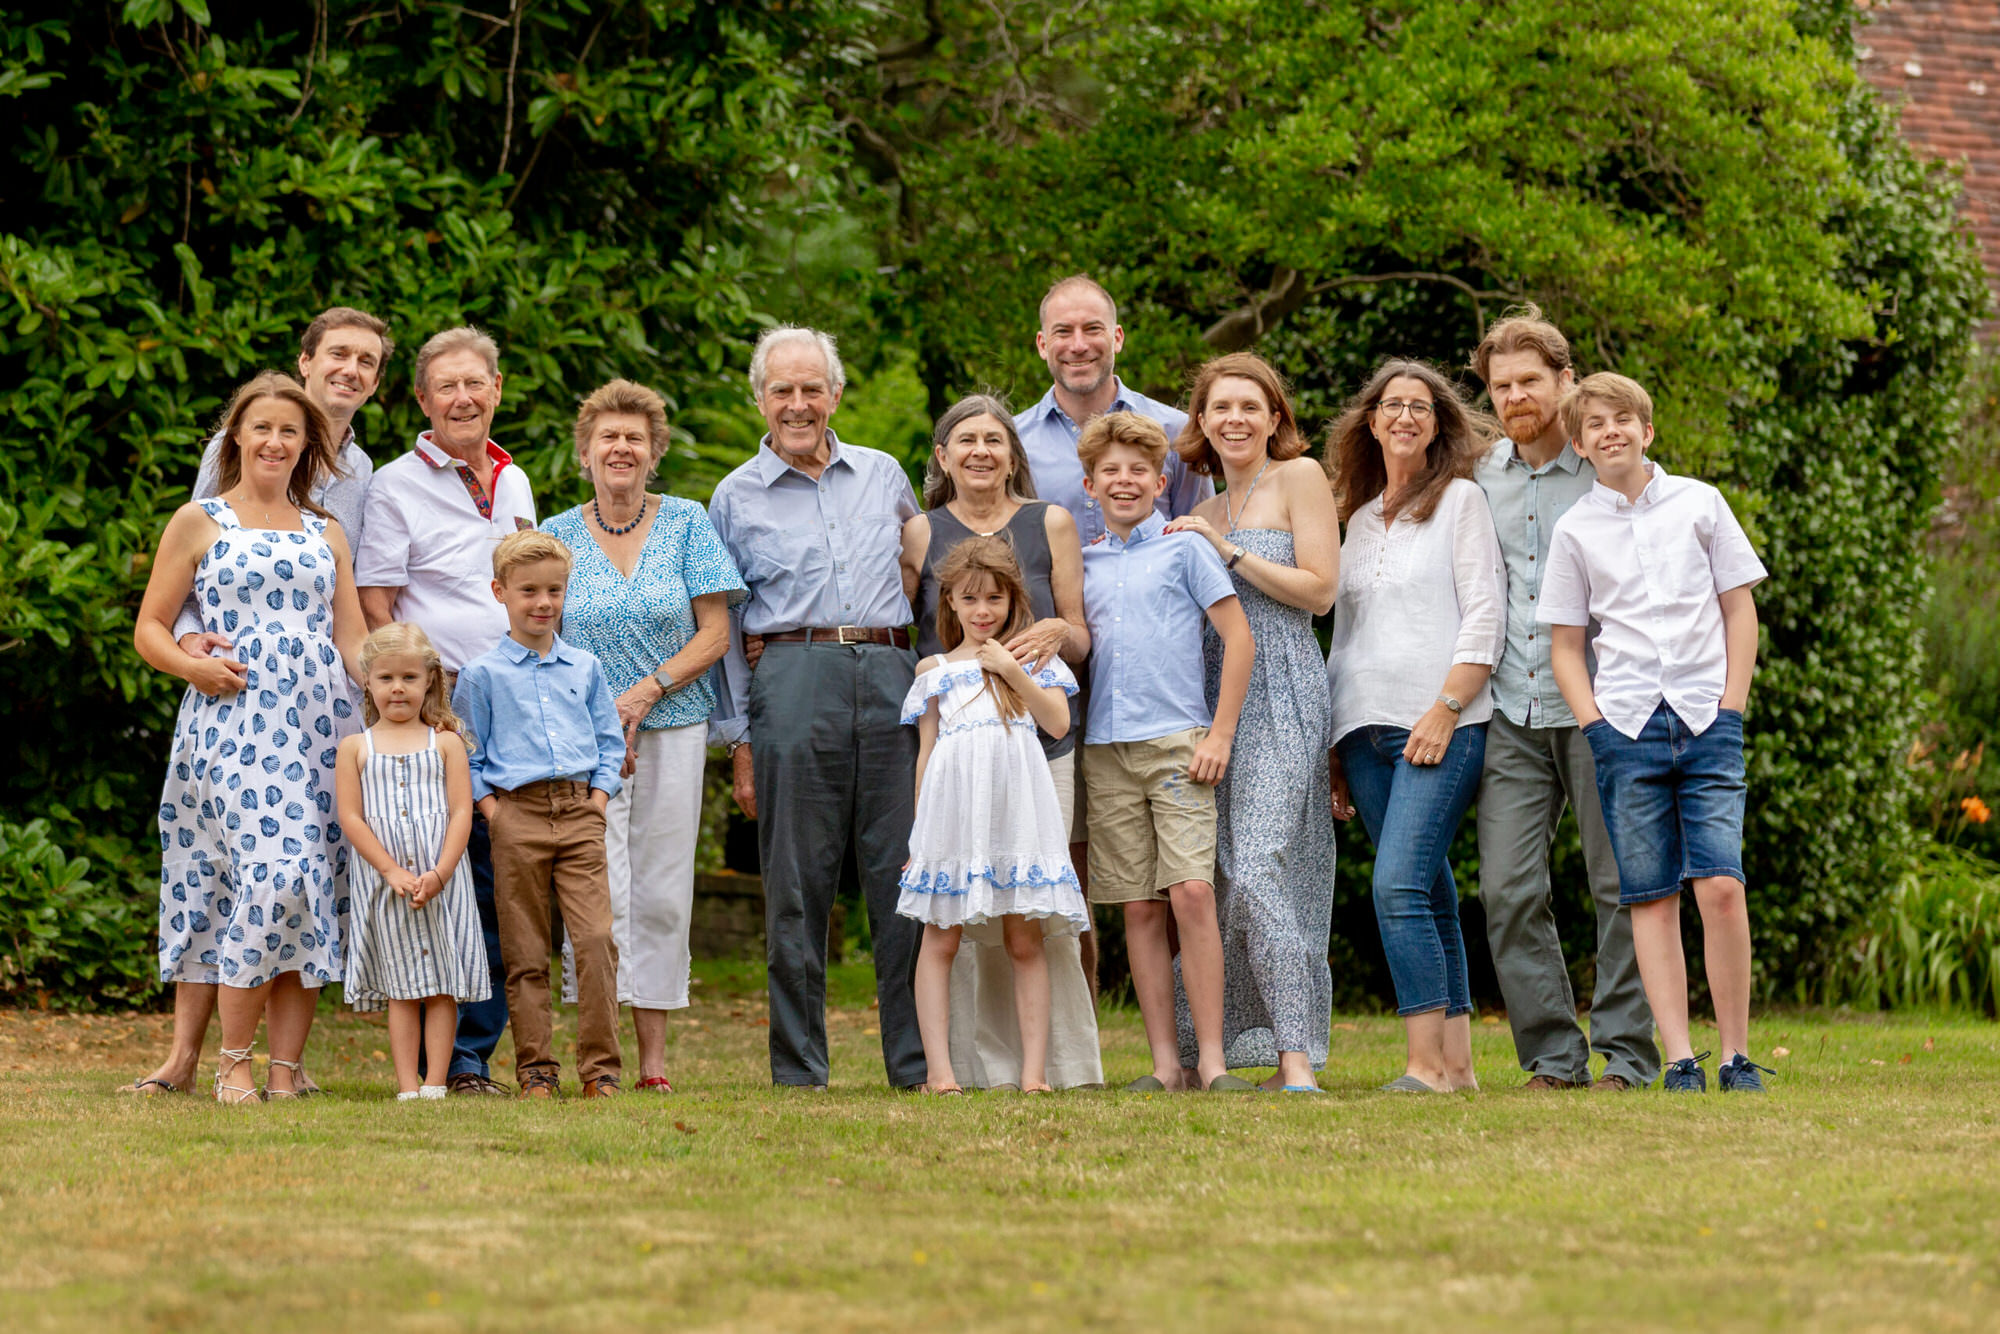
We will discuss who is attending your session because you can bring pets or other family members. The more the merrier.
I will also email over some clothing ideas but as long as you are comfortable, anything goes.
Once we meet for the session, we will head off for your walk, allowing the children to have fun. I will take a mixture of photos, some natural, photographing the children as they play and interact with you. Plus, some more formal ones by stopping along the way, making the most of the stunning backdrop.
If you have any questions please do visit my family page and complete the contact form or email me at clairewildersphotography.co.uk
Southwater Infants Academy Christmas Mini Sessions, Horsham, West Sussex.
Southwater Infants Academy is a very special place of me. Having worked there for many years I have so many wonderful memories. It was also the place where my children were first welcomed when we moved back to the UK. This is why I can’t stay away.
I’m very excited to be back at the Christmas Fair providing mini sessions.
I know many of your children, so this really helps them to relax and this means you will have some beautiful photos. The session only lasts 10 minutes, so it’s quick and was but you will have some wonderful family photos.
Why not get organised now and book your mini session now, so you can gift stunning photos as gifts to your friends and family.
Where is the session?
These sessions will be run in the staff room at Southwater Infants Academy.
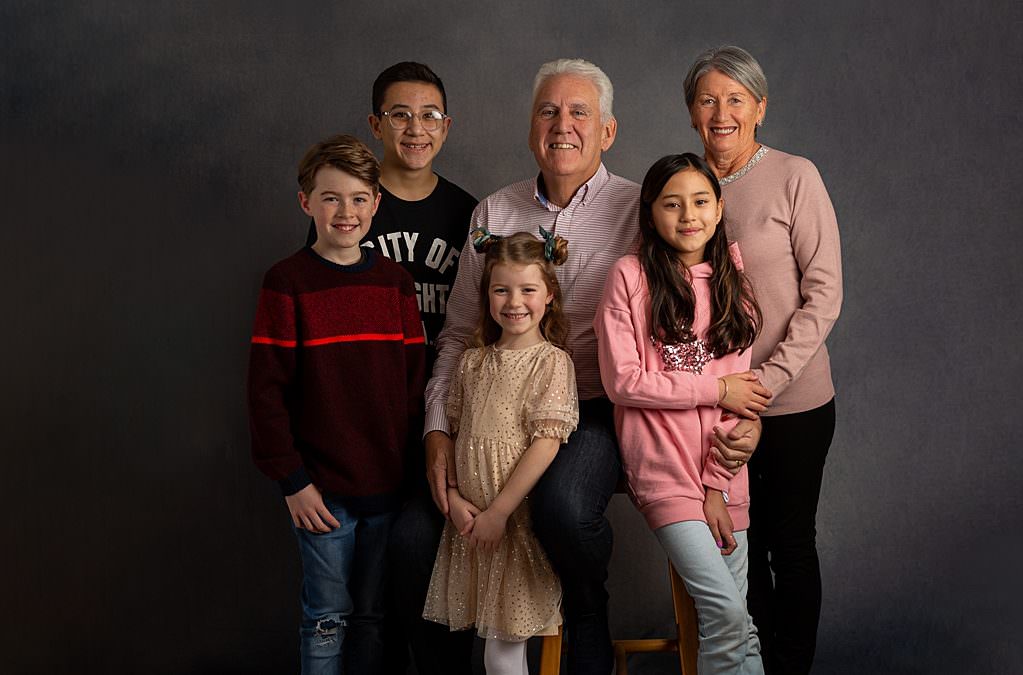
You will have a choice of two backdrops, either a festive one that will look great with your christmas jumpers. Or an elegant grey one which makes a stunning backdrop for your family photos and will compliment your chosen colours.
Who can be in the photos?
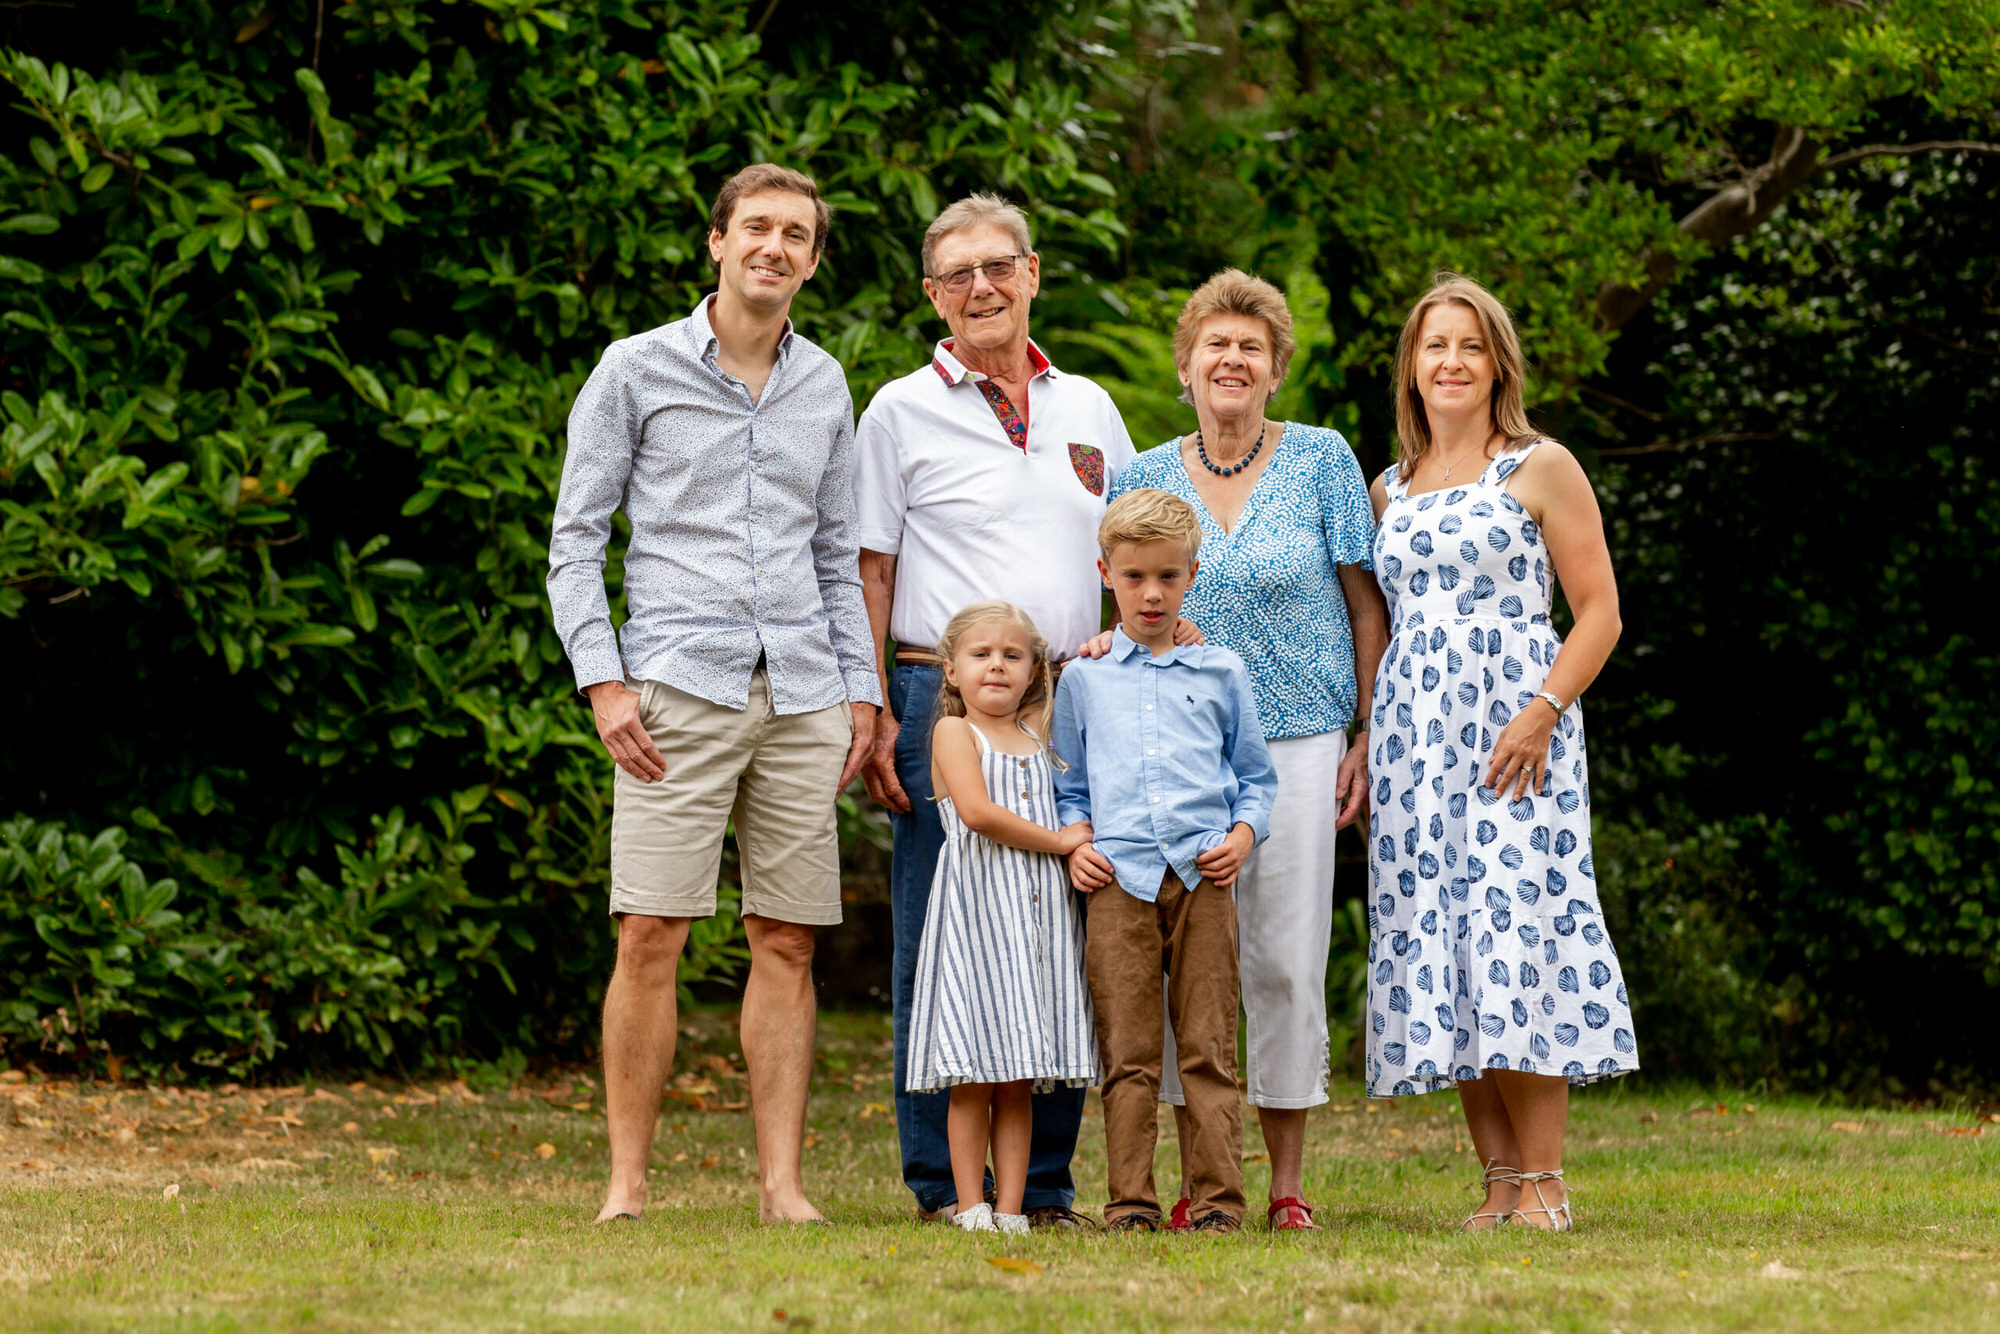
A maximum of 6 people can be in the session. This can be parents, children, grandparents, cousins, the choice is yours. If you wish to have more people included, please get in touch so that we can discuss the options.
(The reason to limit the numbers is due to it being a mini session. If you have larger numbers please book two sessions back to back to give yourself enough time.)
How does the session work?
You will arrive at the staff room 5 minutes prior to your session. This allows us to start promptly and for you all not to feel rushed when we start. Enabling us to get fun, smiley images.
Clothing plays a large part of the photos, therefore, I will give you some guidance on what to wear. Although, ultimately, as long as you are all comfortable, it really doesn’t matter.
Being relaxed and having fun is definitely a main part of the session, as we really want to capture the love and happiness within your family.
How do i book a session?
To book or view additional information about a session please click..
After the session I will edit your photos and provide you will an online gallery. You will be able to choose your photos from the comfort of your own home, at your own leisure.
I do sell wall art and additional prints if you wish to purchase and photos for gifts.
For more information about Claire Wilders Photography please click HERE or you can email me at clairewildersphotography@gmail.com
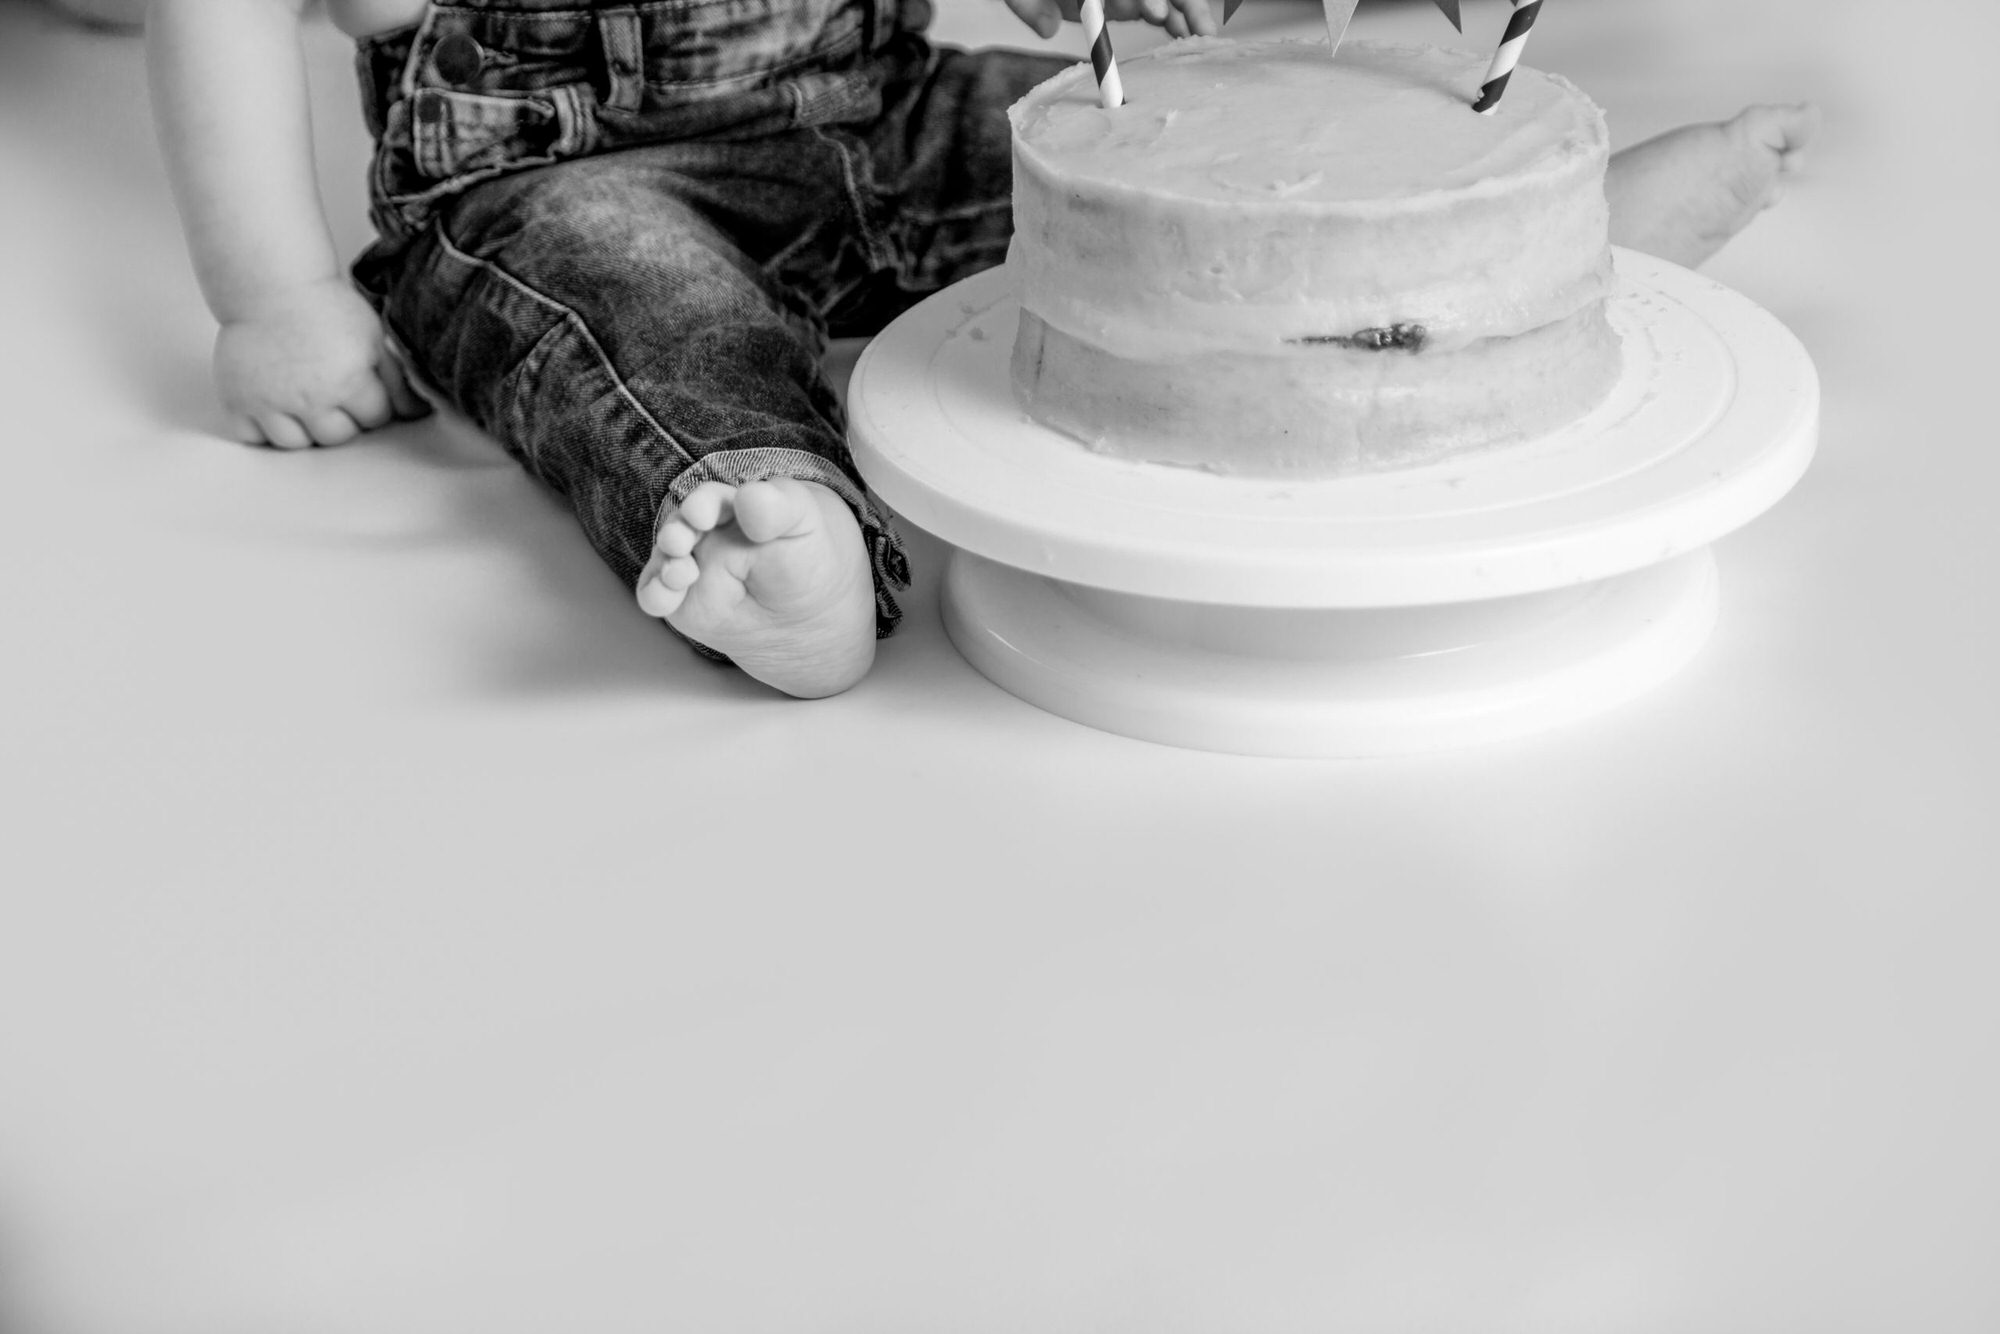
A 1st birthday cake smash session, is a celebration of your babies 1st year! So much has changed and life has been crazy! But you have all survived and you have the most amazing little baby that is growing up so fast!! This is not only a birthday celebration but also a celebration of making it through your 1st year.
The session is split into 4 parts… family photos, individual photos, cake smash and finally the clean up.. ALL for ONE price!
family photos
The first part of the cake smash session is to capture some gorgeous photos of you all together. Celebrating that first year!
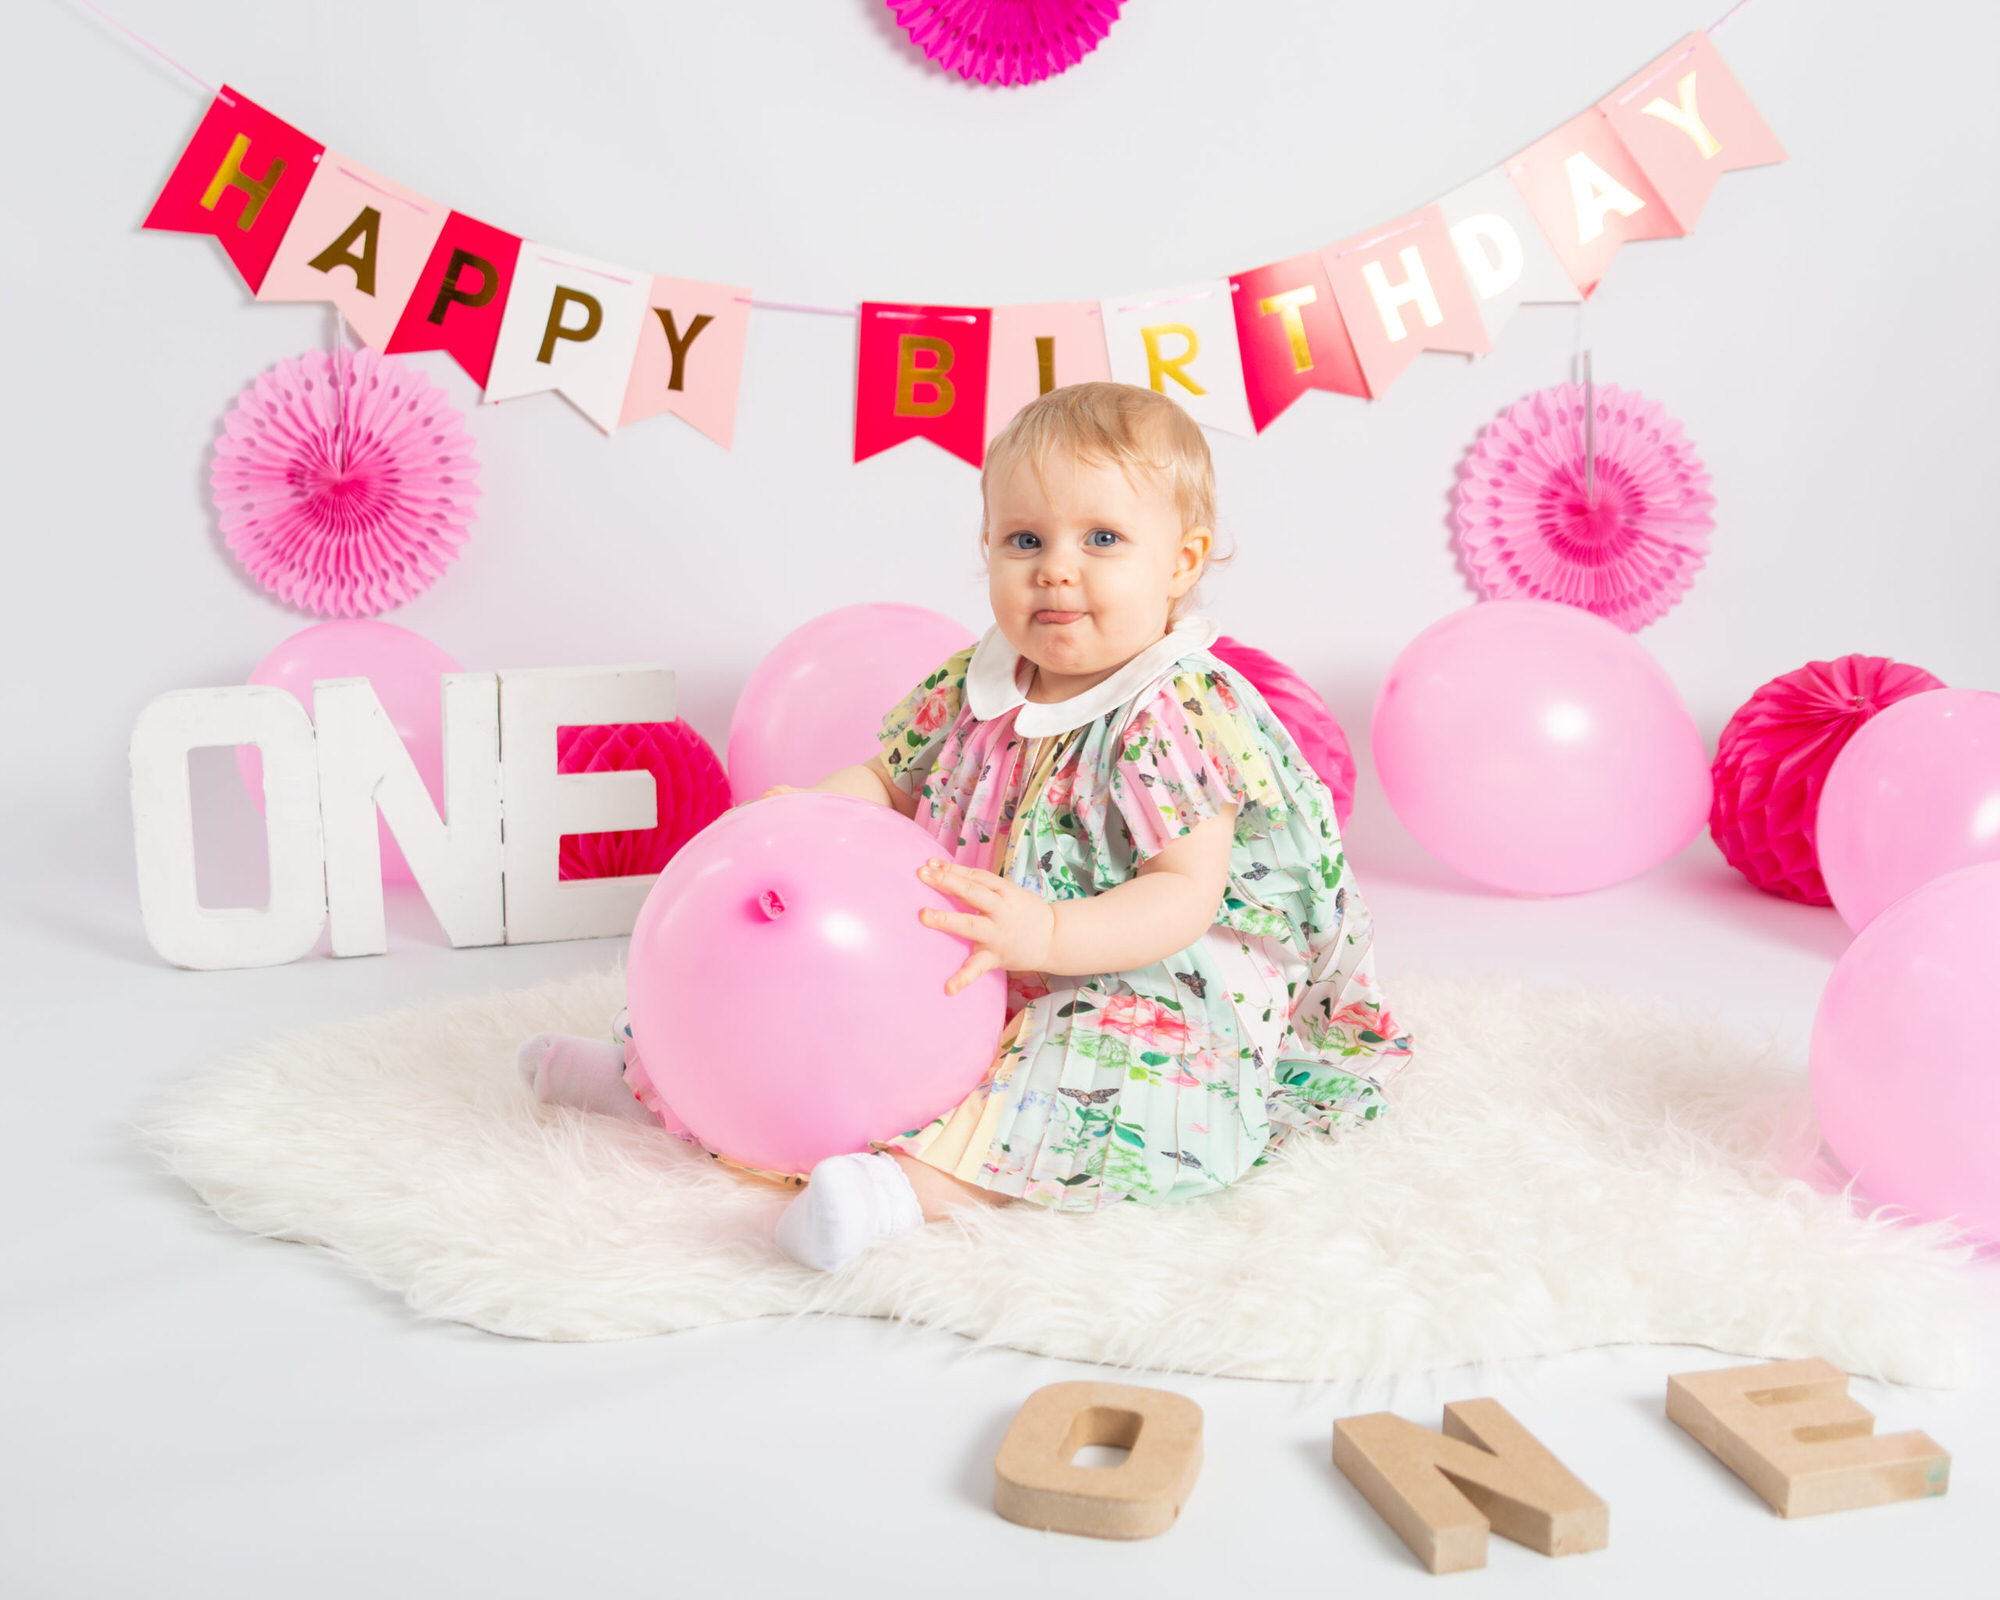
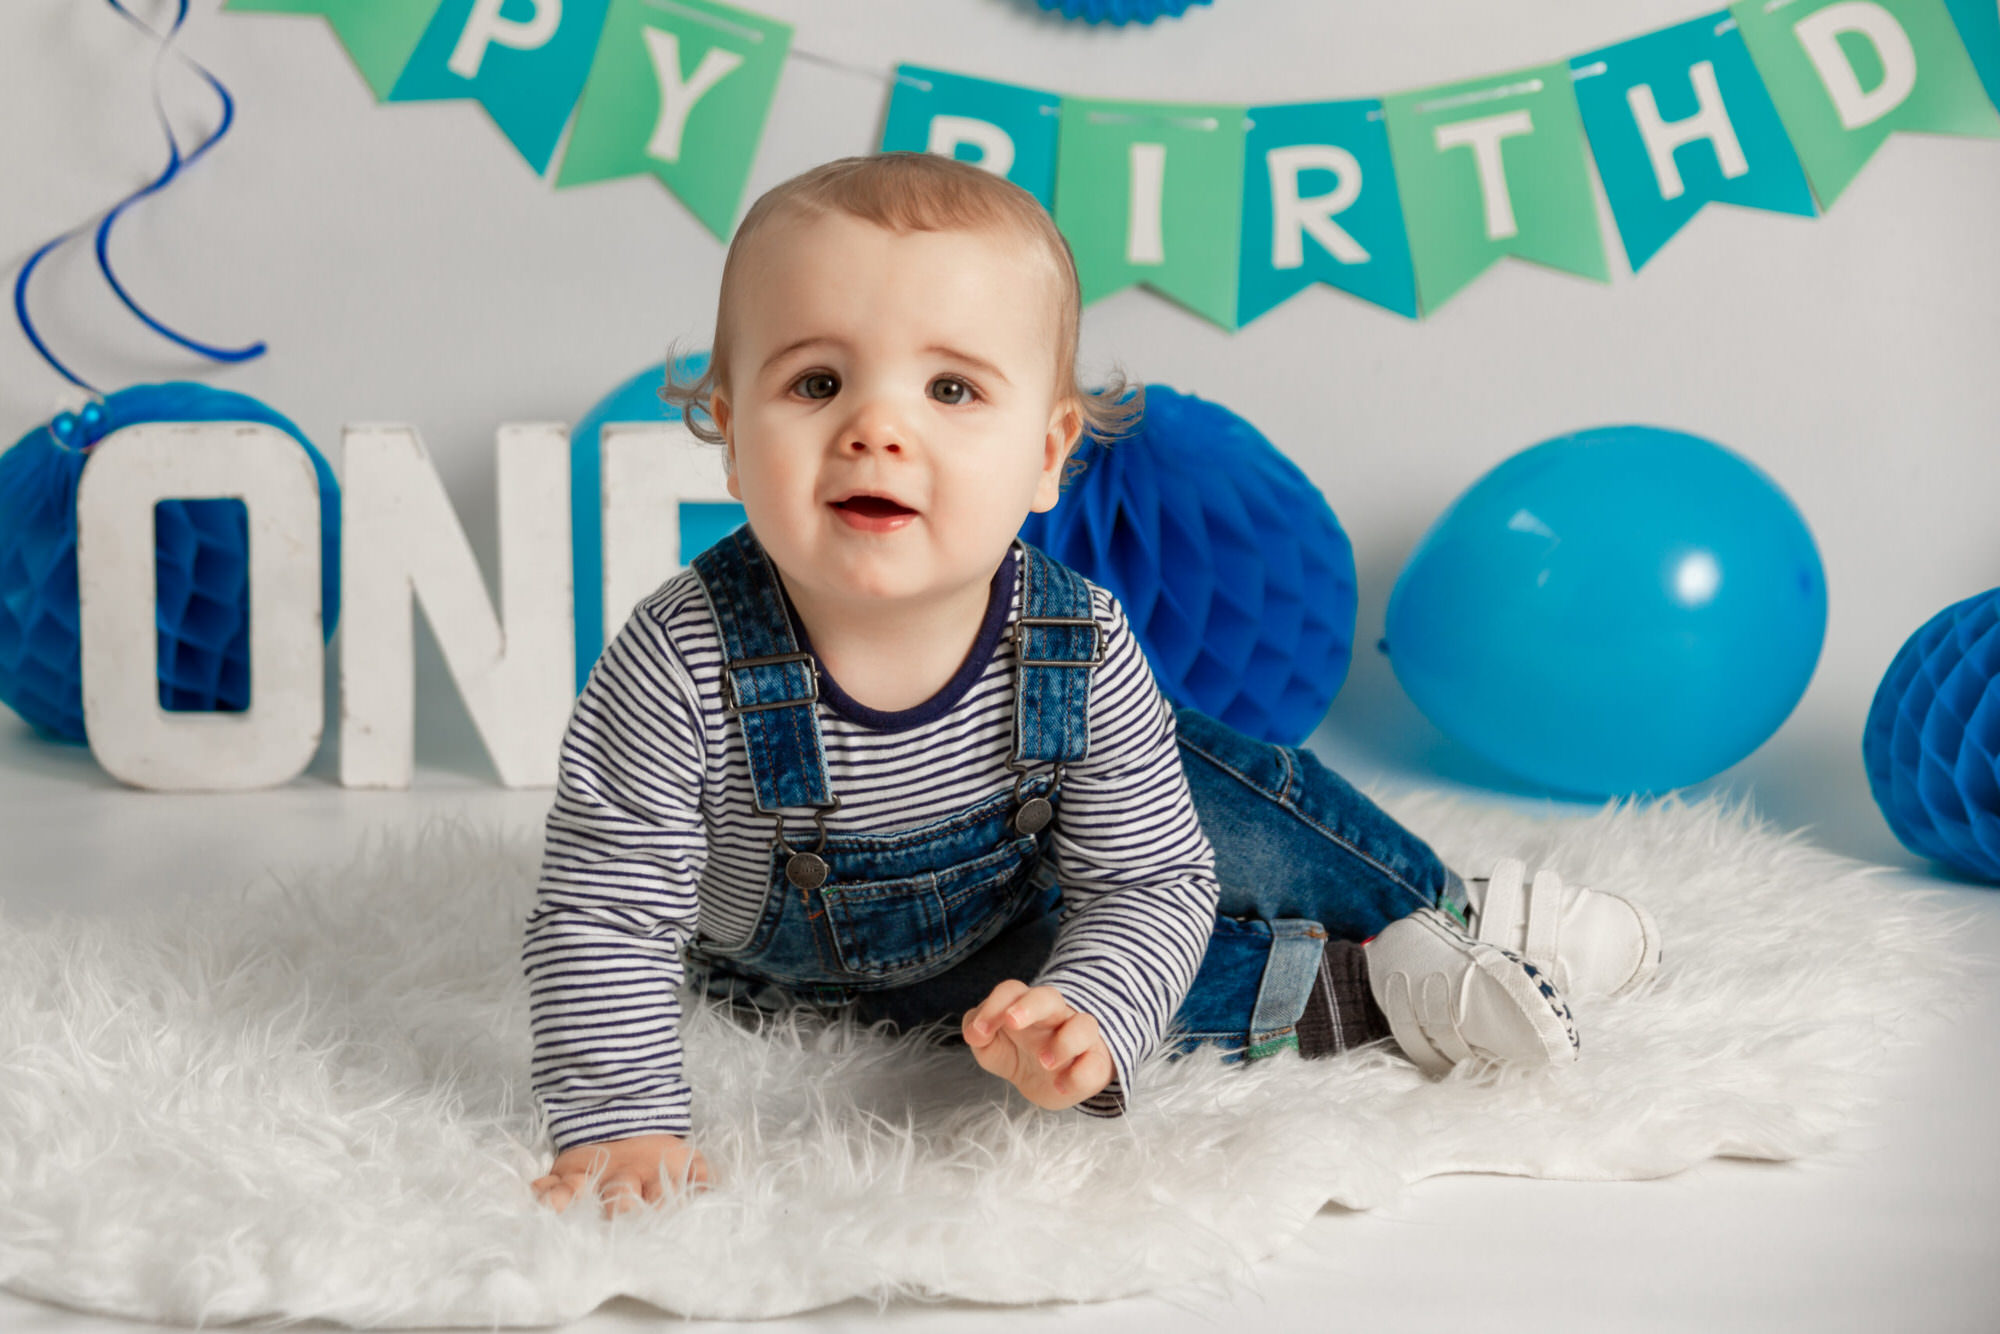
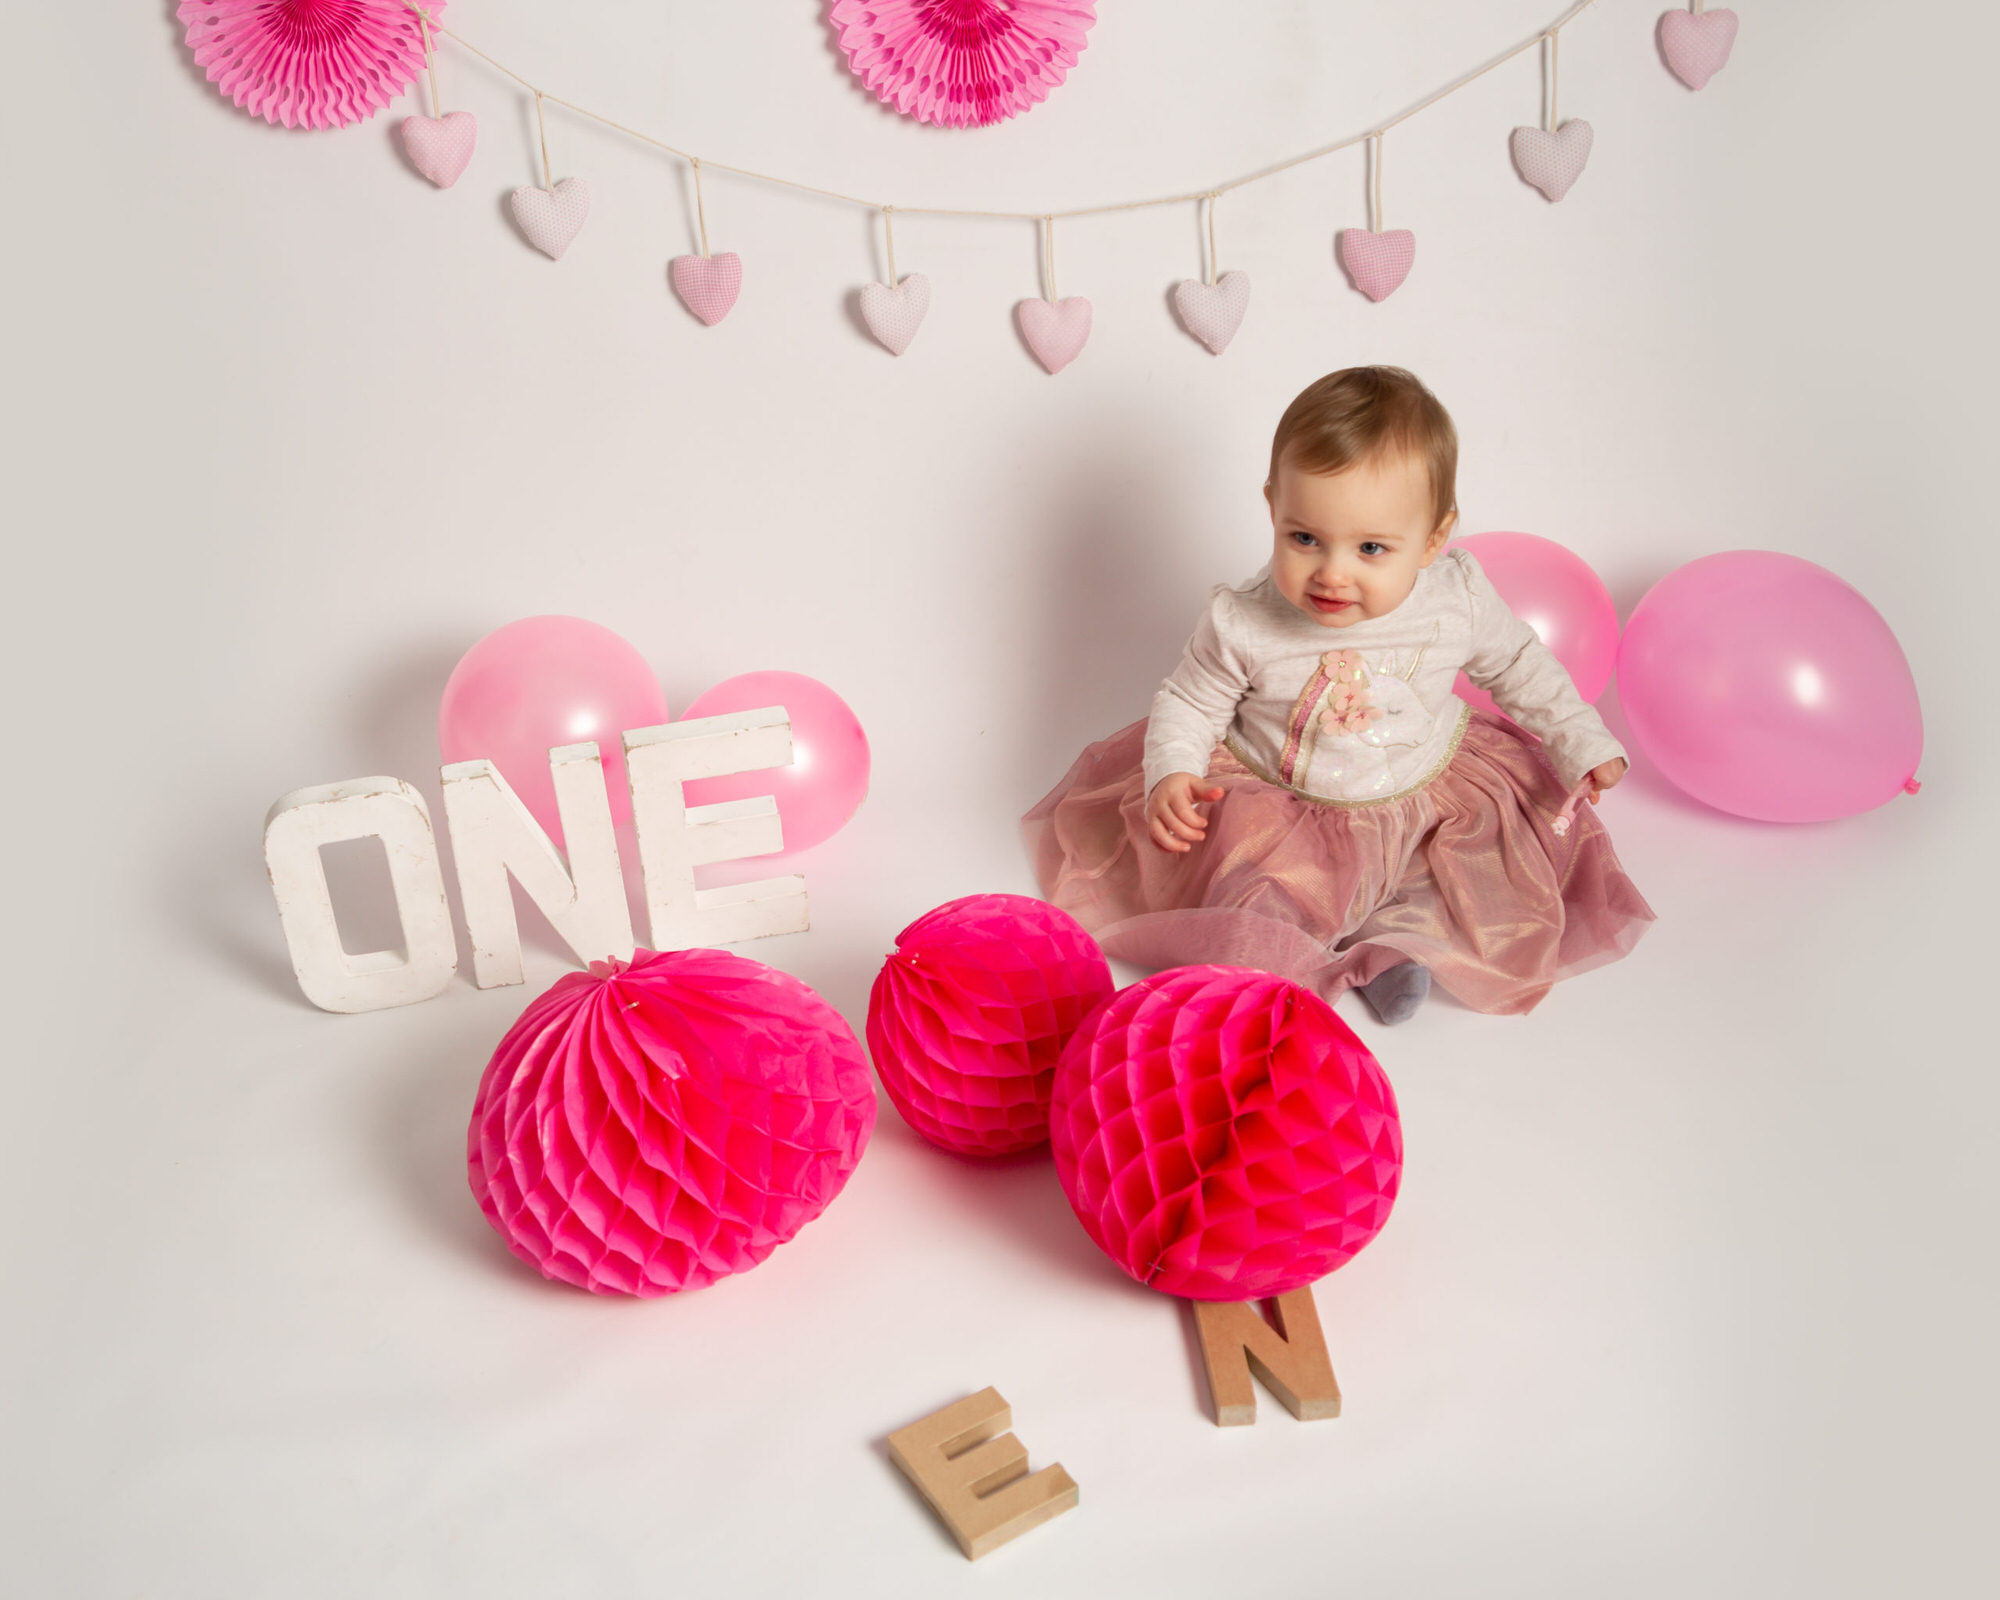
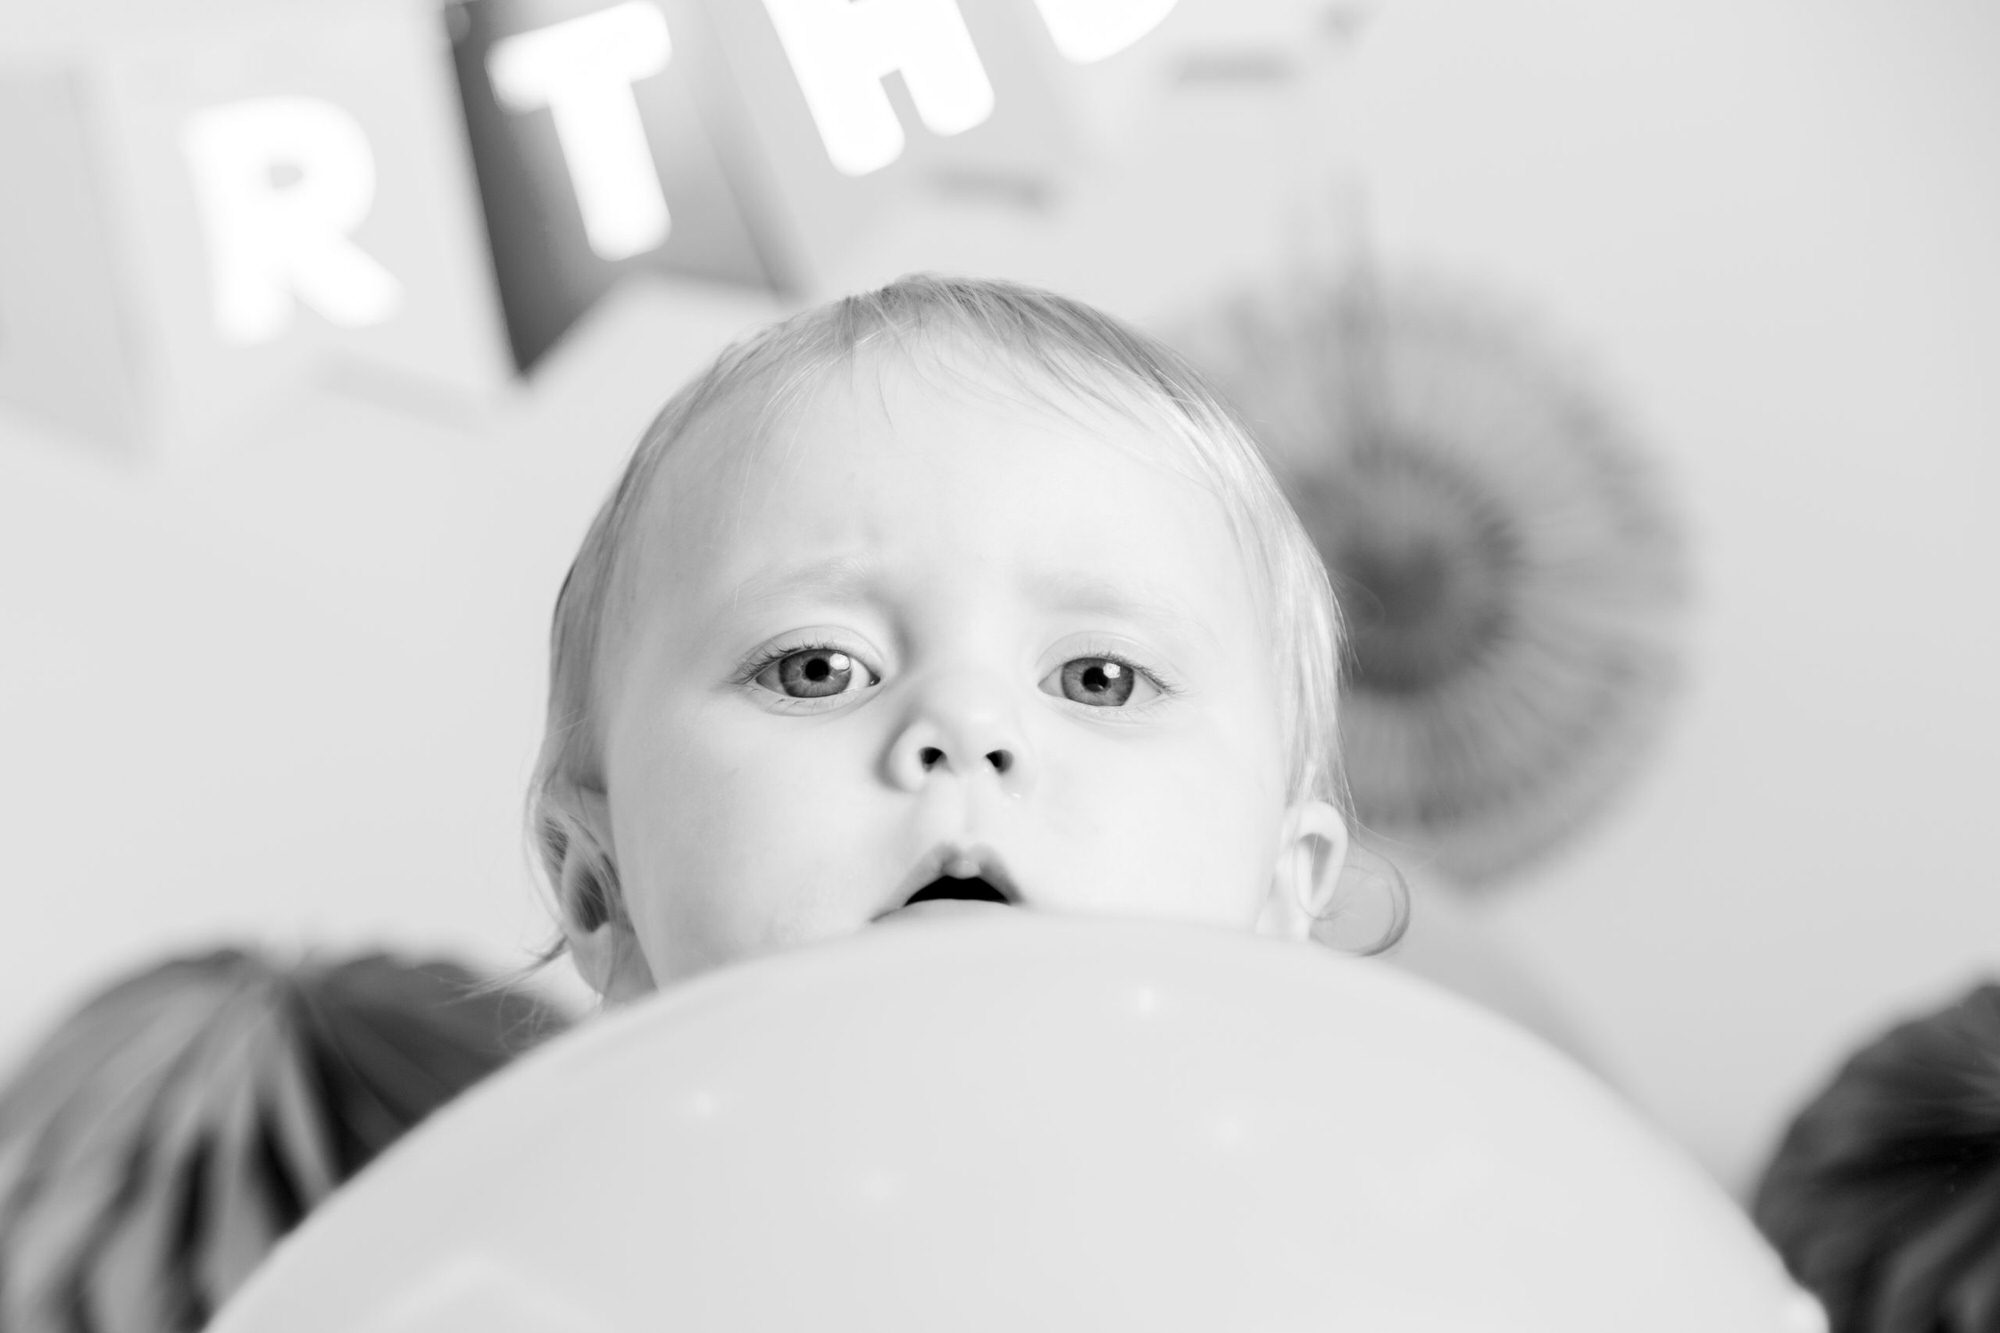
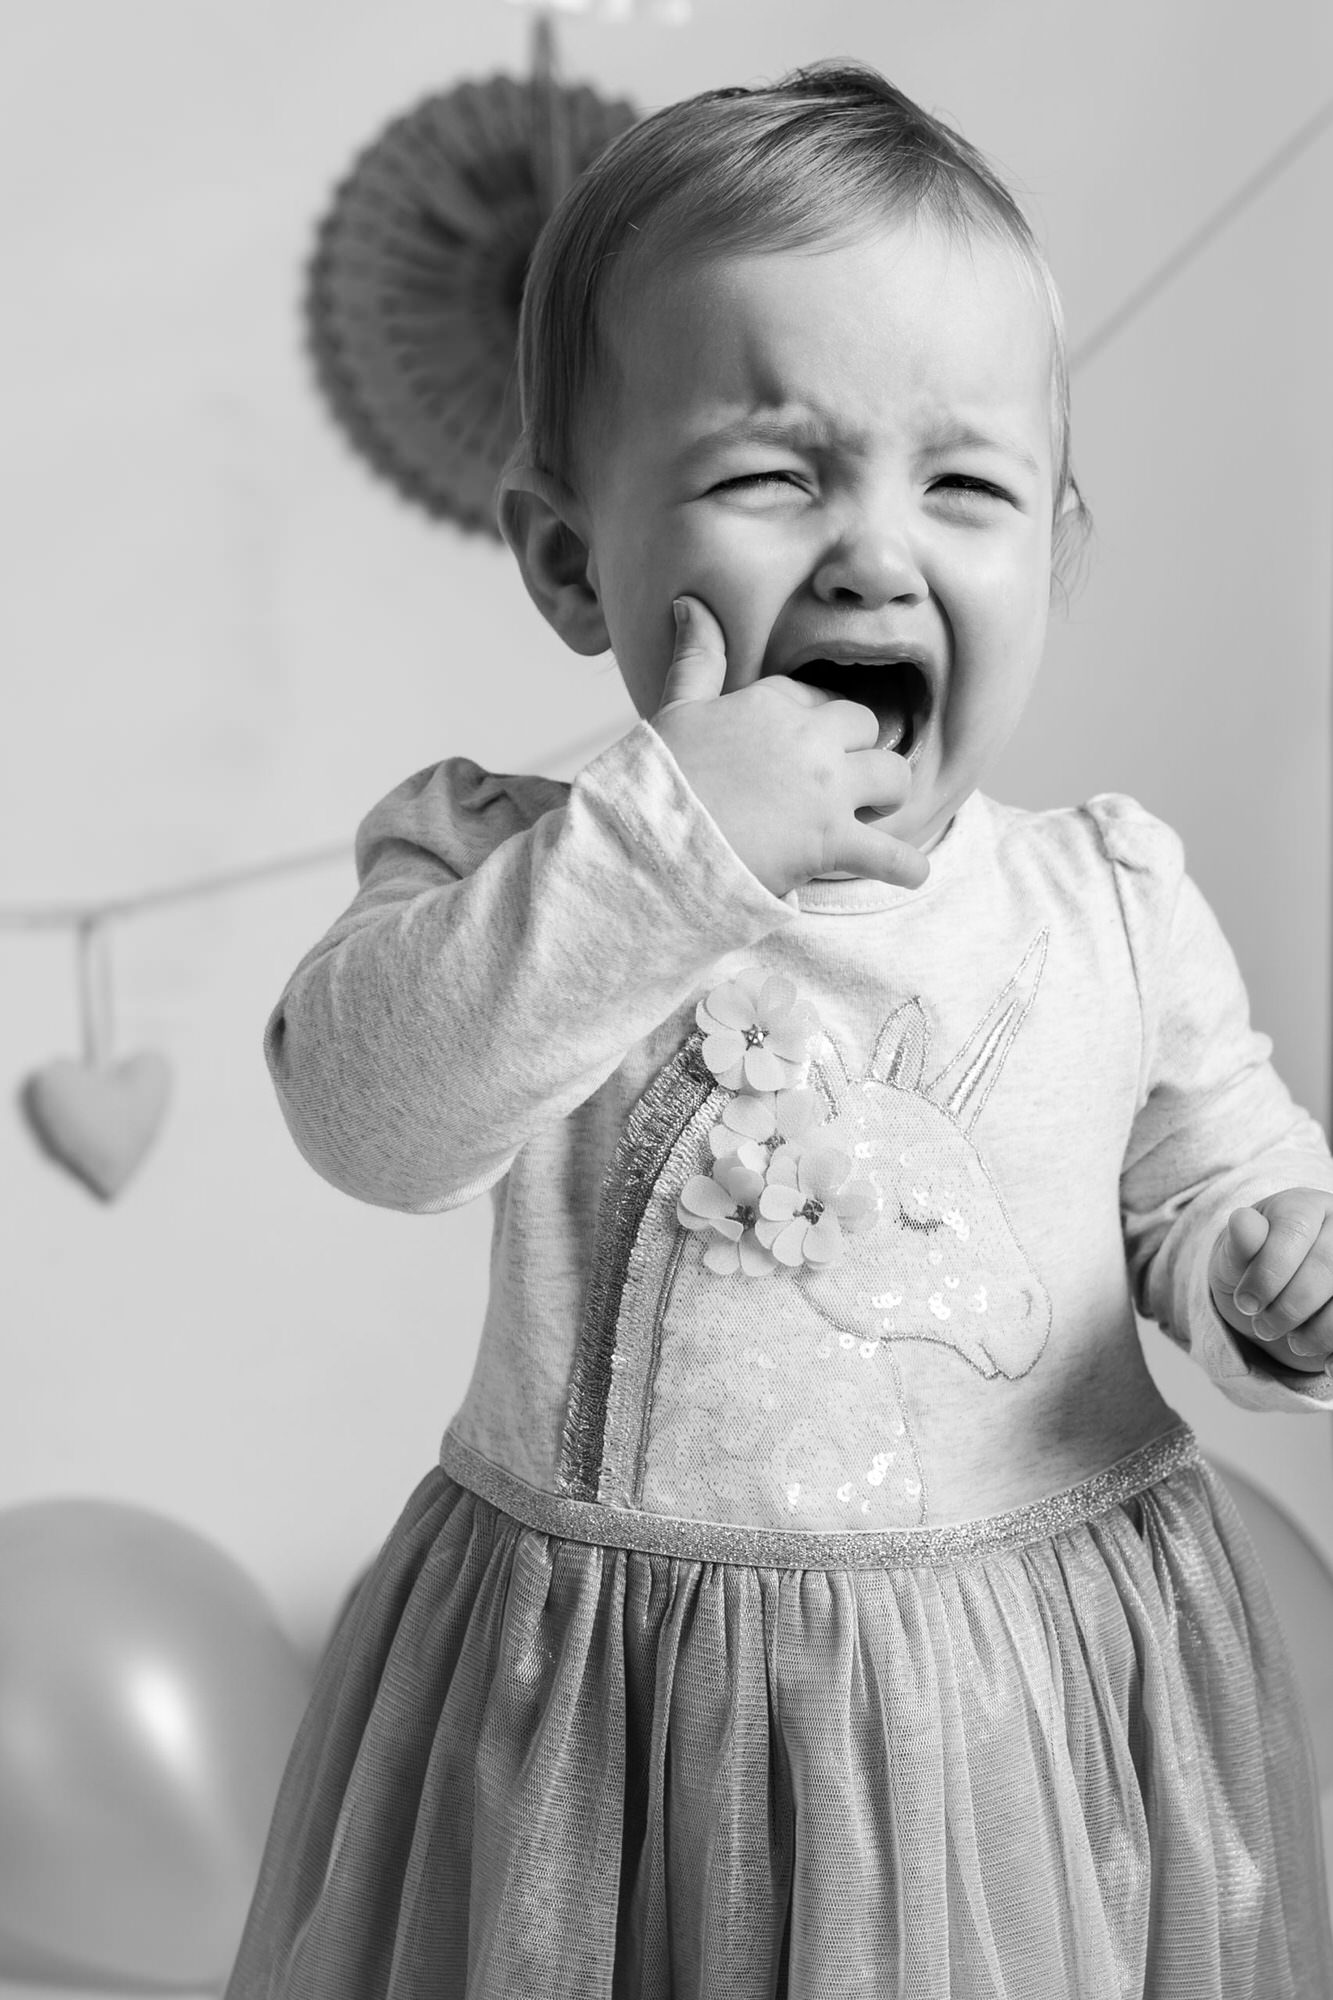
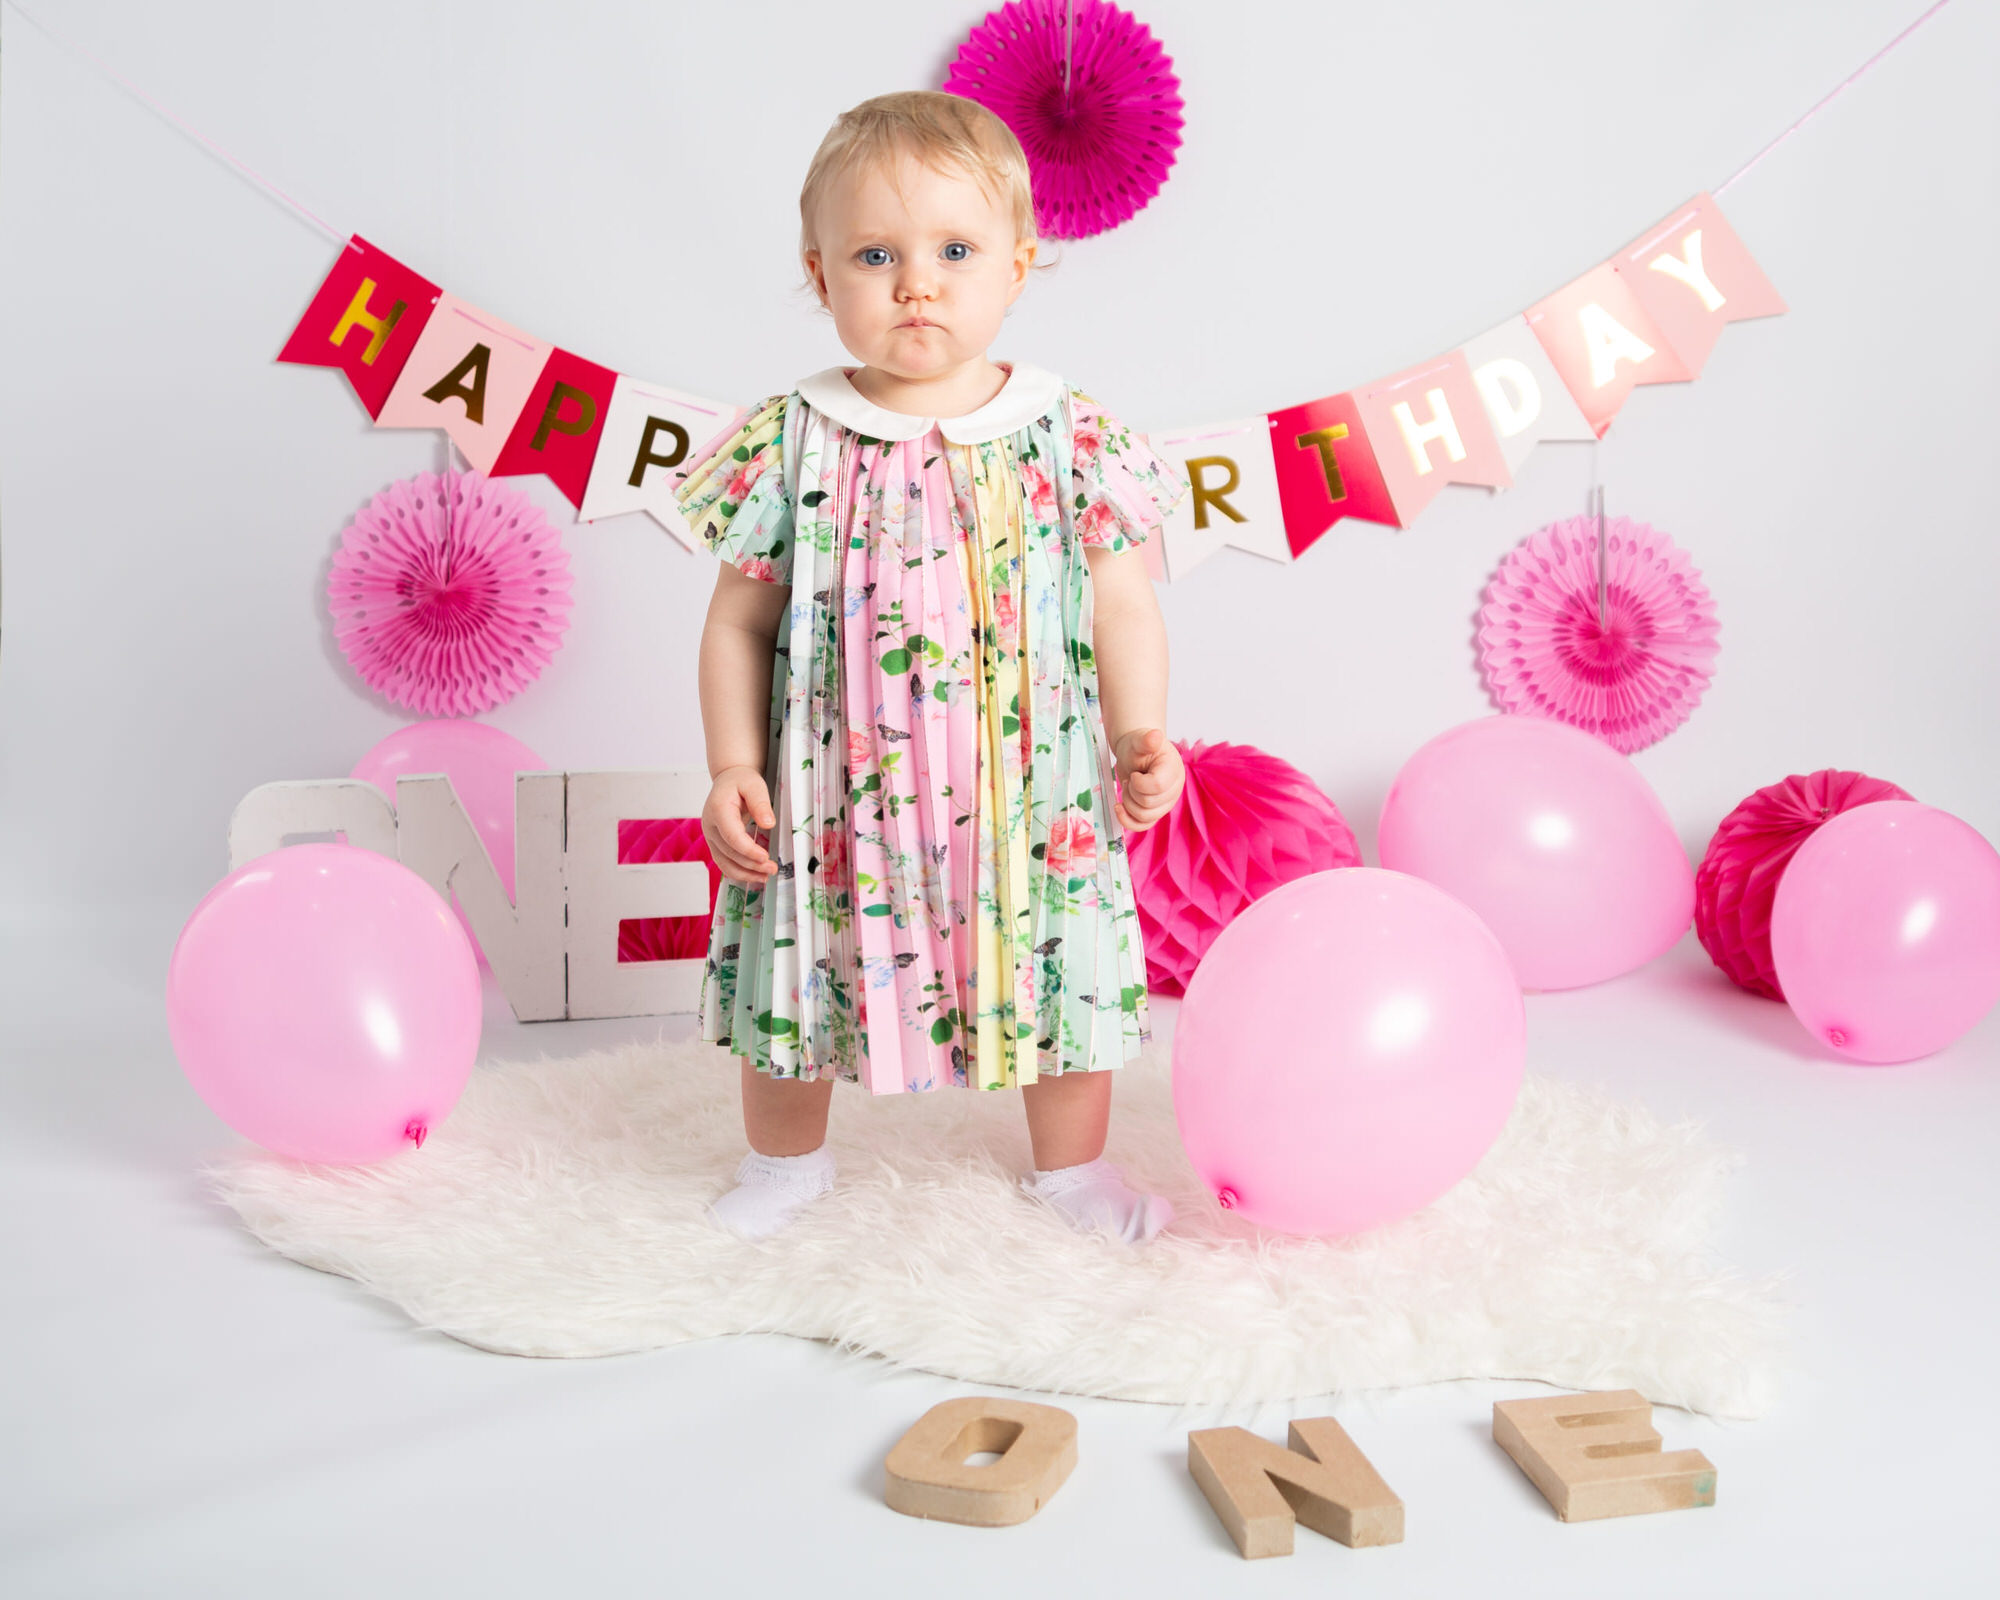
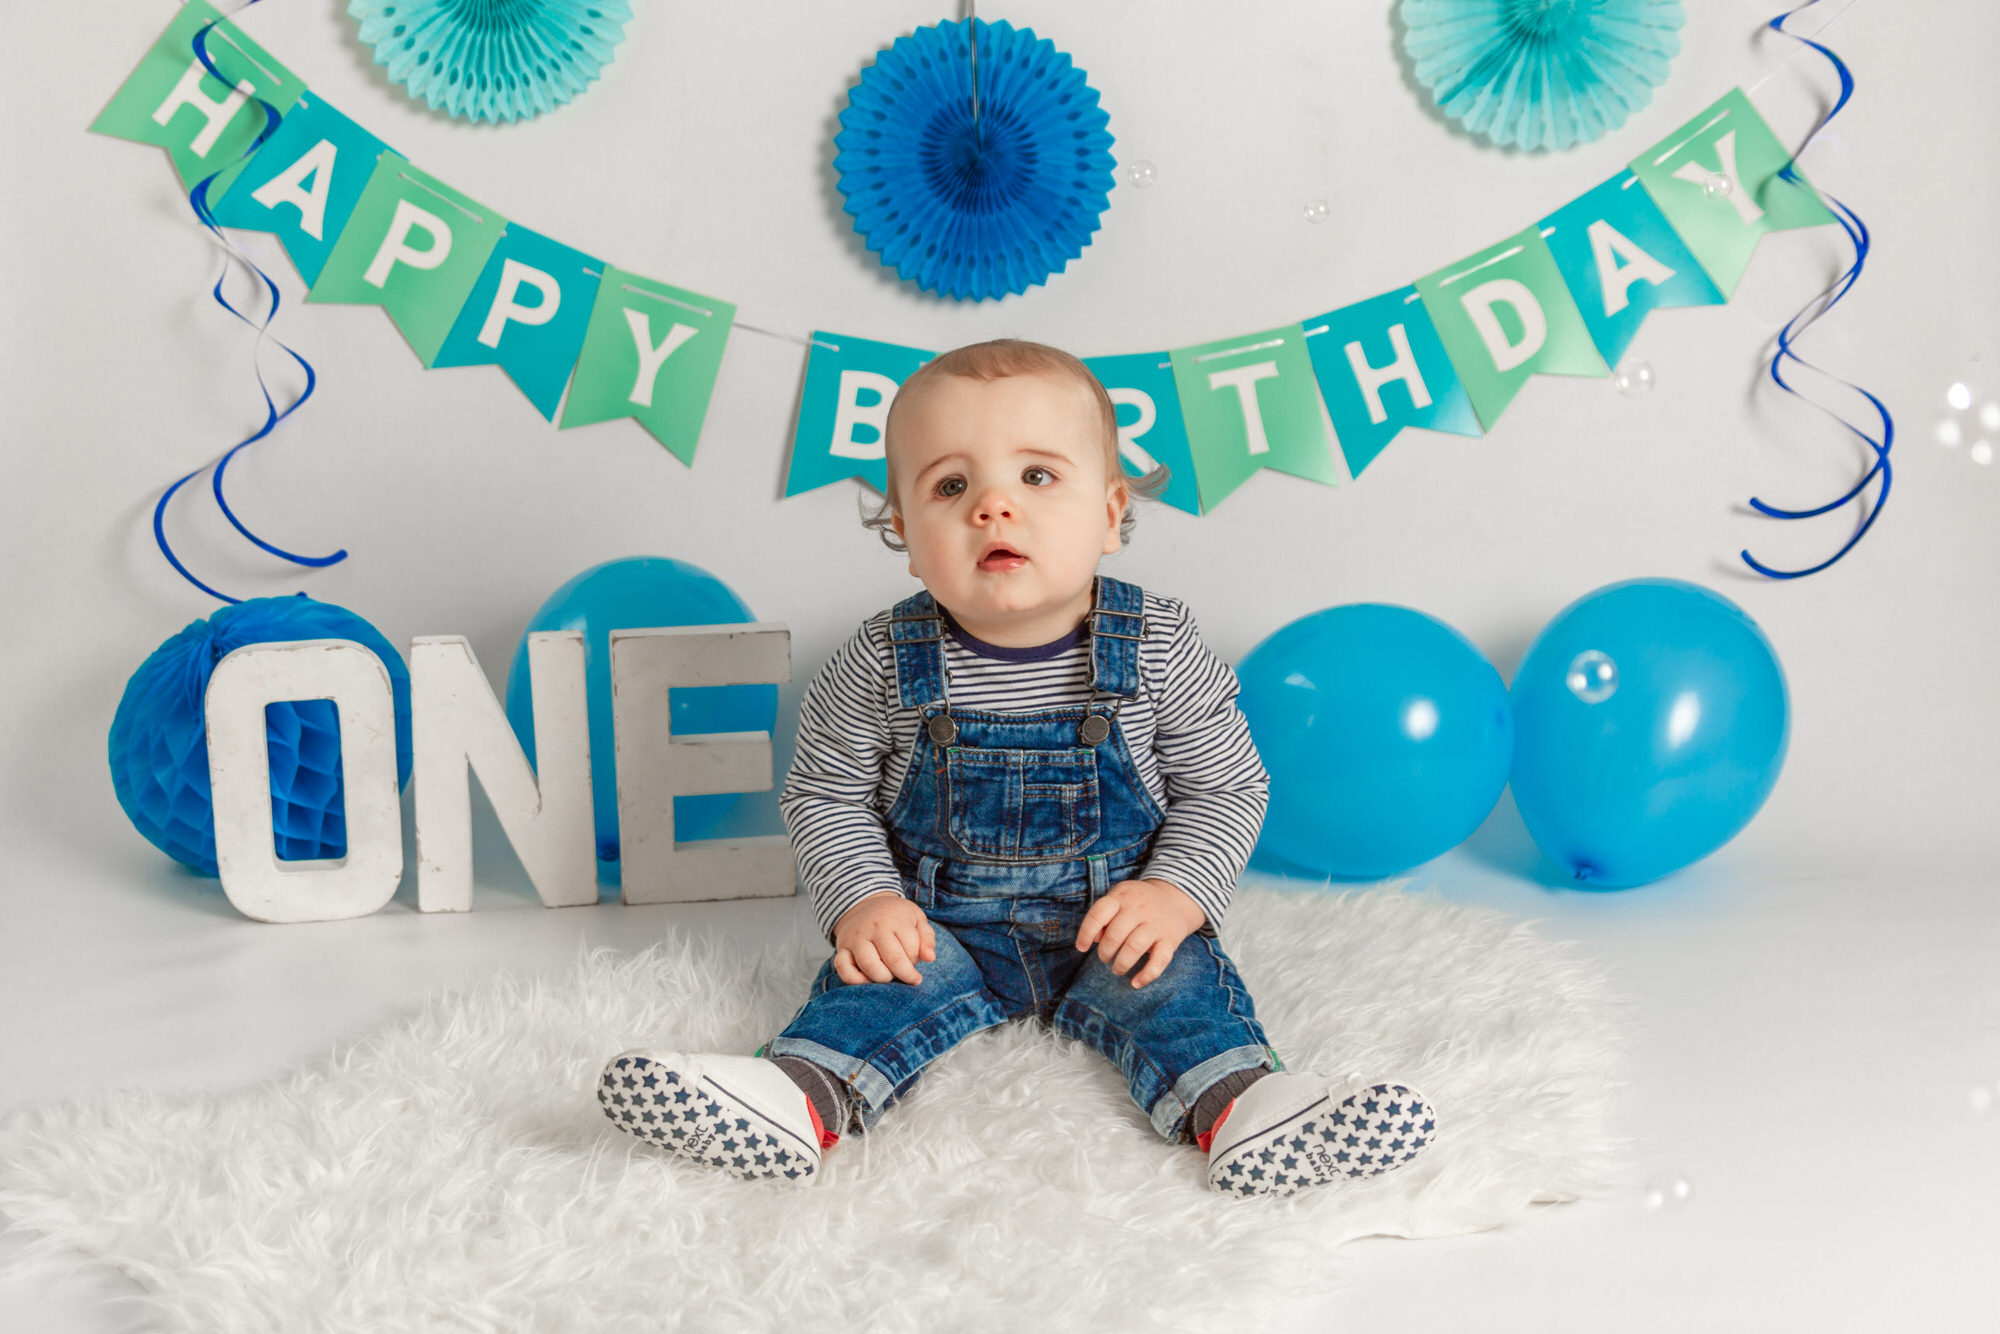
the birthday child
Prior to presenting the cake, is a great time to capture some cute photos of your little one, surrounded by banners and balloons. I like to keep my set ups simple, so that the birthday child is centre stage!
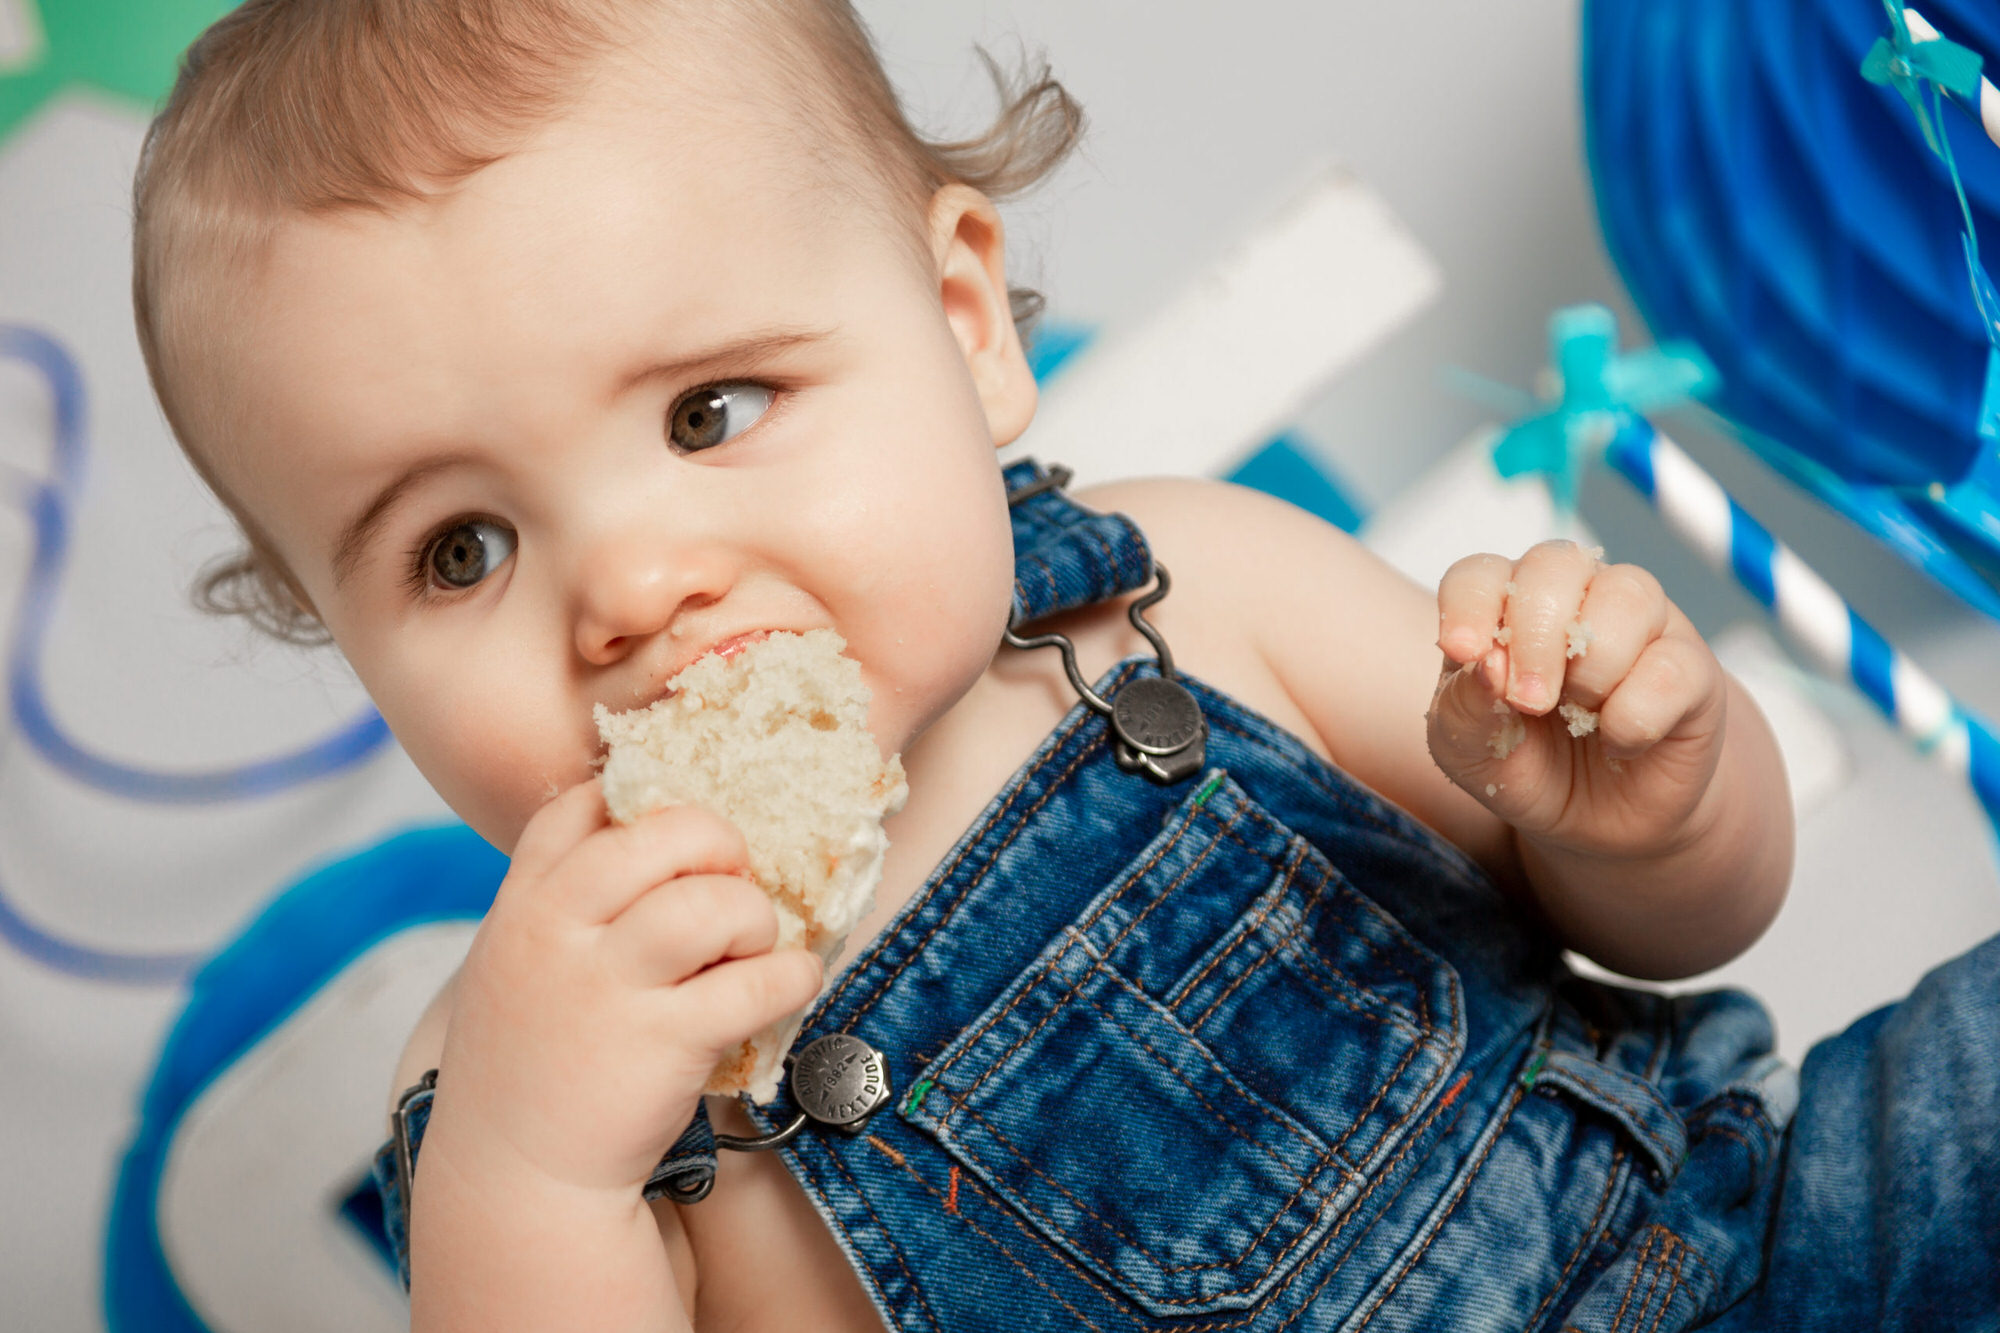
the cake smash
This is the part where the cake comes out. Now this doesn’t actually have to be cake.
It can be a bowl full of their favourite fruit, a donut or muffin, their favourite snack.. whatever you want.
One of the little girls above had a raspberry cake… she completely ignored the cake and went straight for the raspberries!! The look on her face was priceless and she just grabbed a handful (see below left)! In the end we had to remove some of them, to stop her eating the whole lot and making herself ill.
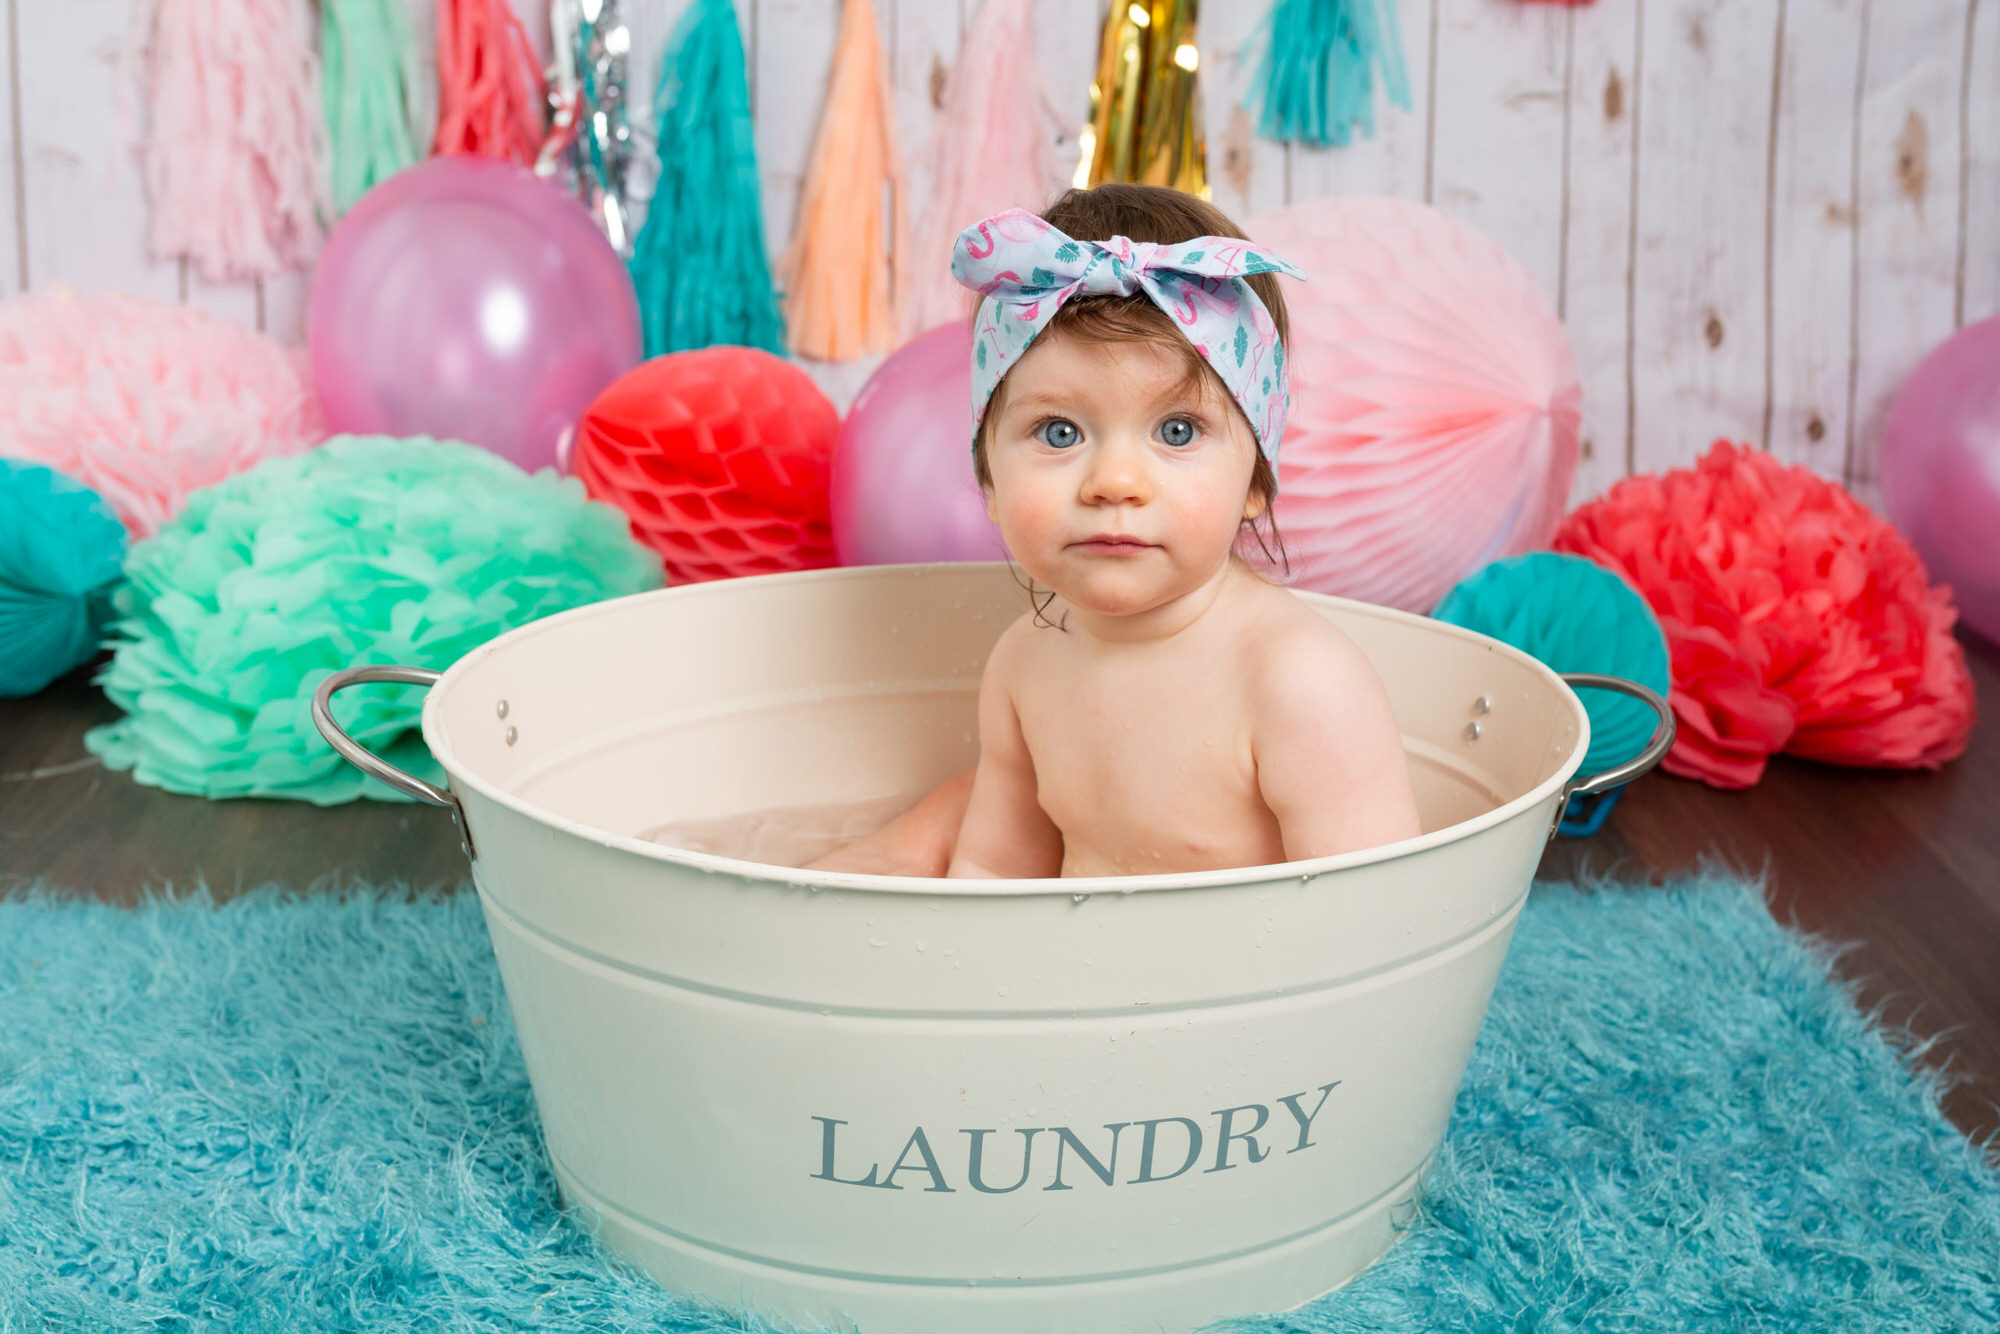
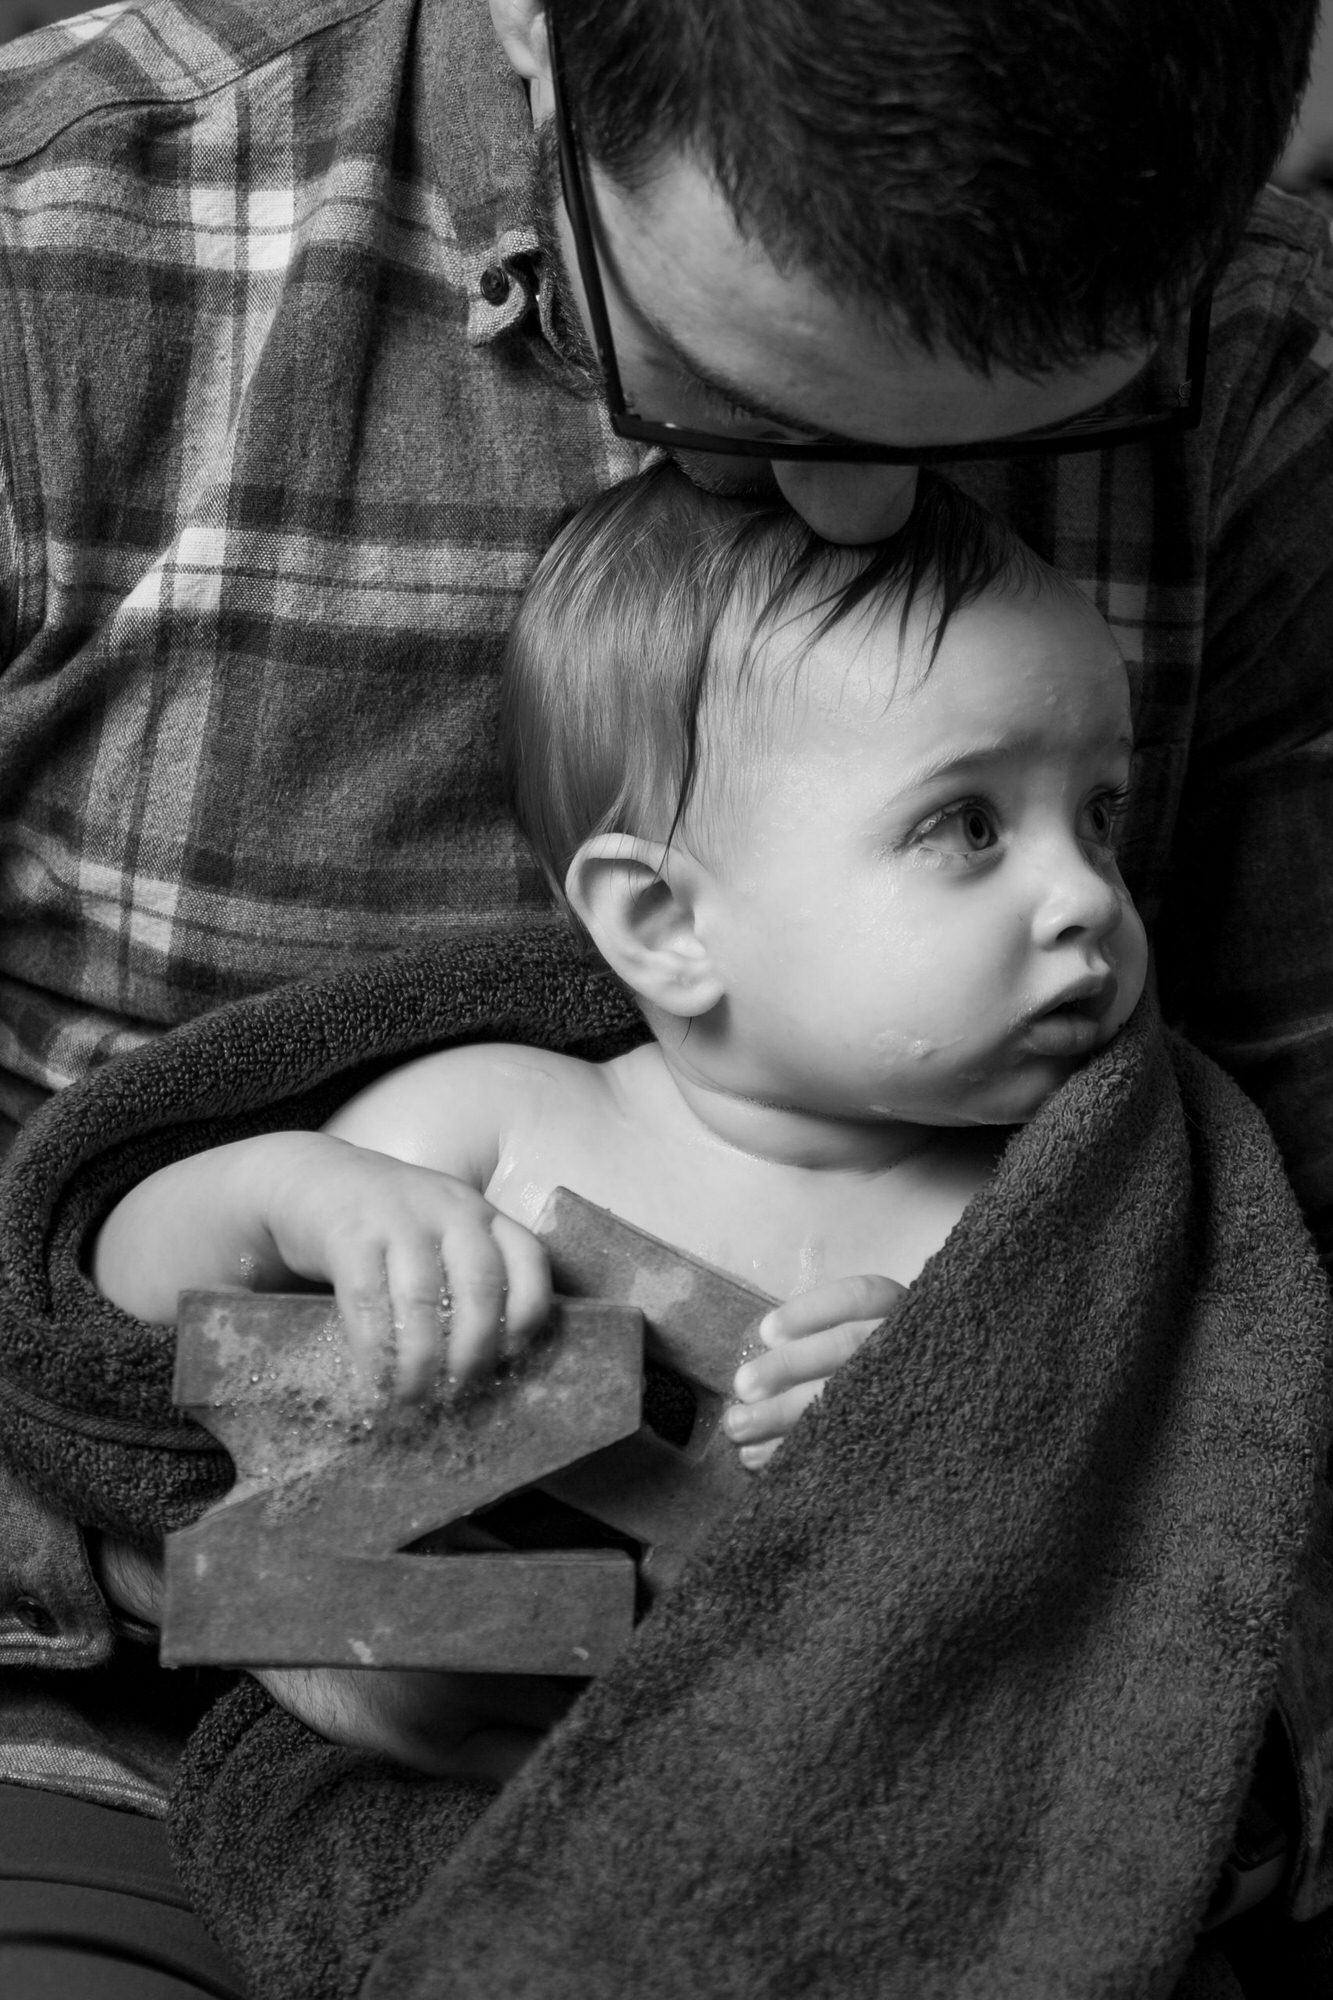
the clean up
For some children, they’re not bothered about the cake BUT they do LOVE the bubble bath!
This is a time for your children to play in the warm bubble bath and enjoy some splashing around. Some manage to make huge puddles around my studio but watching their little faces is a picture..
booking a session…
If you would like to book a cake smash session or would like more information, please click HERE and you will be taken to my cake smash page. All prices are shown. Normally, I say you will receive around 30 photos but quite often this can be more as we capture your child enjoying the session…. even when they don’t they still look cute though…
A few more of my favourites from sessions so far this year…..
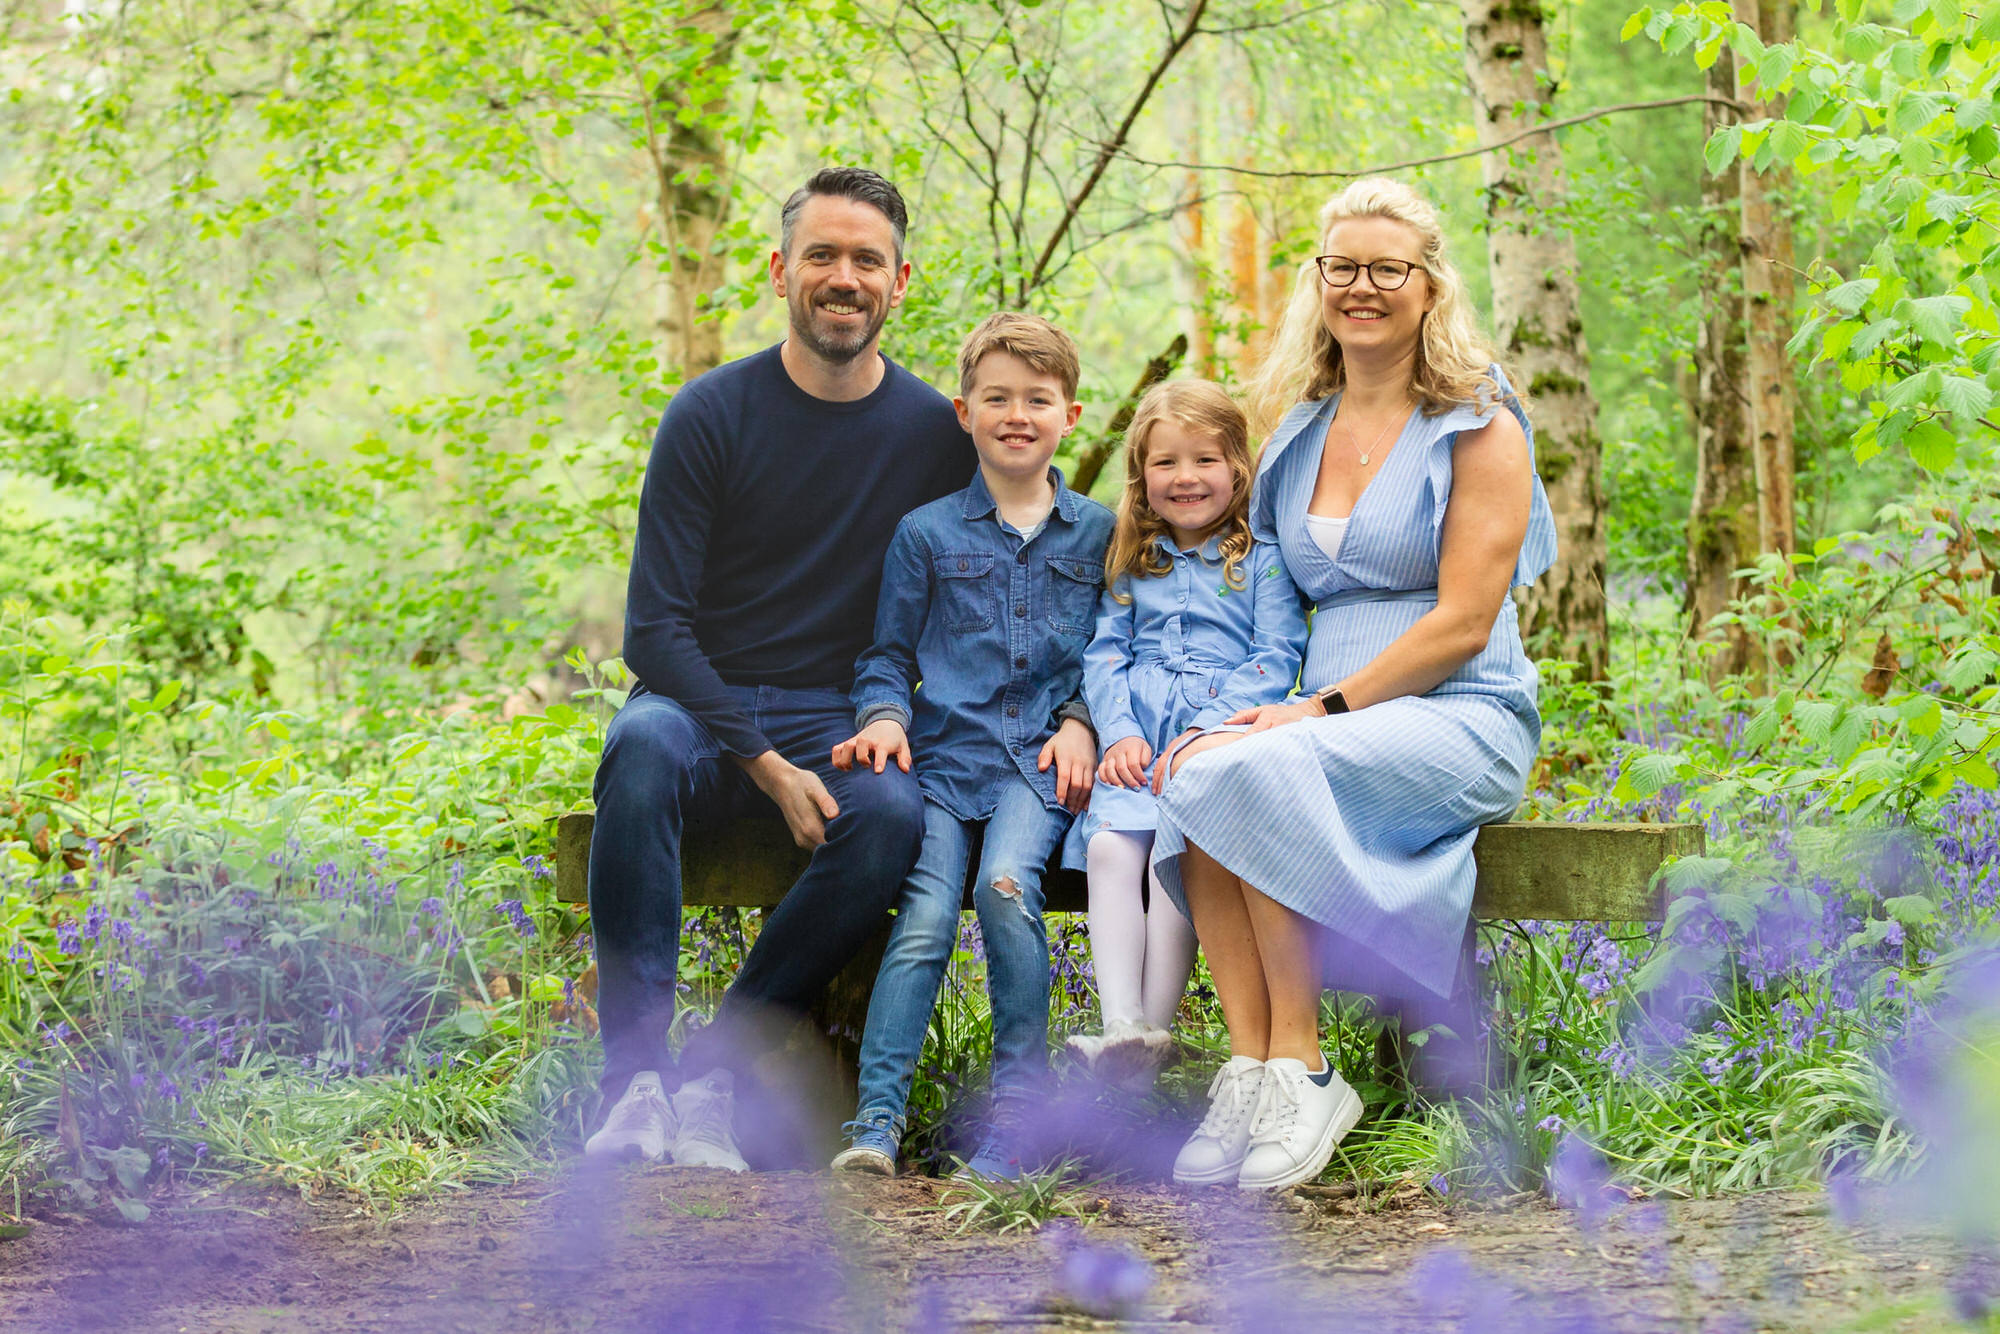
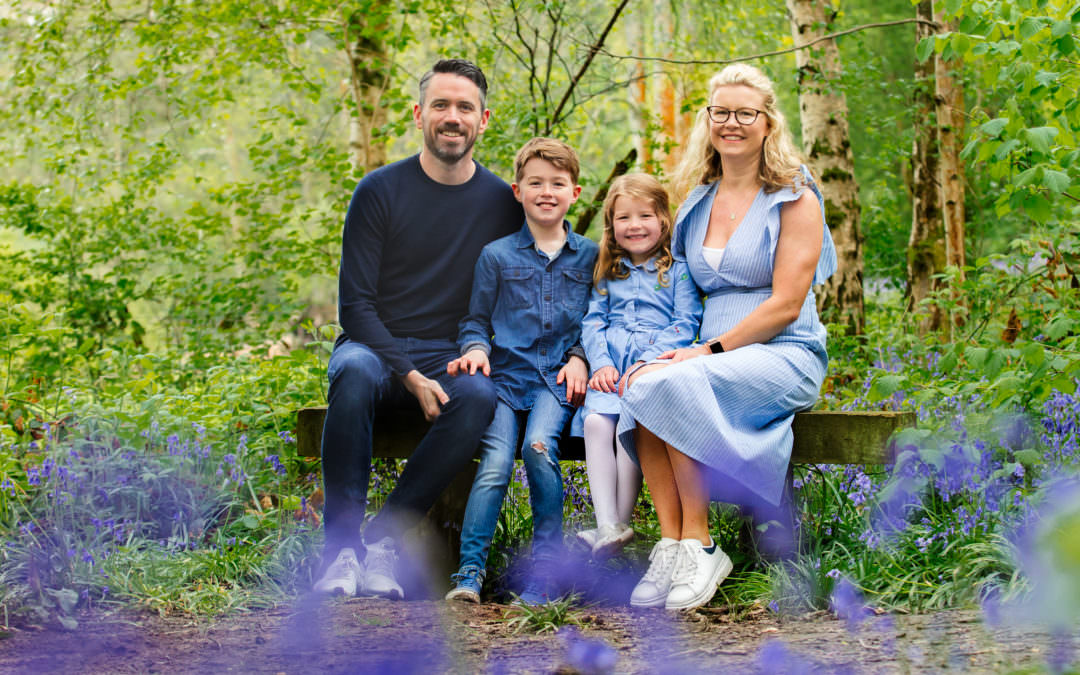
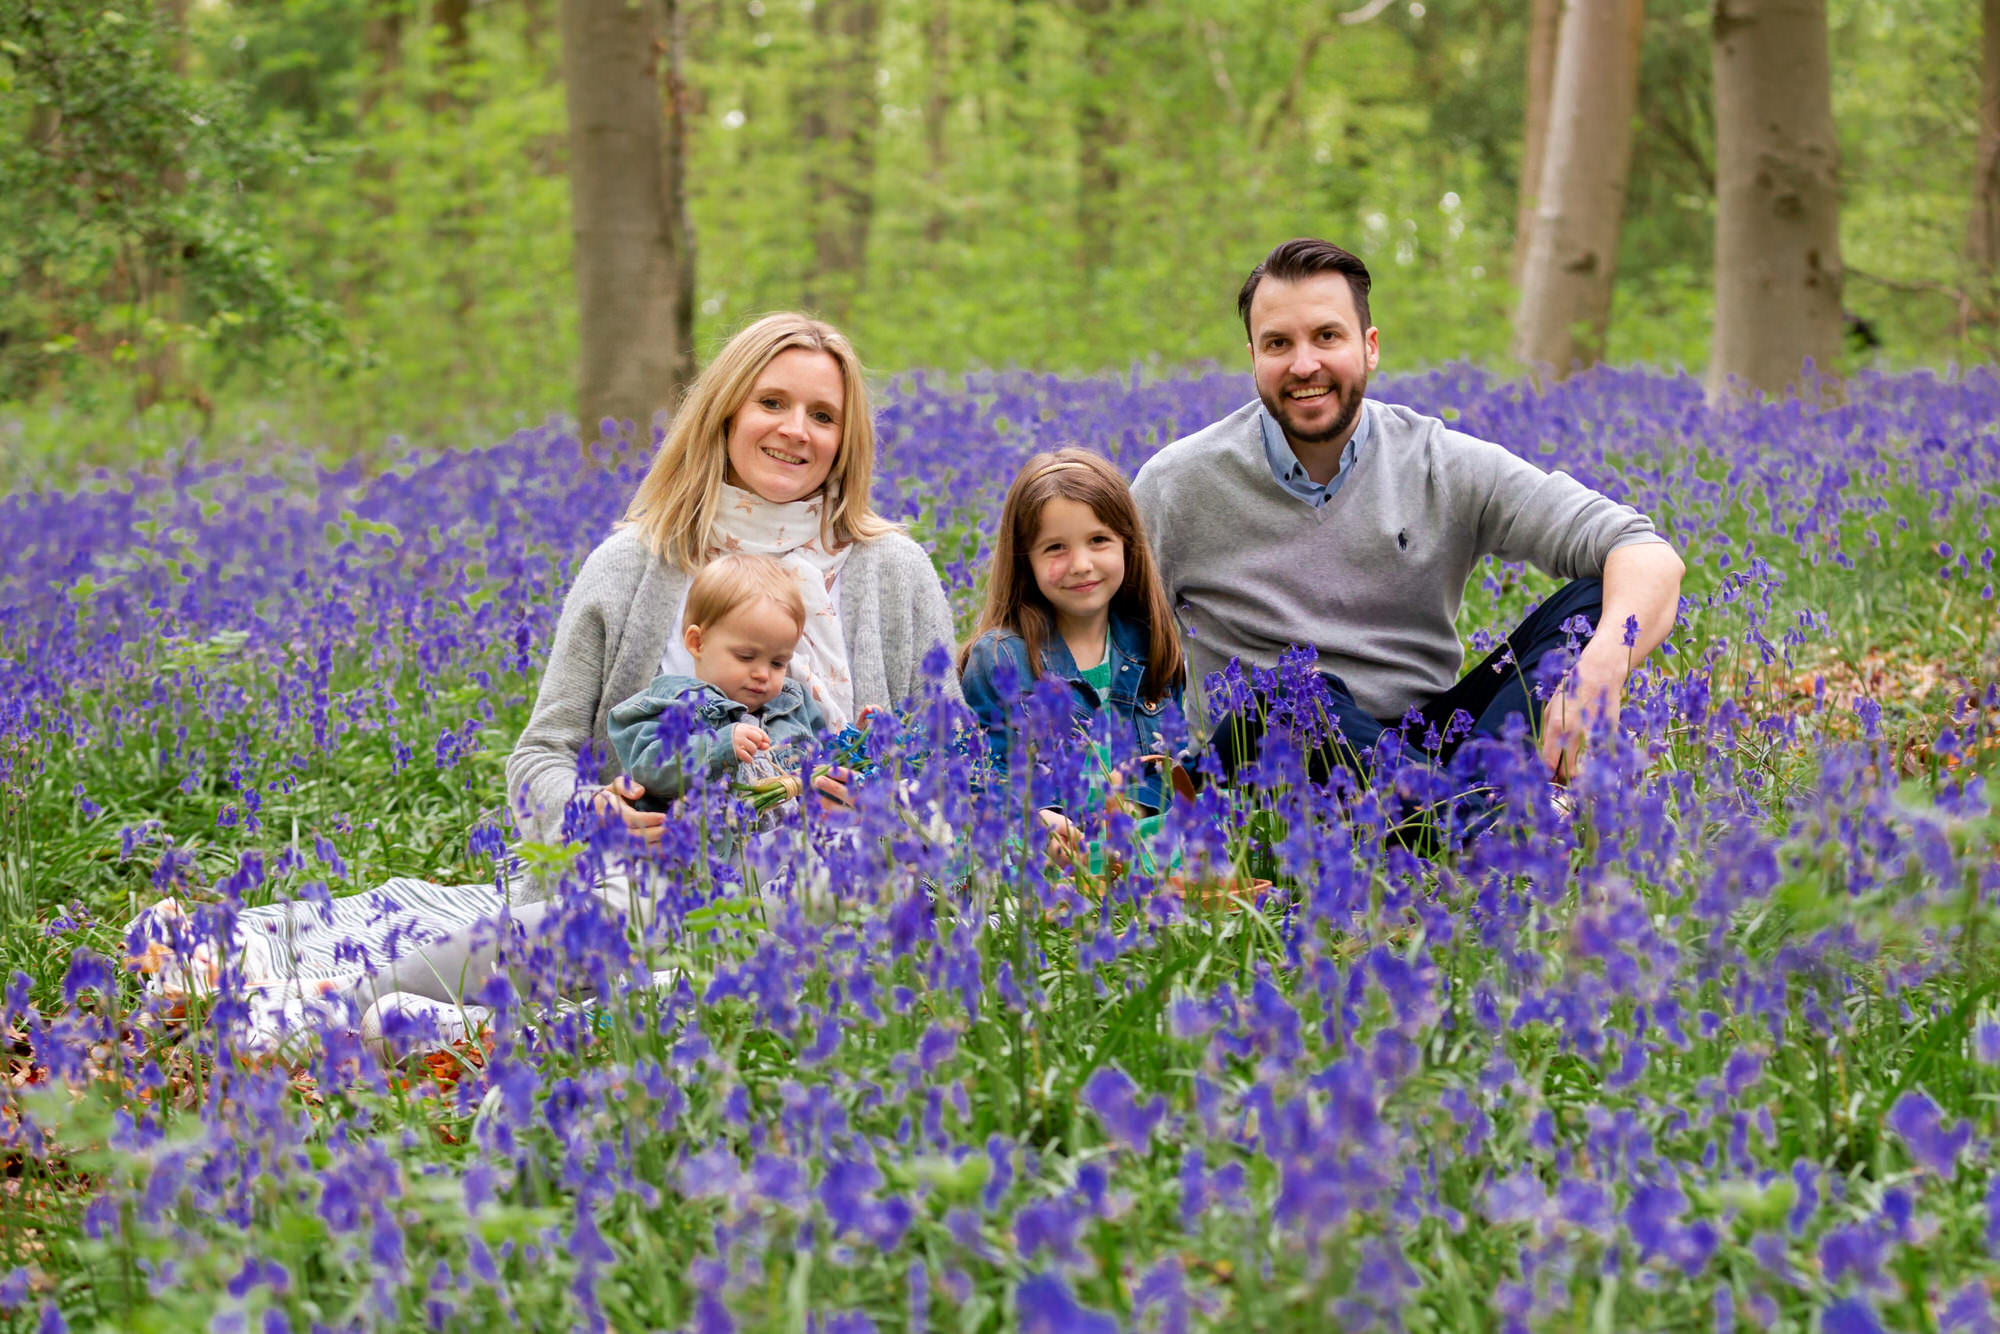
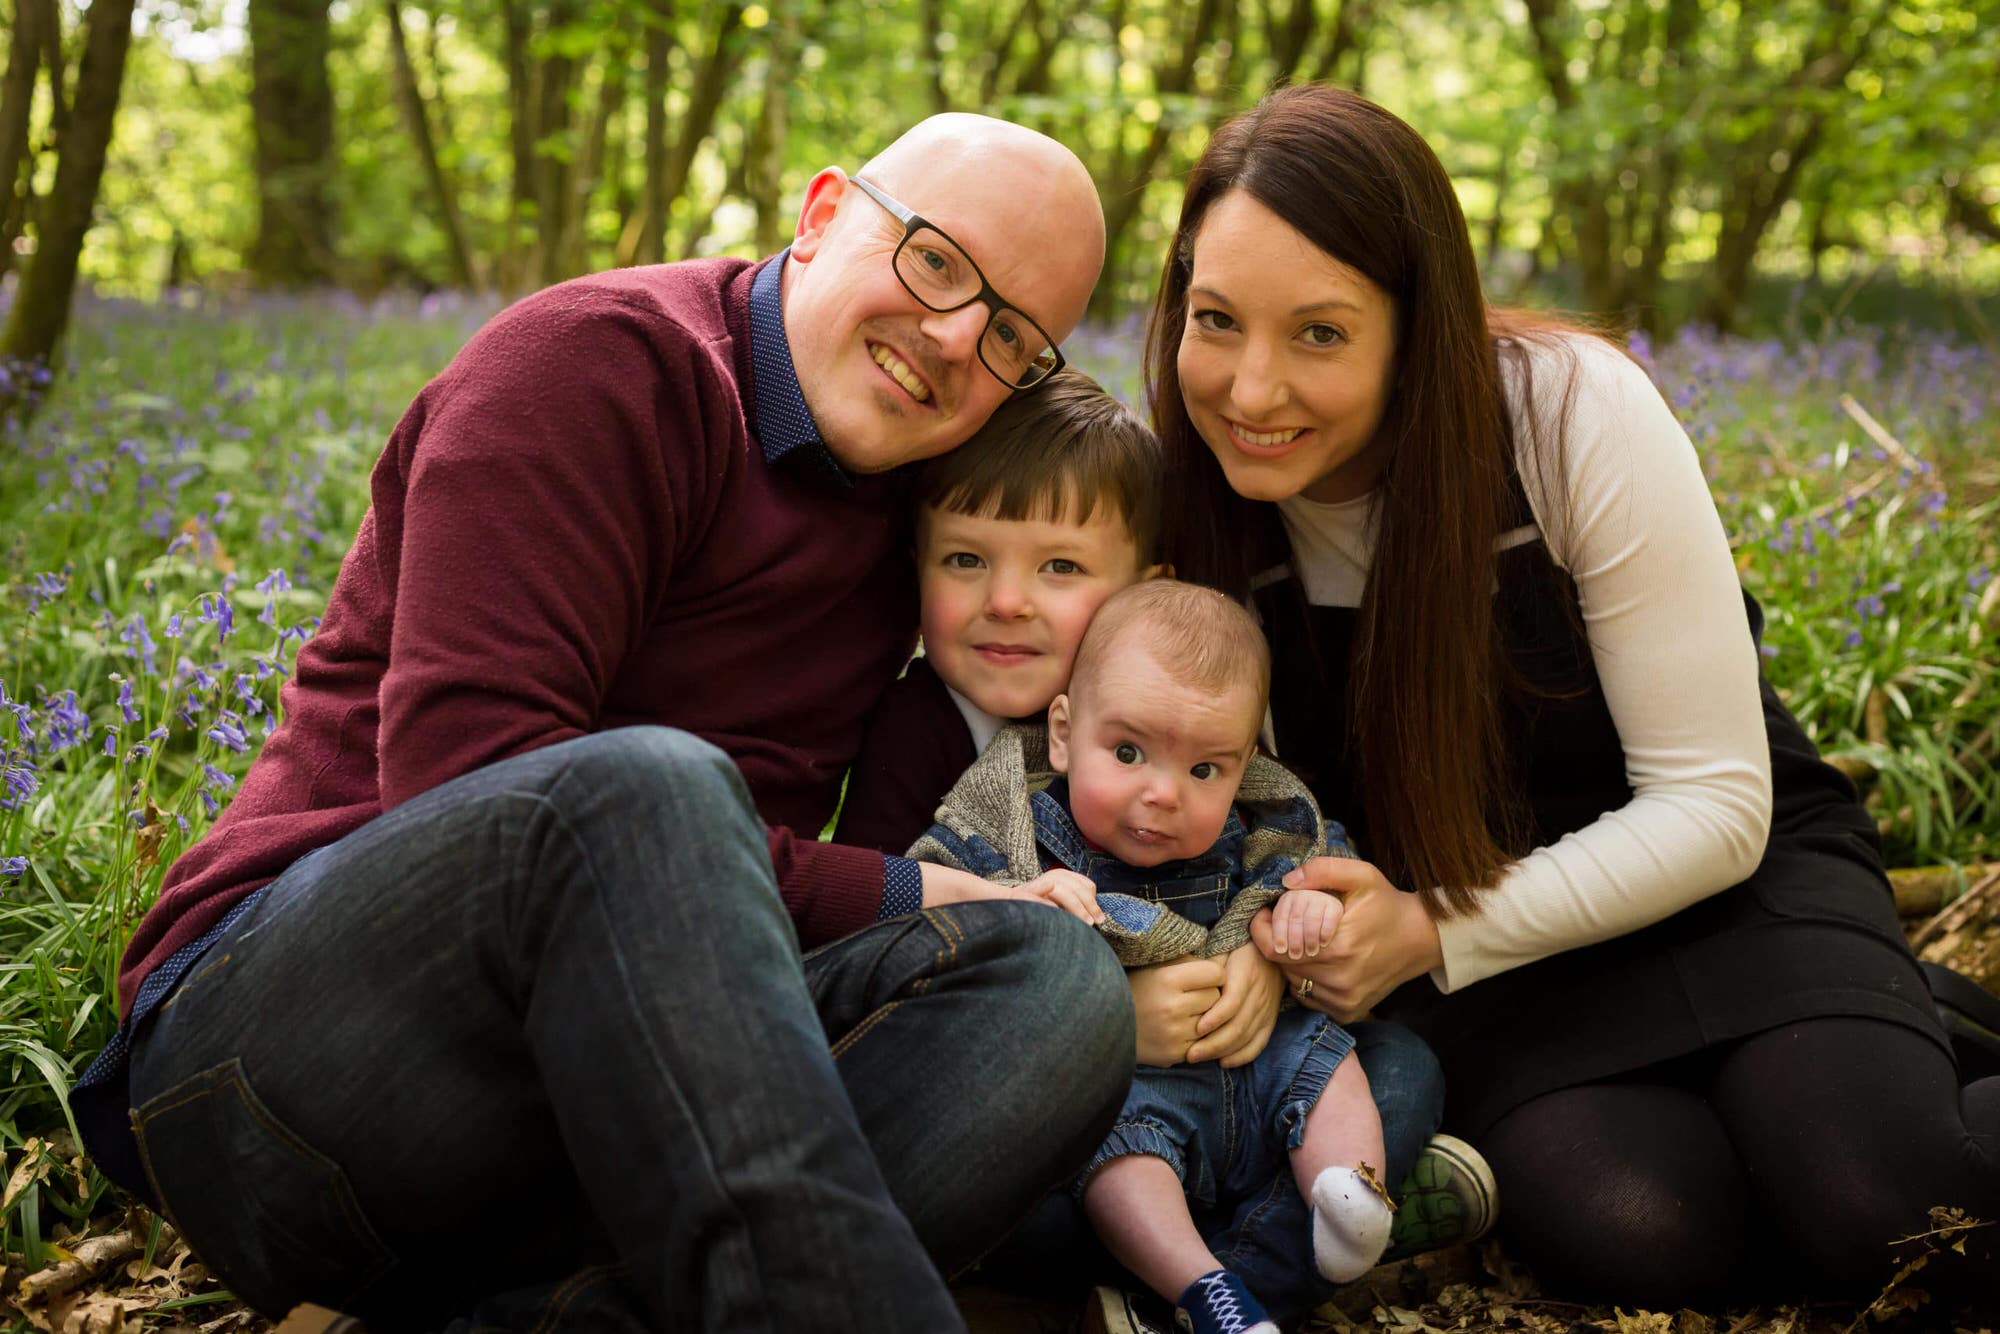
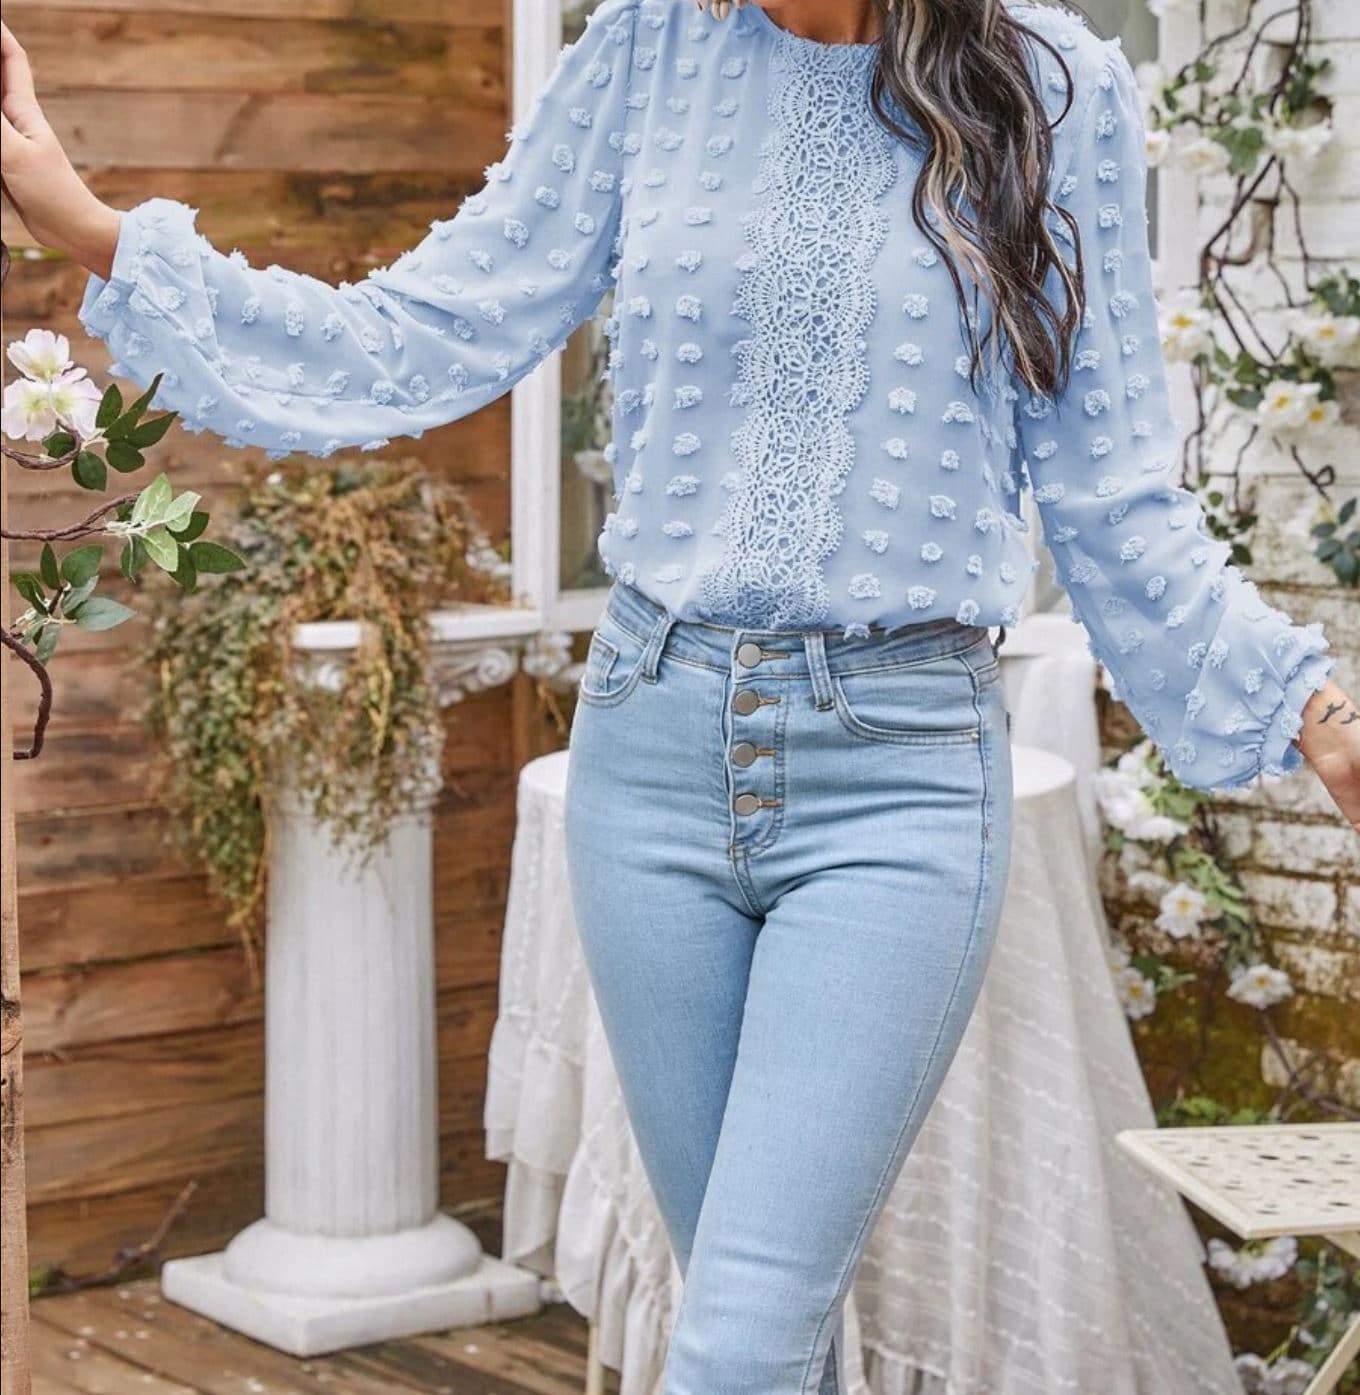
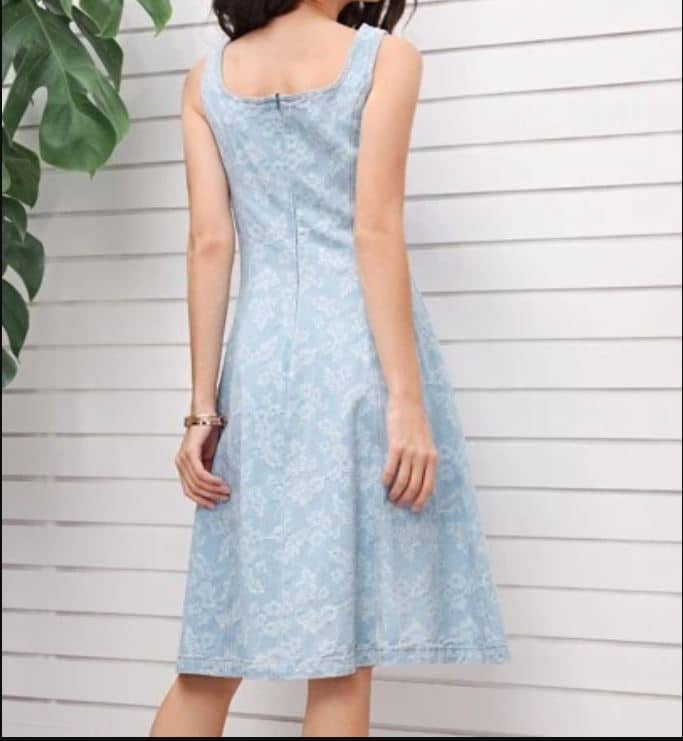
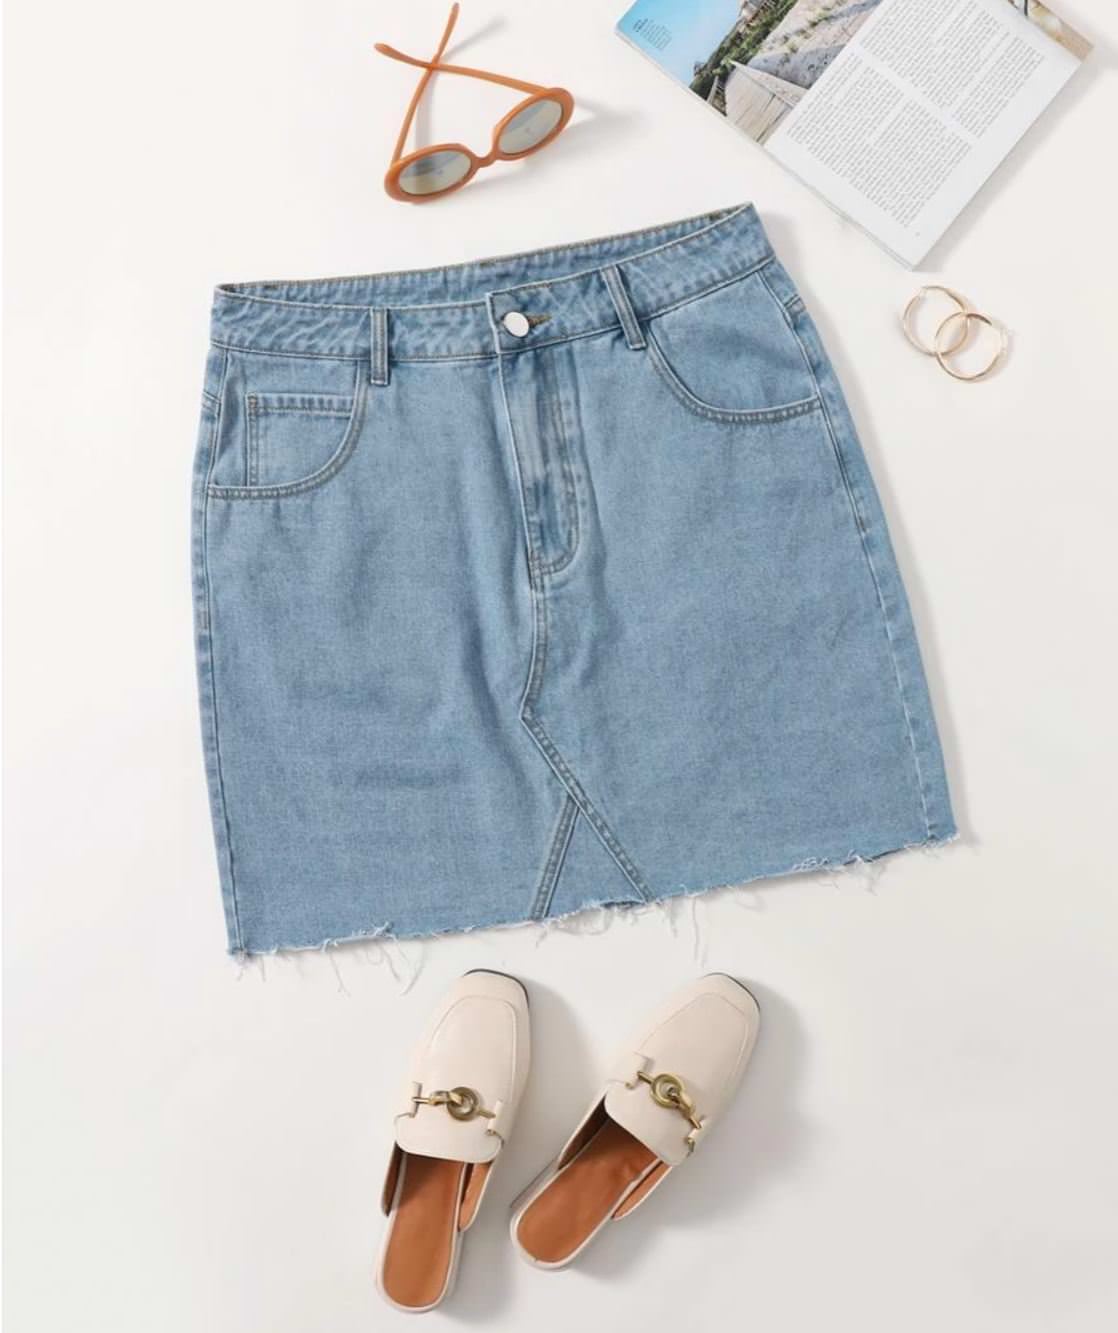
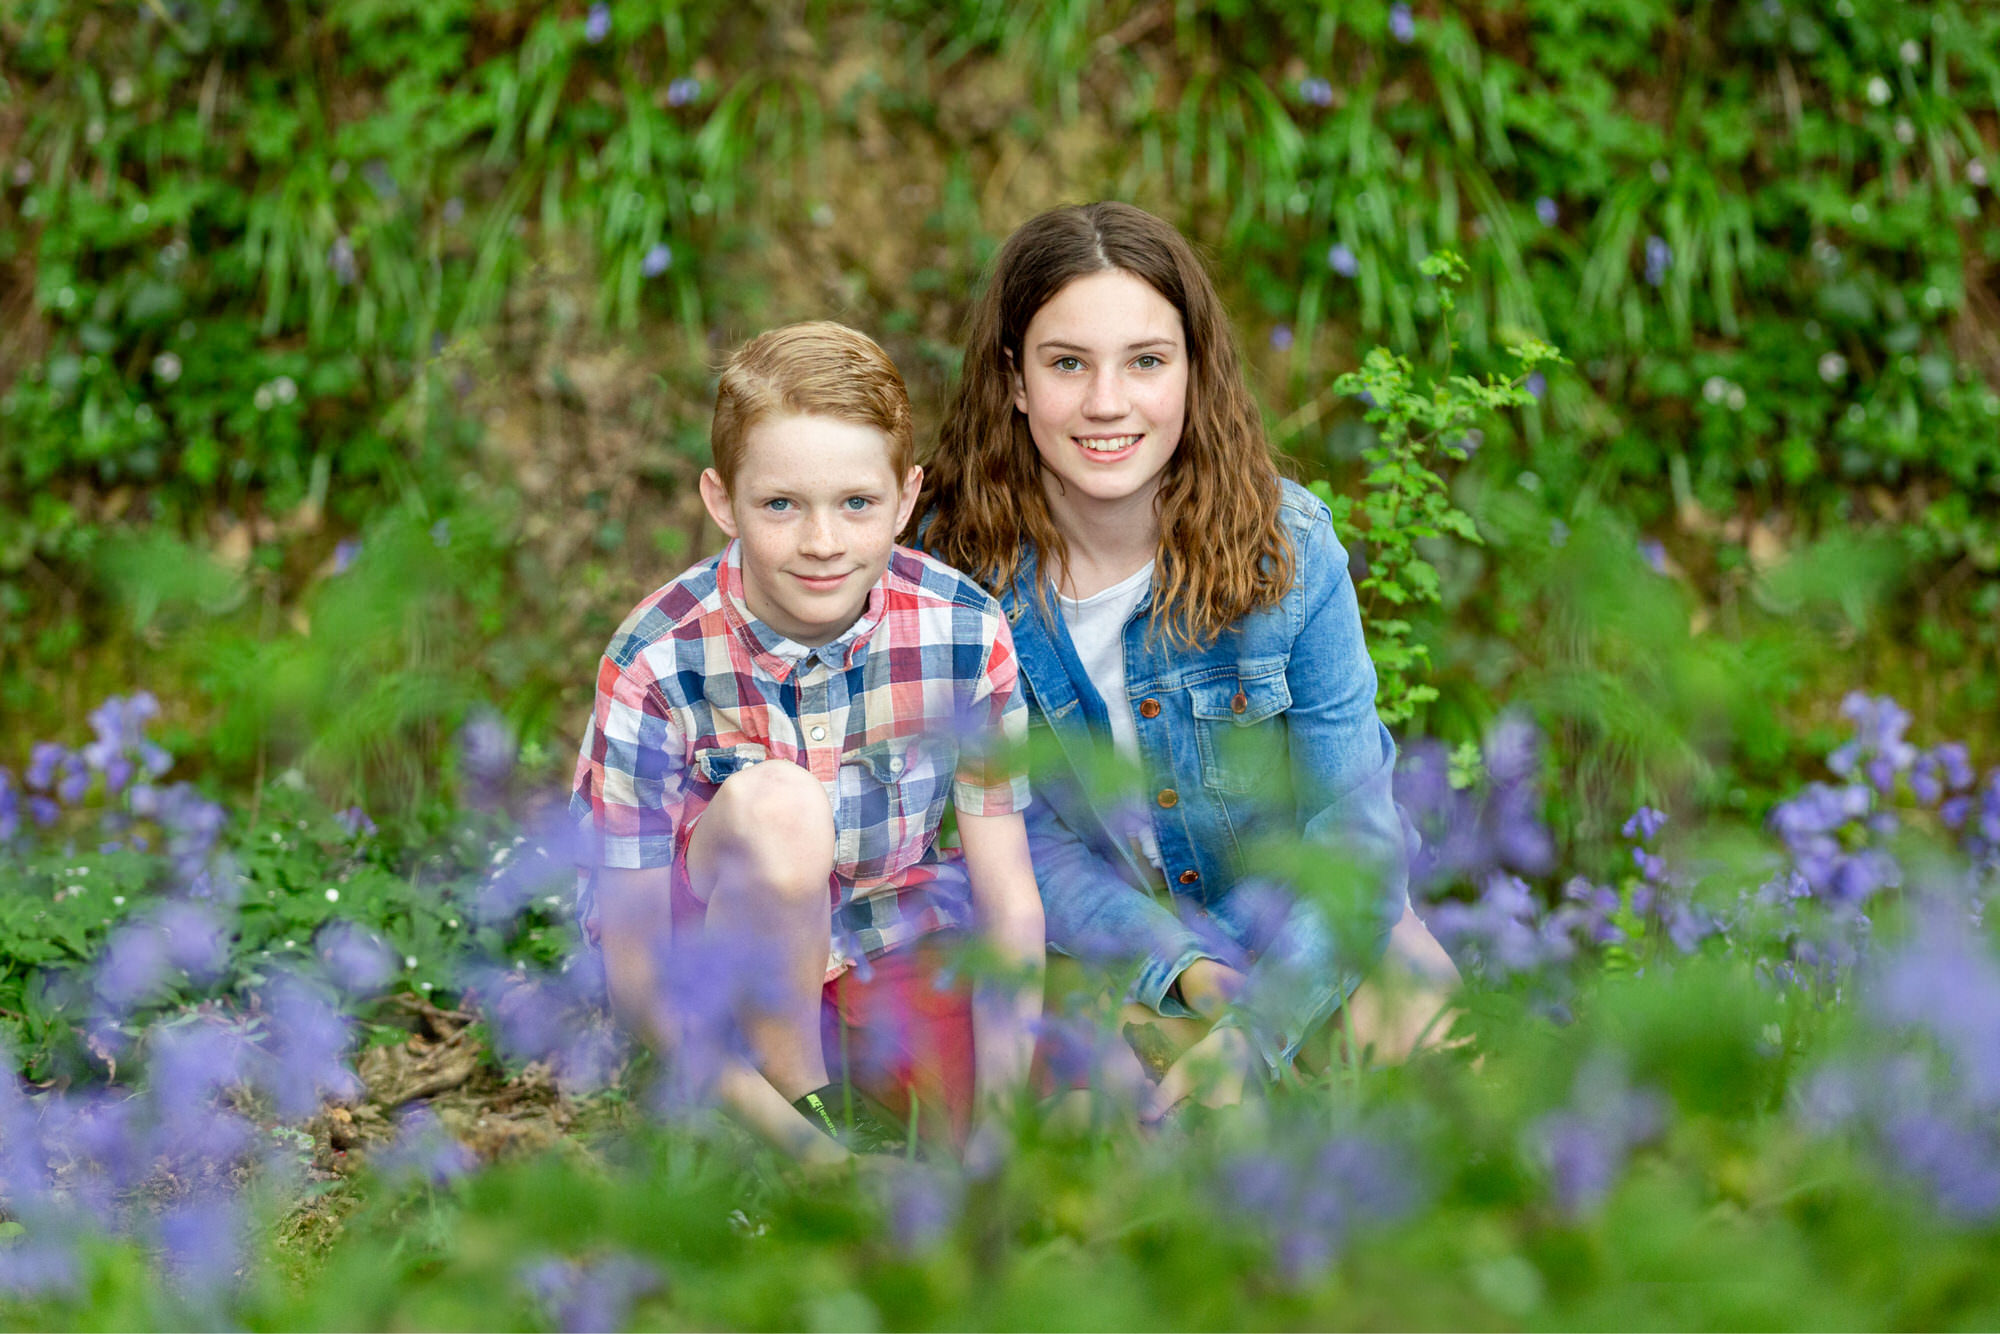
What to wear for a bluebell photo session doesn’t have to be stressful. It is about choosing one outfit and linking all of the rest.
I love neautral colours with one main colour. For example:
Blues, whites and tans.
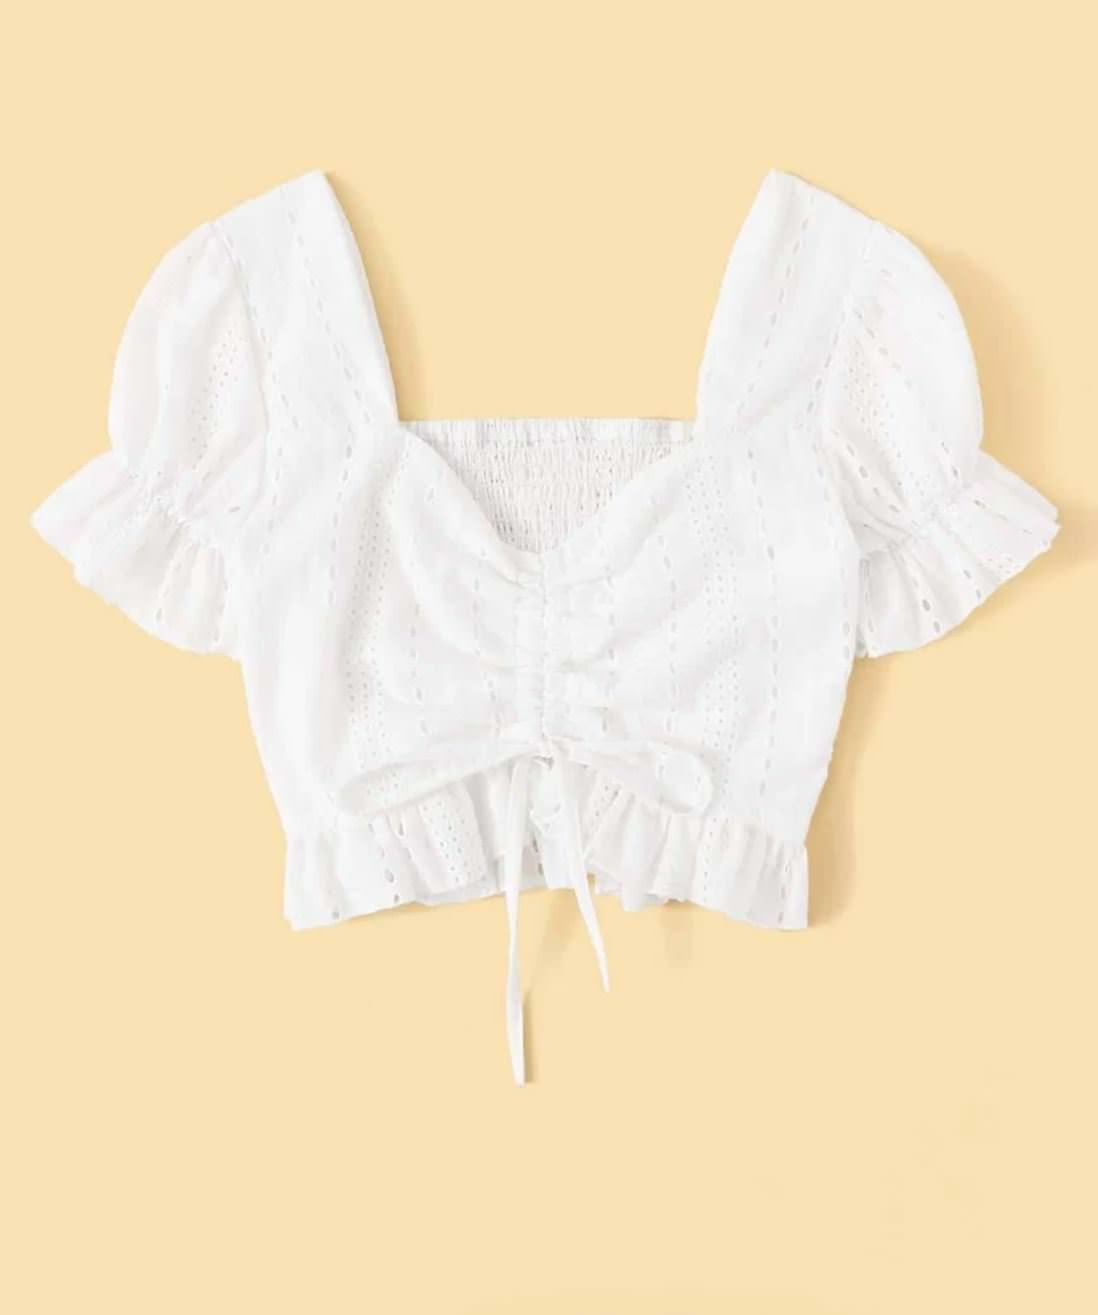
Yellow, blues and whites.
Burgendy and neautral colours etc
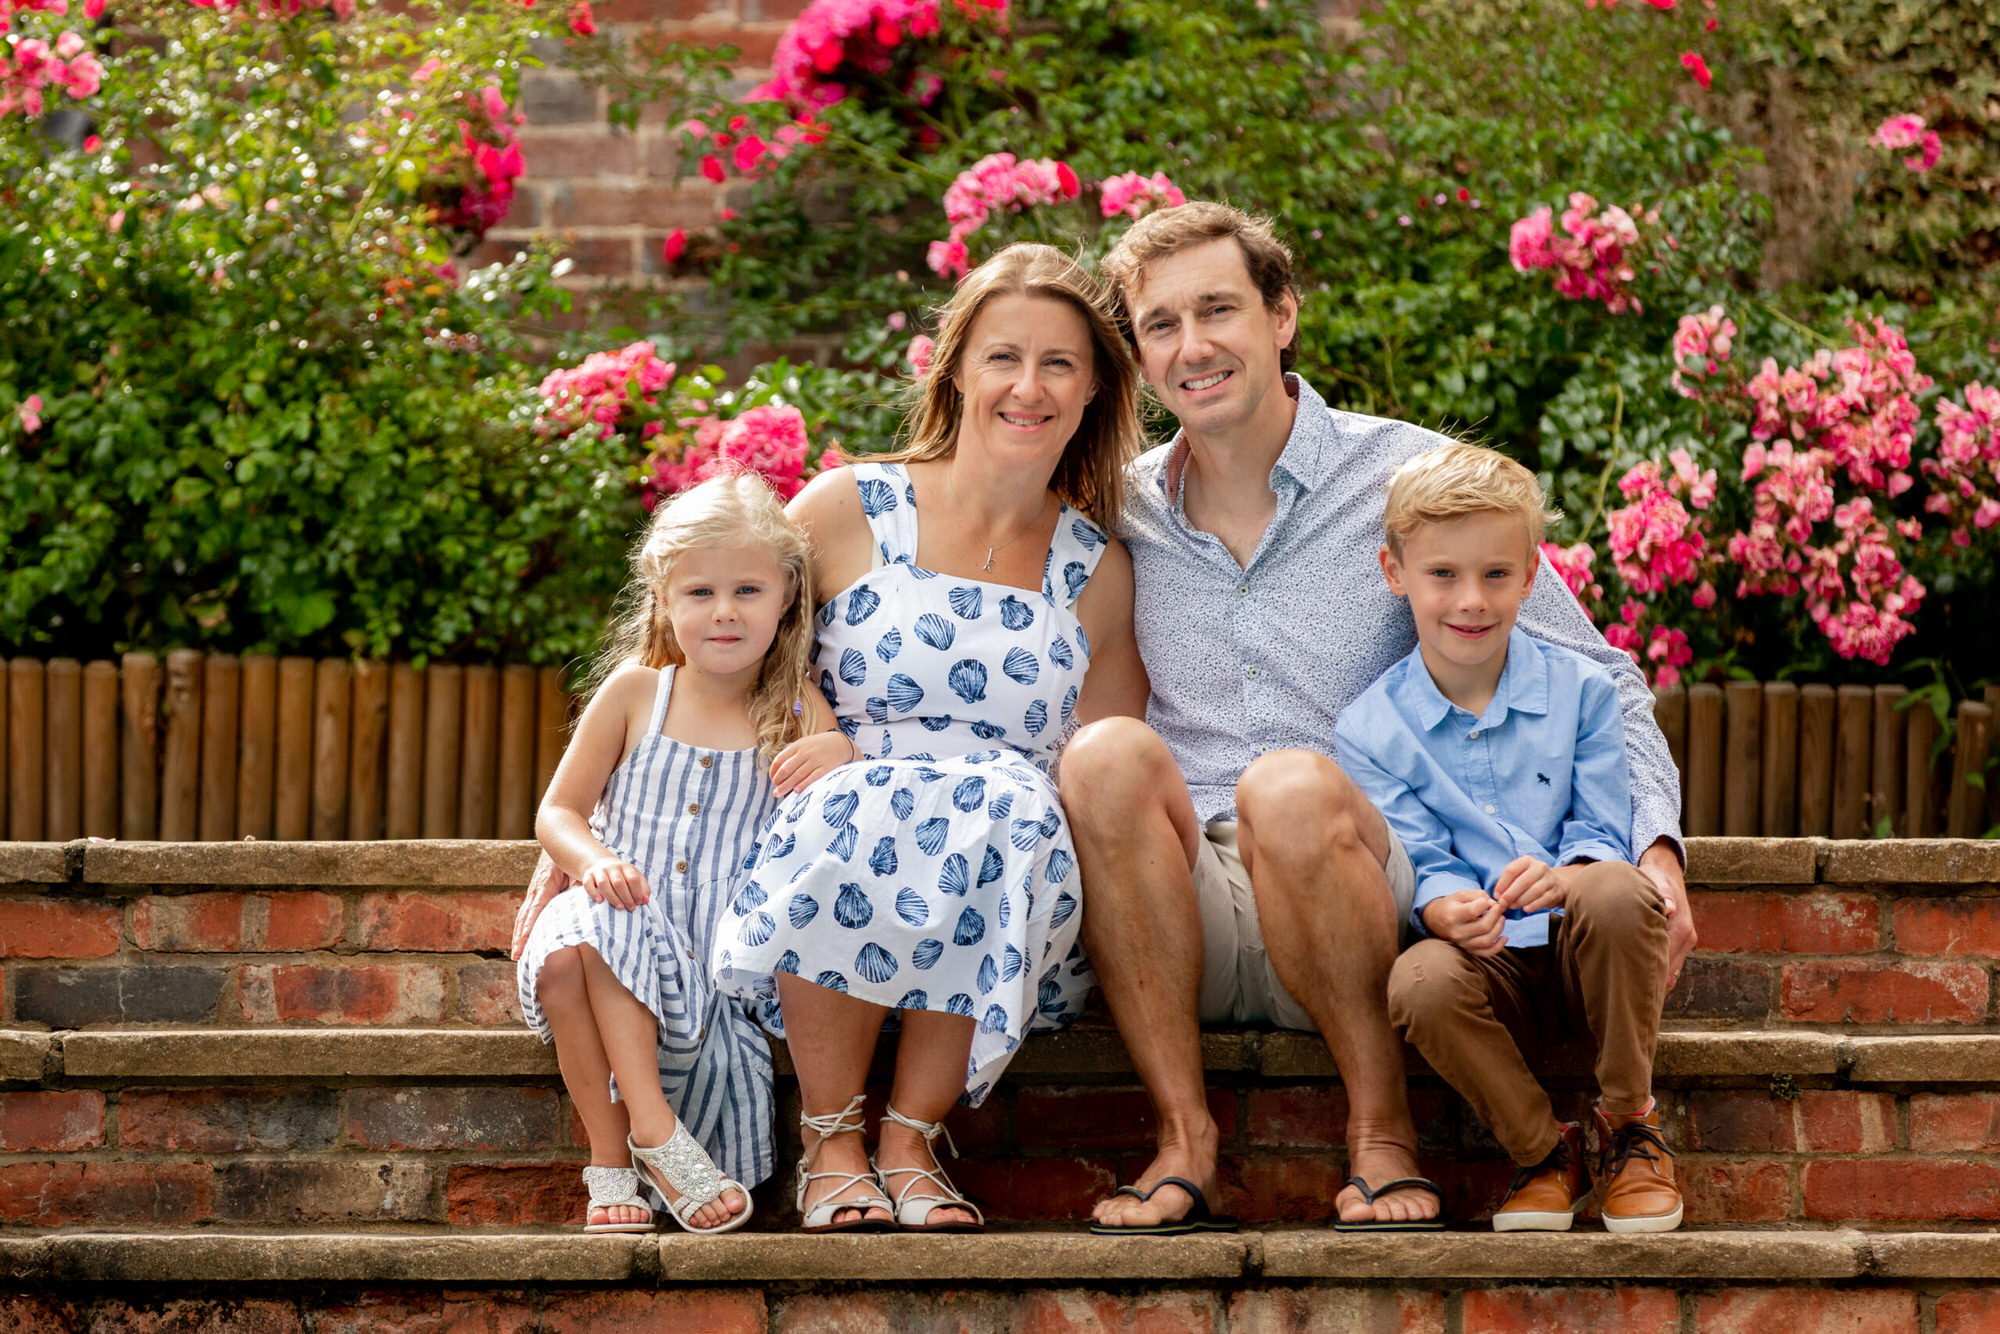
patterns or no patterns
It is also important to not have lots of different patterns. Ideally choose one small pattern and work the other outifts around this. For example, if dad wears a check shirt, pick colours from that to dress everyone else.
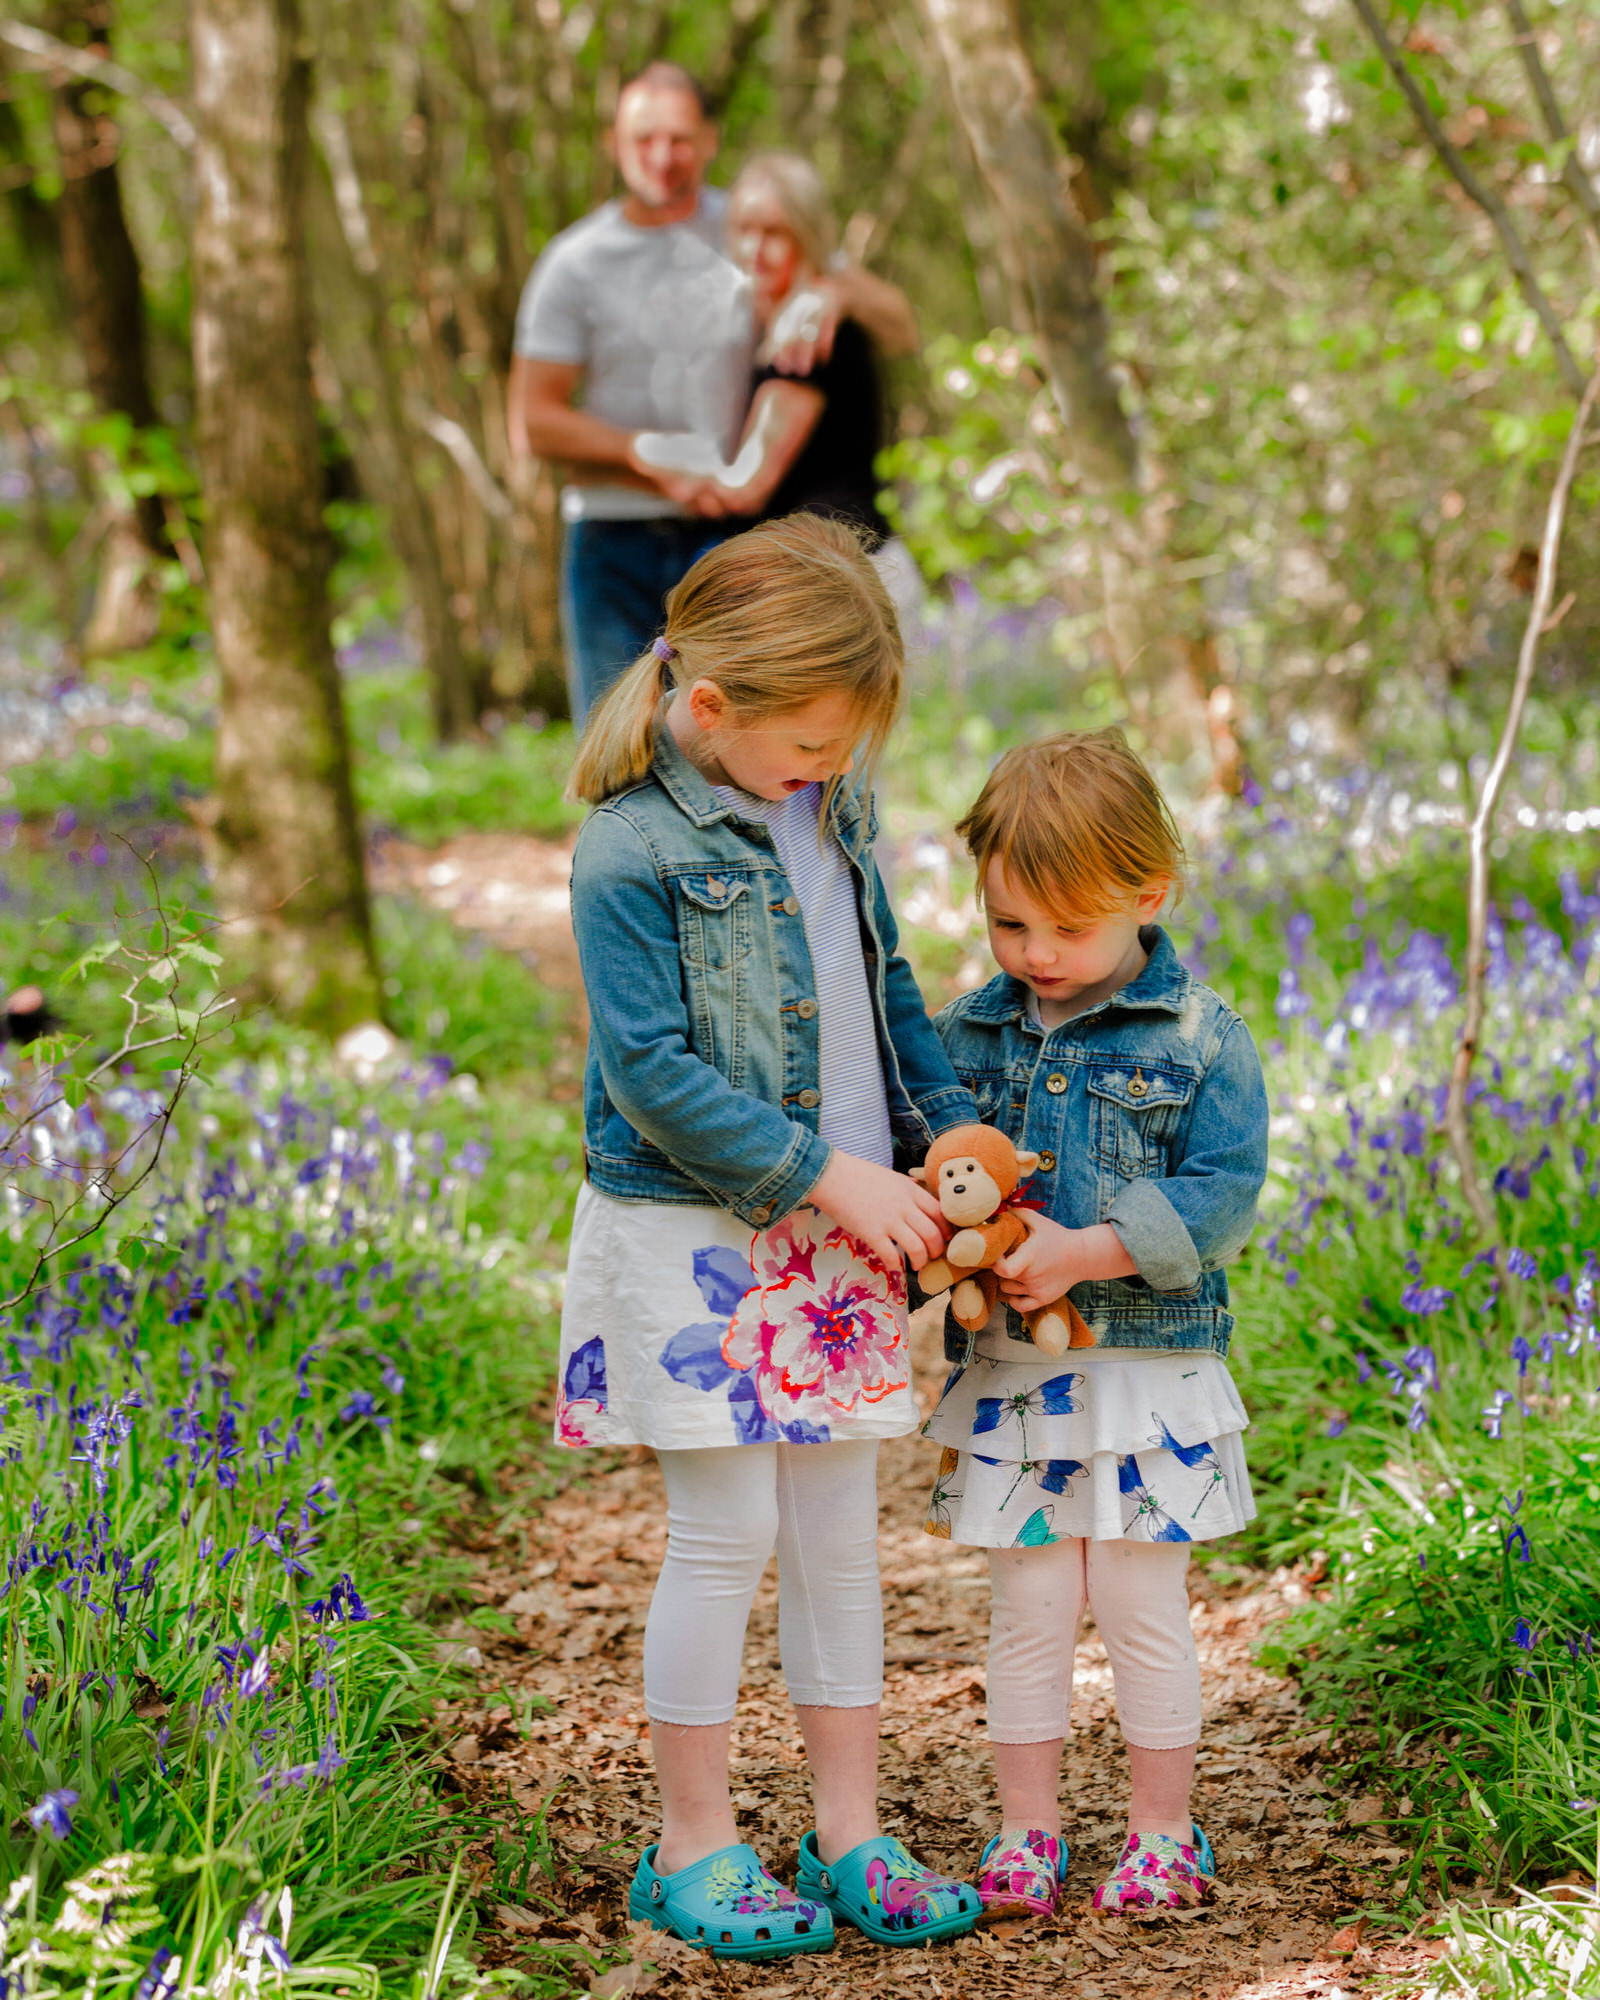
textures & accsesories
Textures also look fantastic when mixing outifts. Chunky knitwear and scarves can be a great addition.
Below I have chosen some outfits which will give you a few ideas…
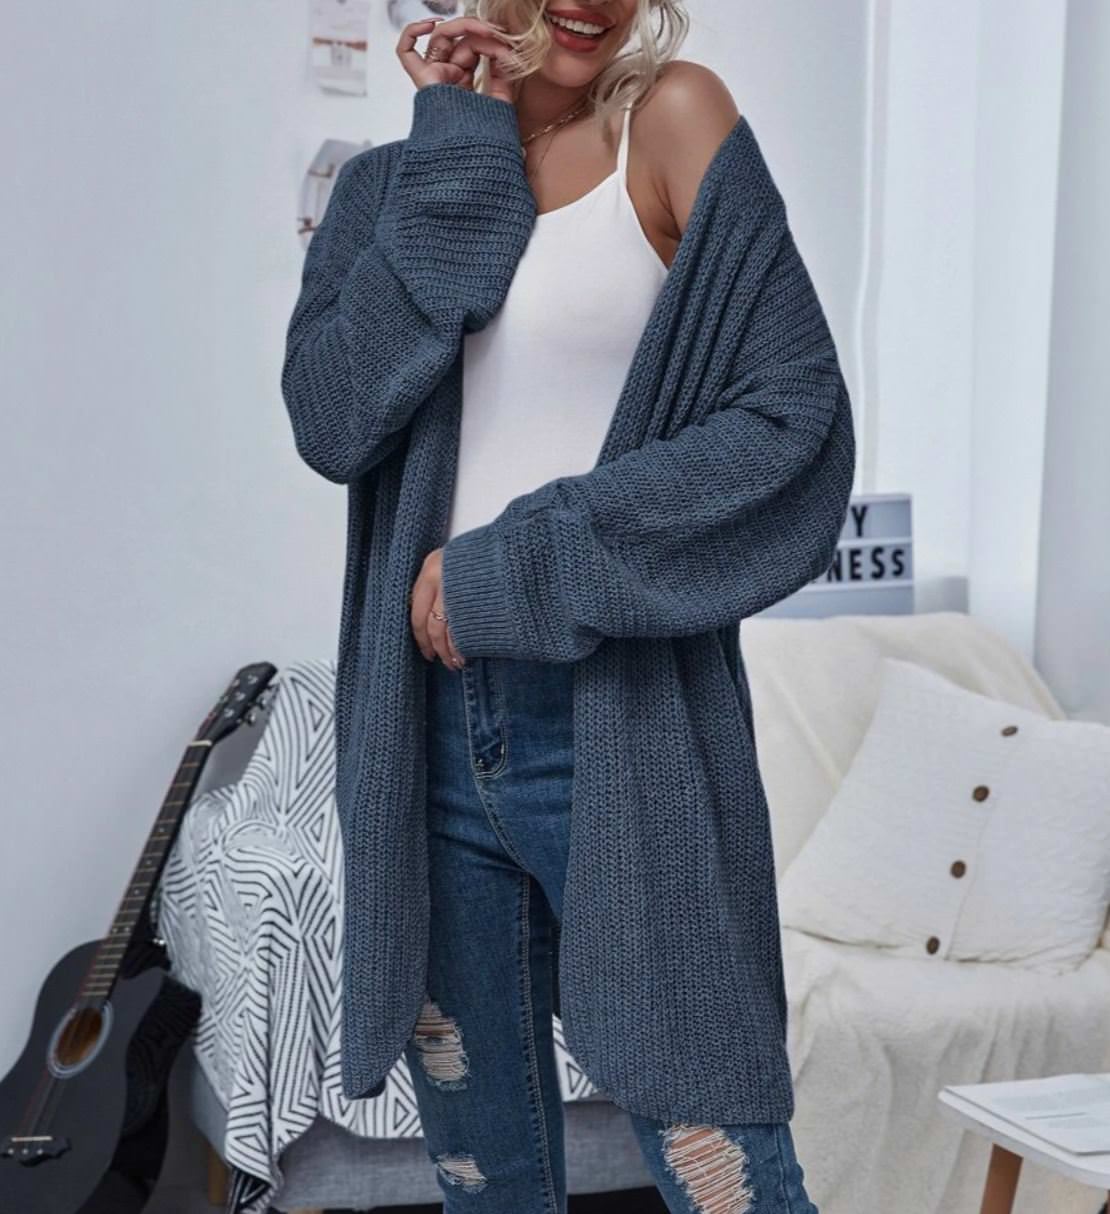
Shein has a wide range of outfits so I wanted to find something that would look great but would also link with the rest of the family.
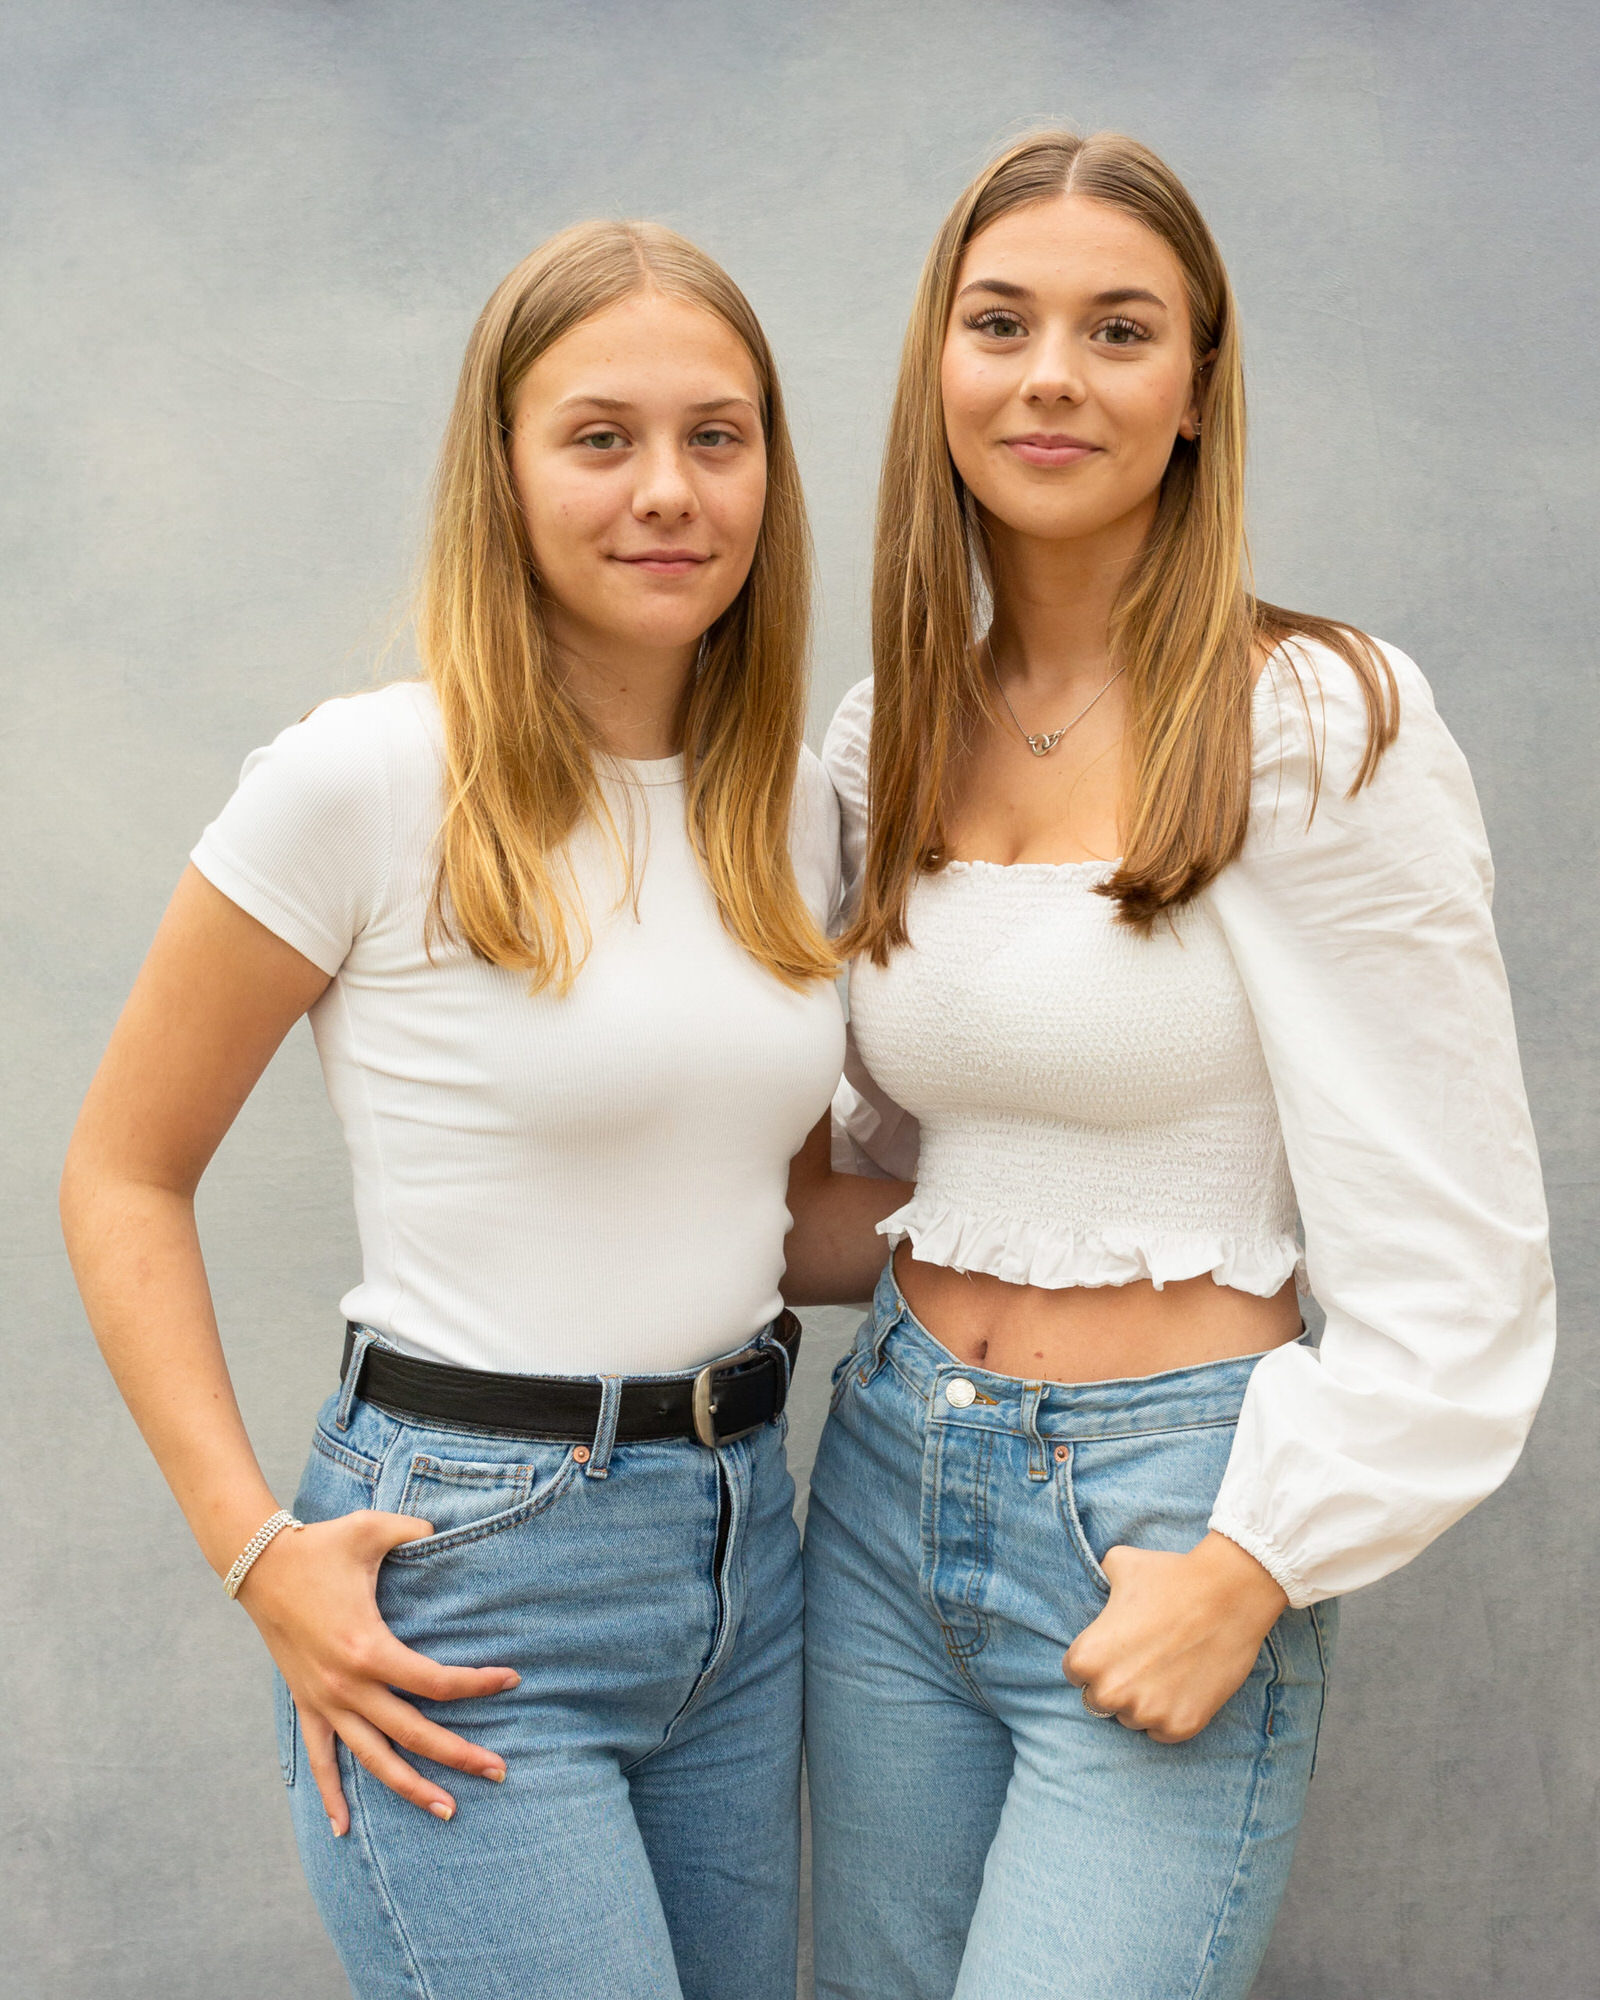
Lots of teenage girls currently like to show off some skin, so I decided to included some chunky over sized cardigans, to give an elegant look. These can also be paired up with crop tops or shorter skirts.
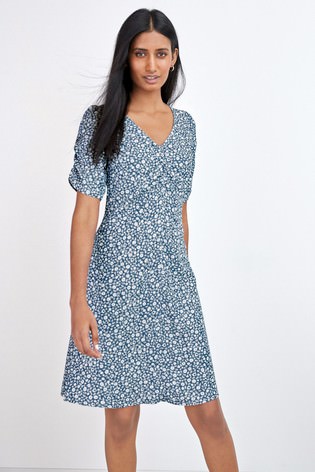
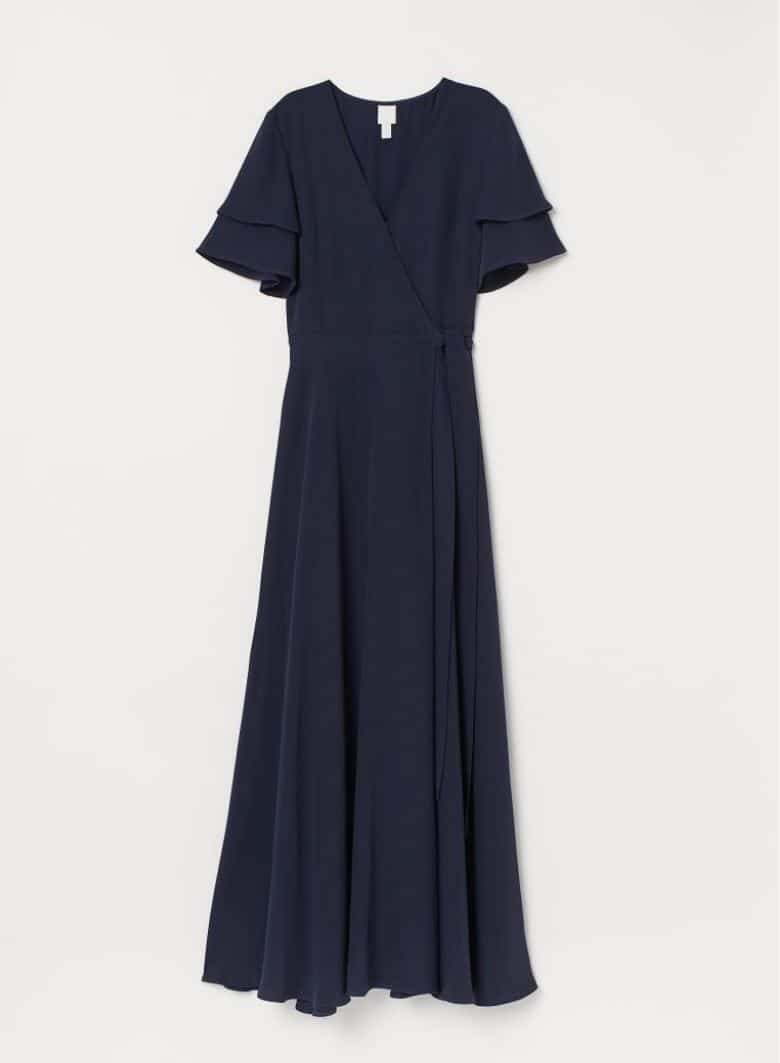
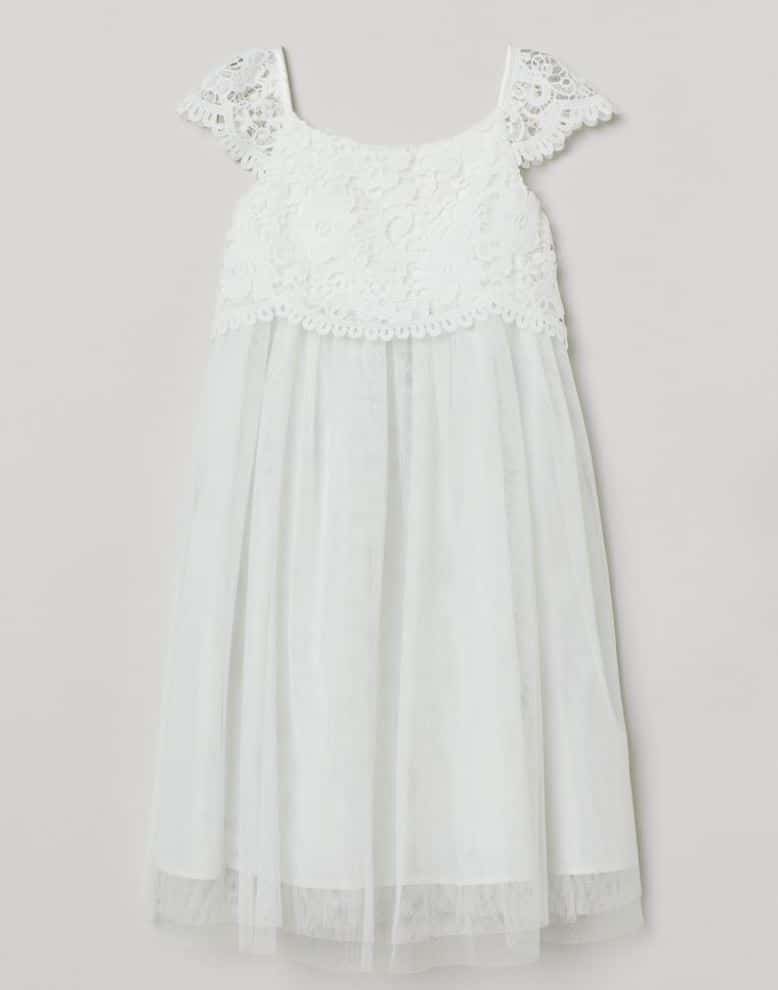
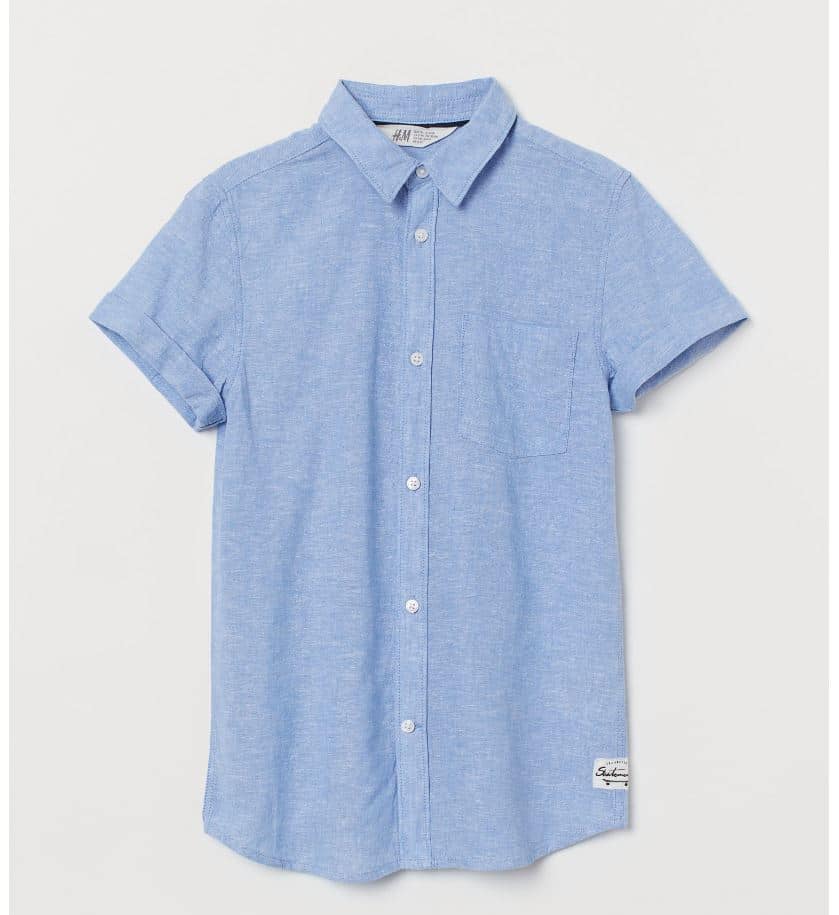
whereas for younger girls i went to h&m
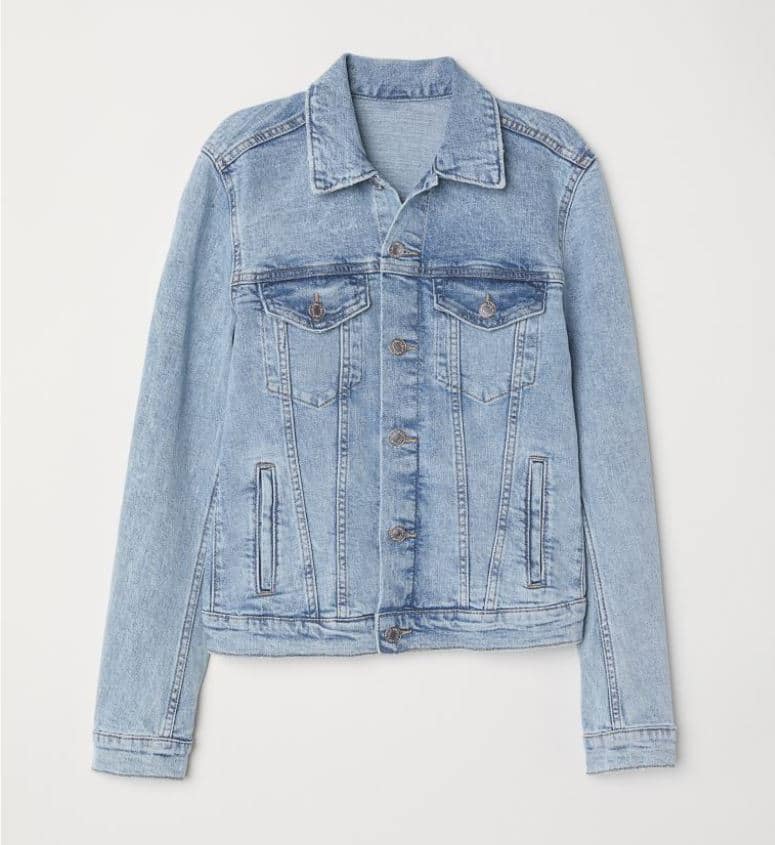
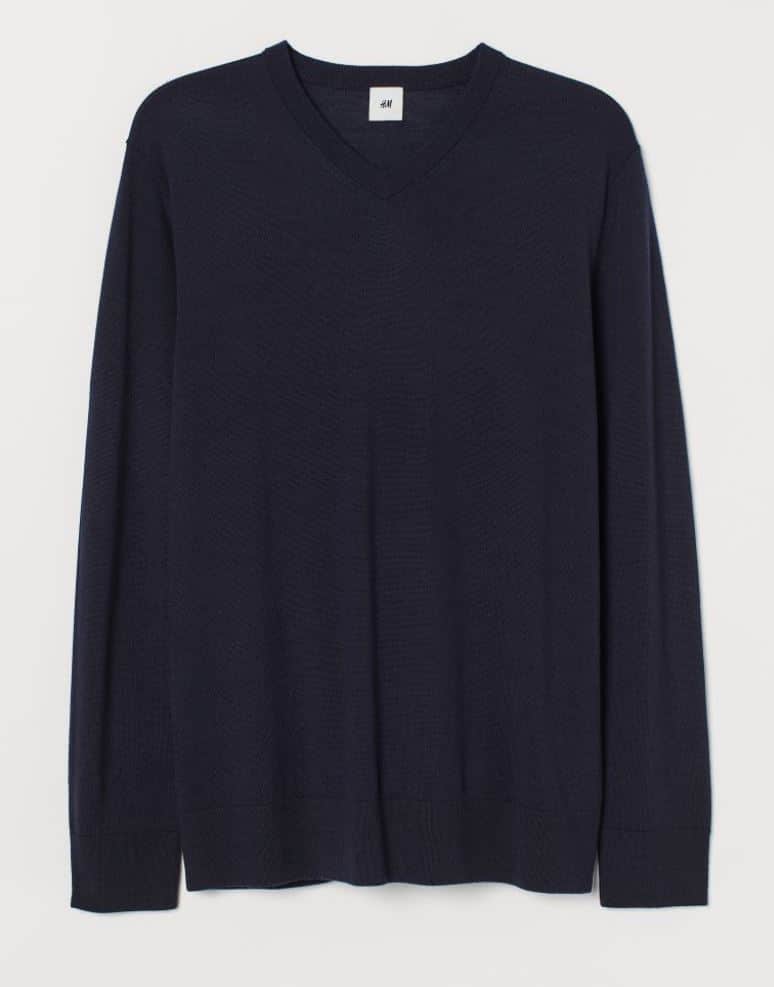
and the boys, i also stayed at h&m
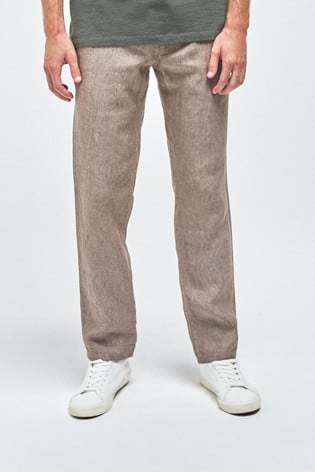
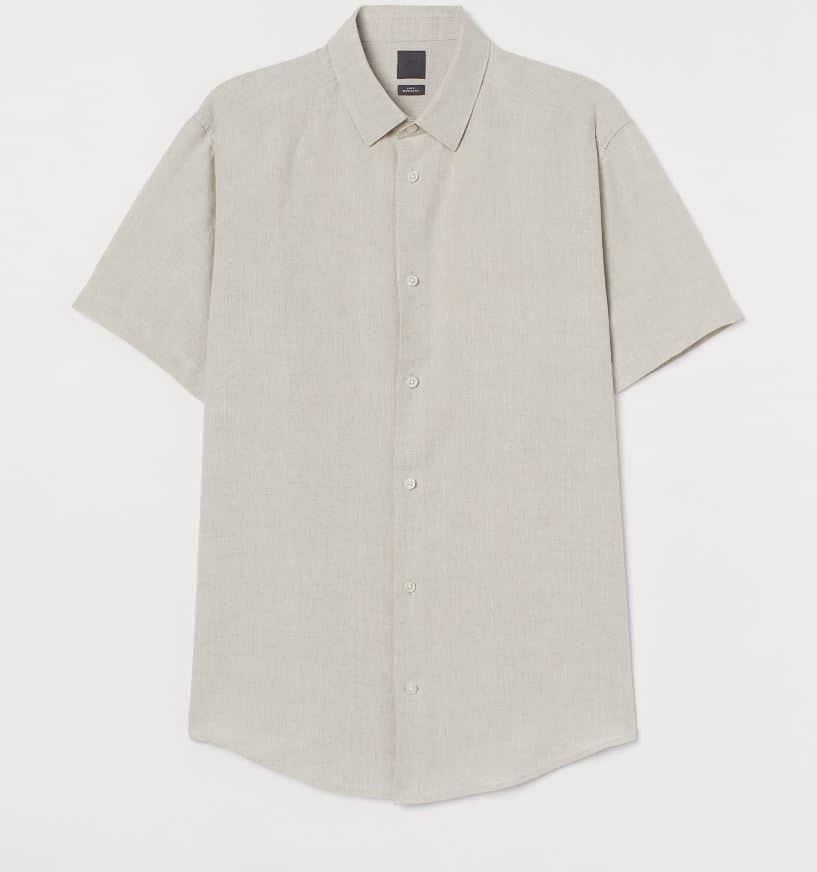
For the males, their outifts are pretty similar as linen trousers or chinos look great on them both. Paired with a linen shirt or jumper and they look gorgeous. Younger boys can even be in a smart pair of shorts with braces.
I really hope this has given you a few ideas about what to wear for a bluebell photo session but please do get in touch if you have any more questions. You can even visit my Pinterestpage for a few more ideas.
For more information on a family photo session please head over to my family sessions page by clicking HERE
Lockdown for photographers has meant we’ve had a crazy year with very little work. Being a non essential business we had to close down early and still aren’t open.
lockdown life..
In amongst home-schooling, providing snacks, entertaining my children, walking the dog, updating my website and keeping the house from turning into a complete bomb sight, I decided to enter some of my photos to a very prestigious photography competition.
what is the portrait masters award?
.
Sue Bryce is one of the worlds biggest names in portrait photography and her work is AMAZING! As a photographer trainer, The Portrait Masters Award was created to allow photographers to submit their work to be judged by a panel of international expert judges. Enabling them the chance to win prizes, accreditation points, and awards. The accreditation program, is for portrait photographers of all genres and is recognition of ‘high professional standard.’To find out more about this award please click HERE to visit Sue Bryce Education website.
why enter?
Entering competitions is a great way to help us grow and rather than competing against other photographers. It is about improving your own ability.
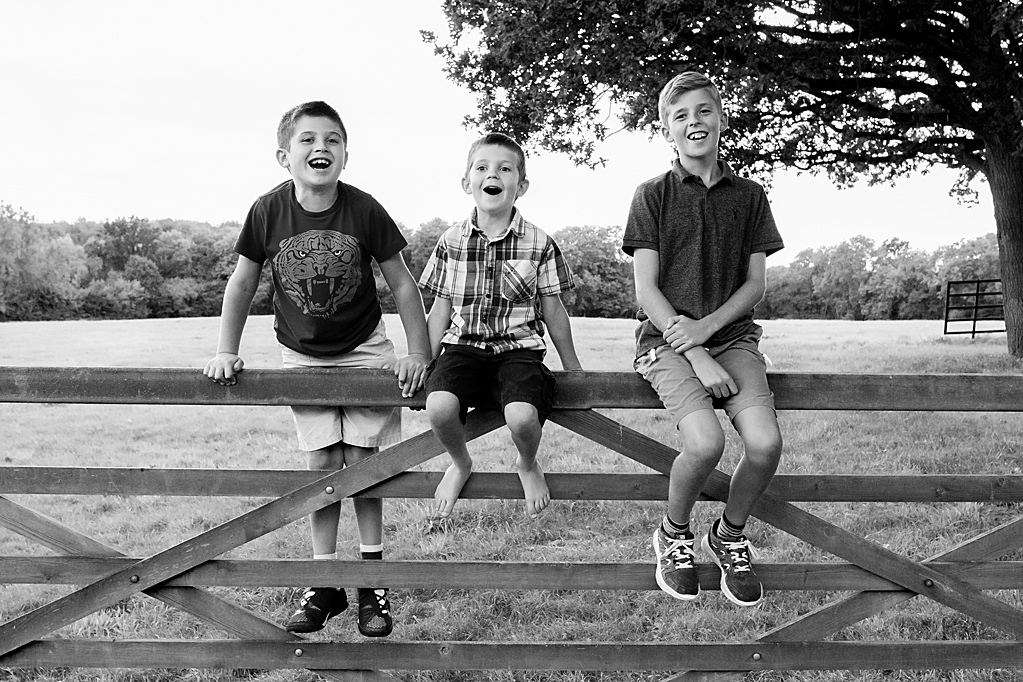
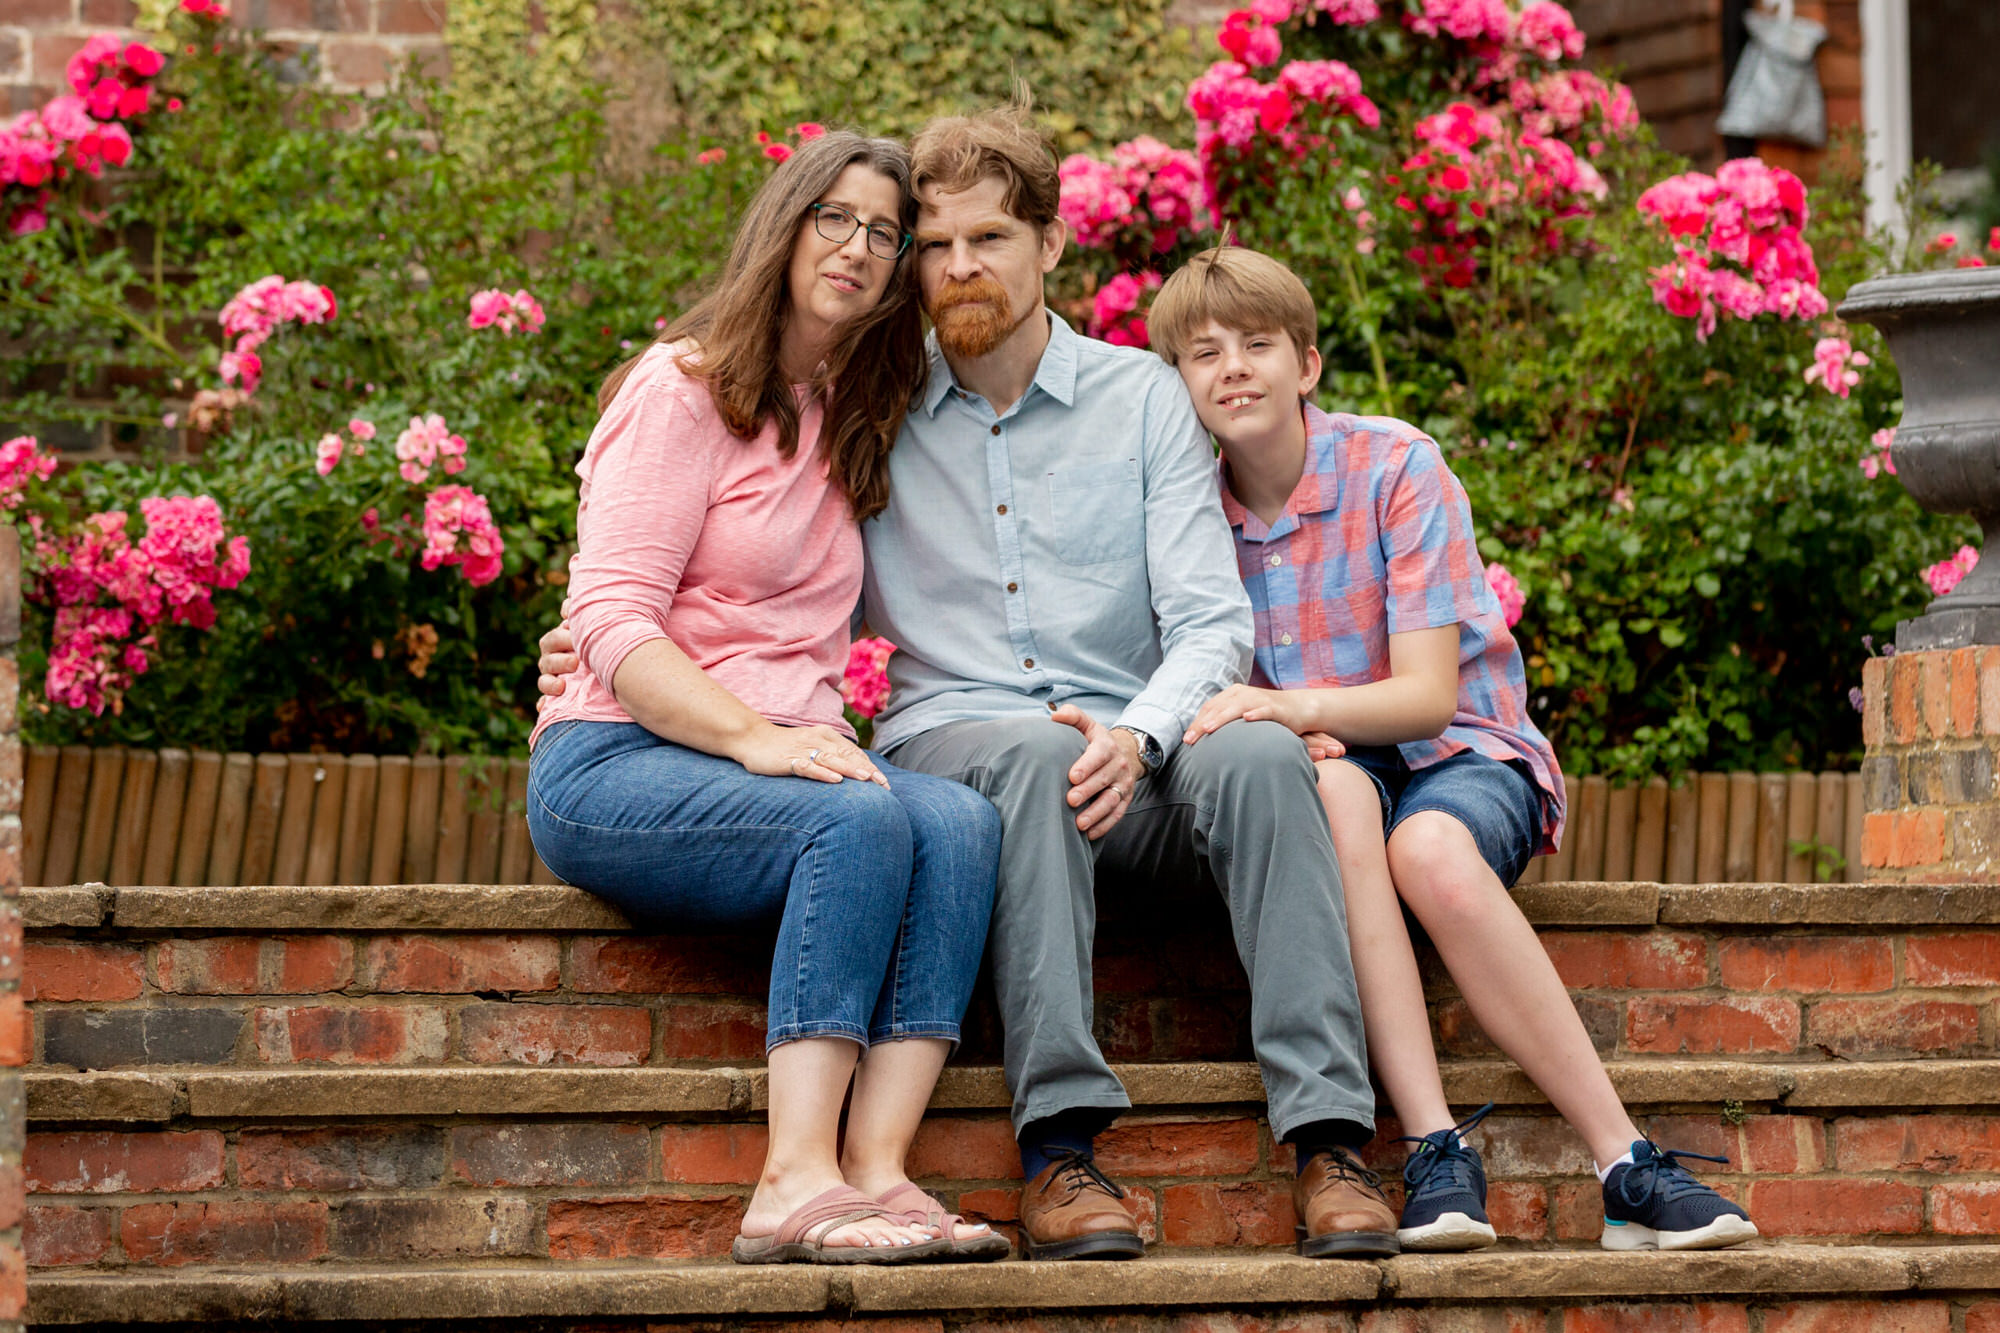
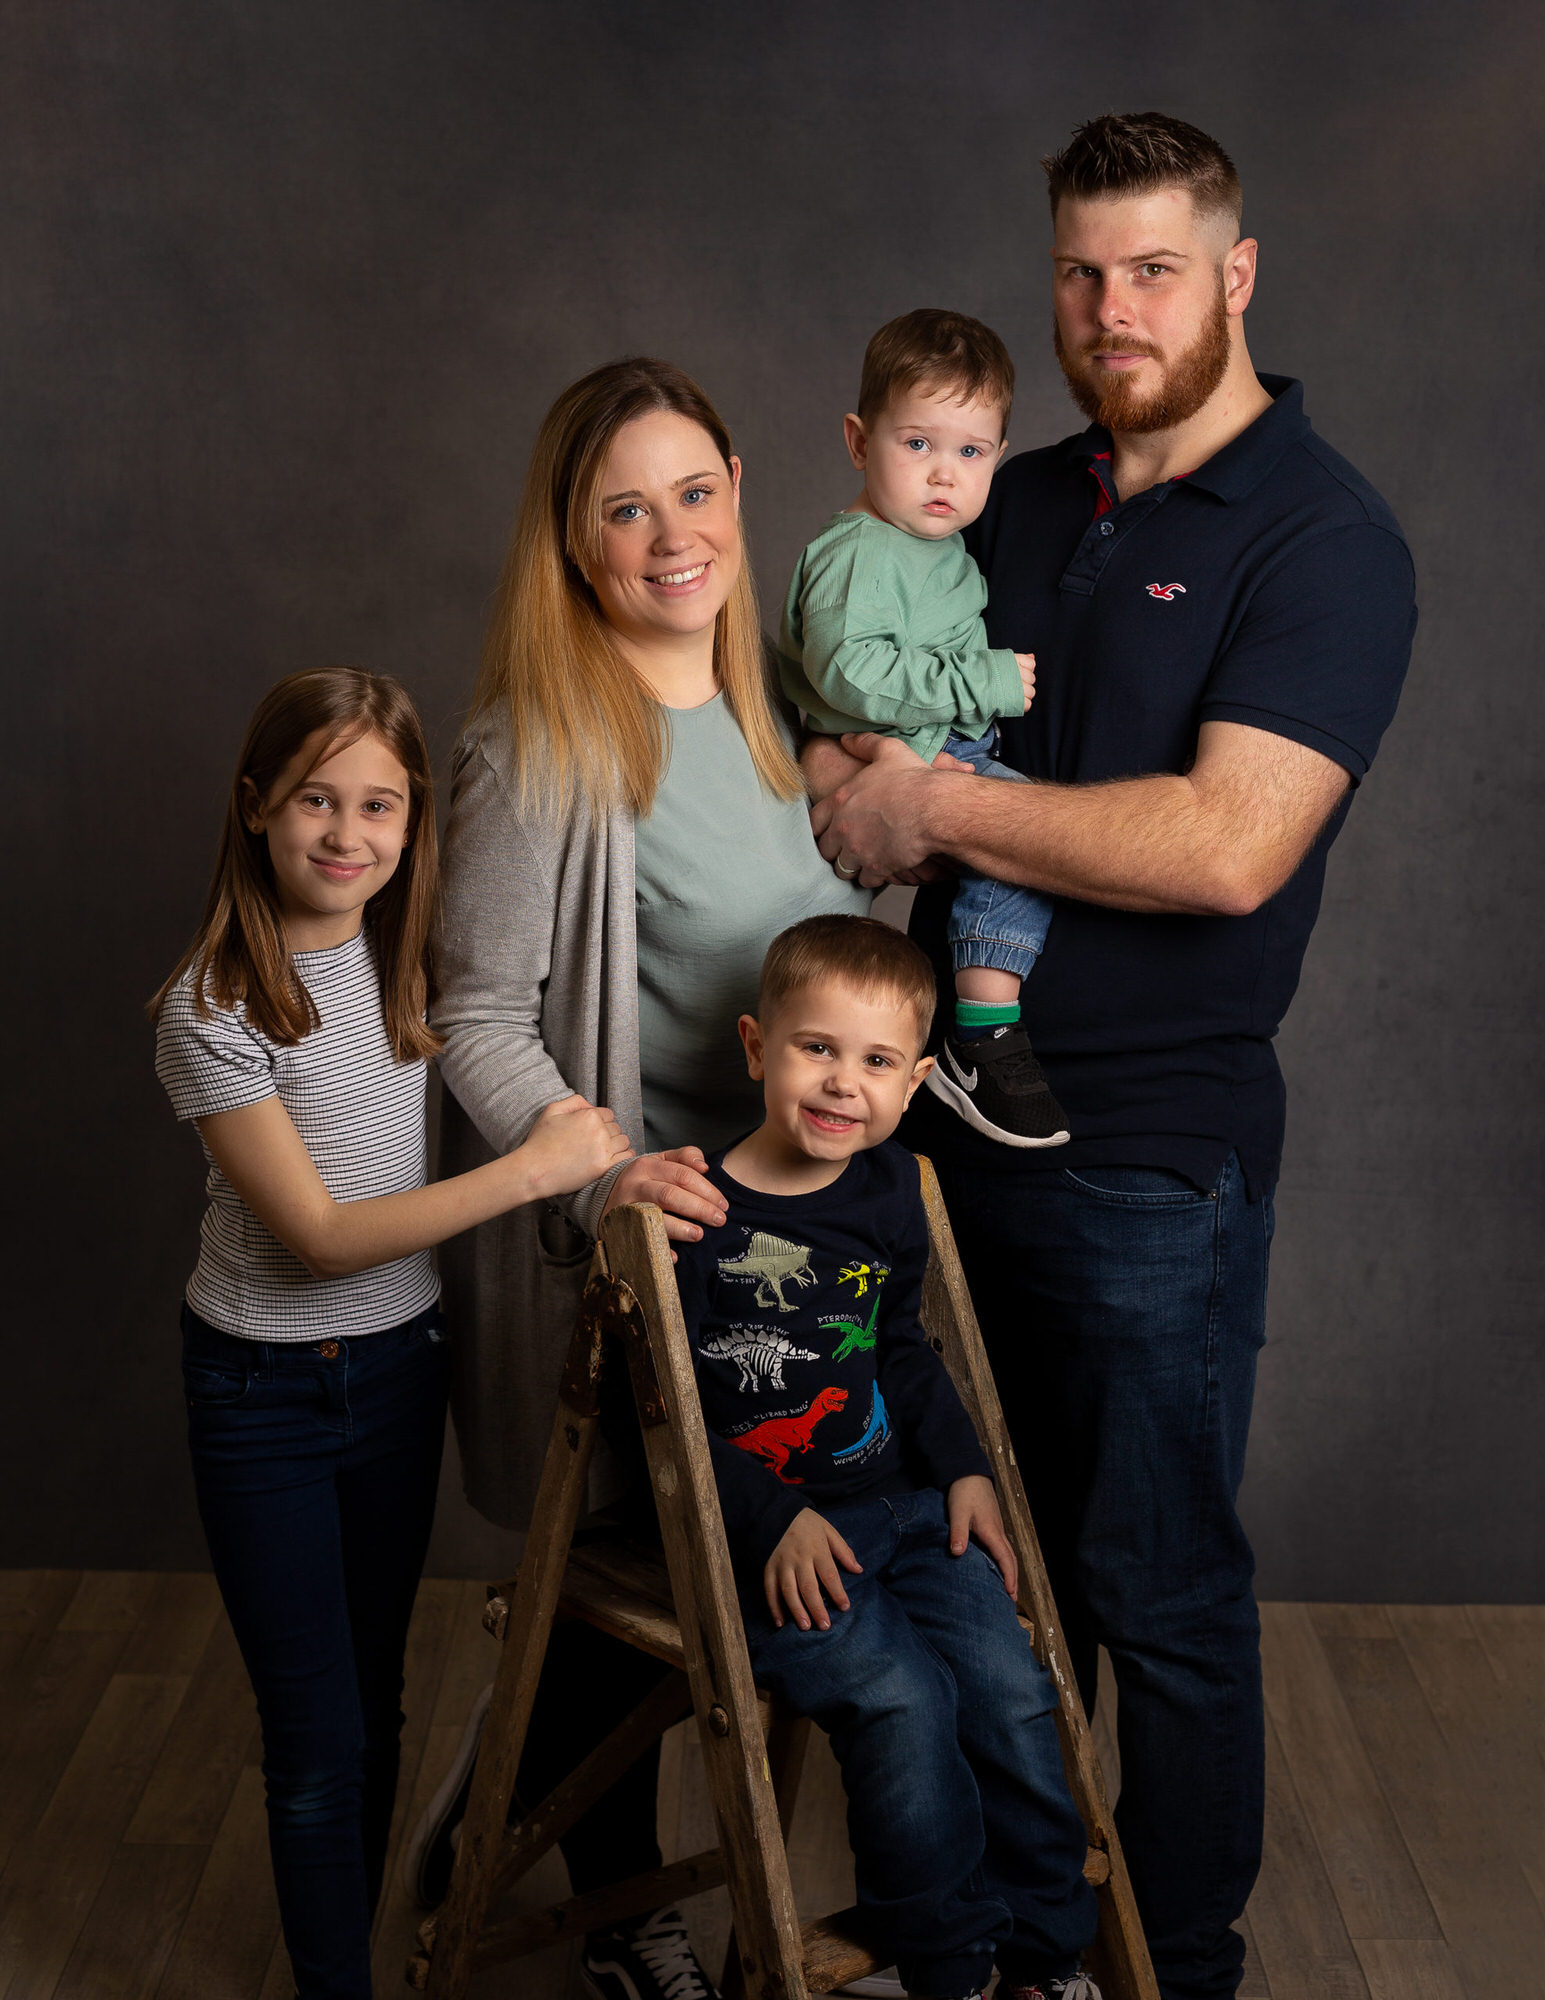
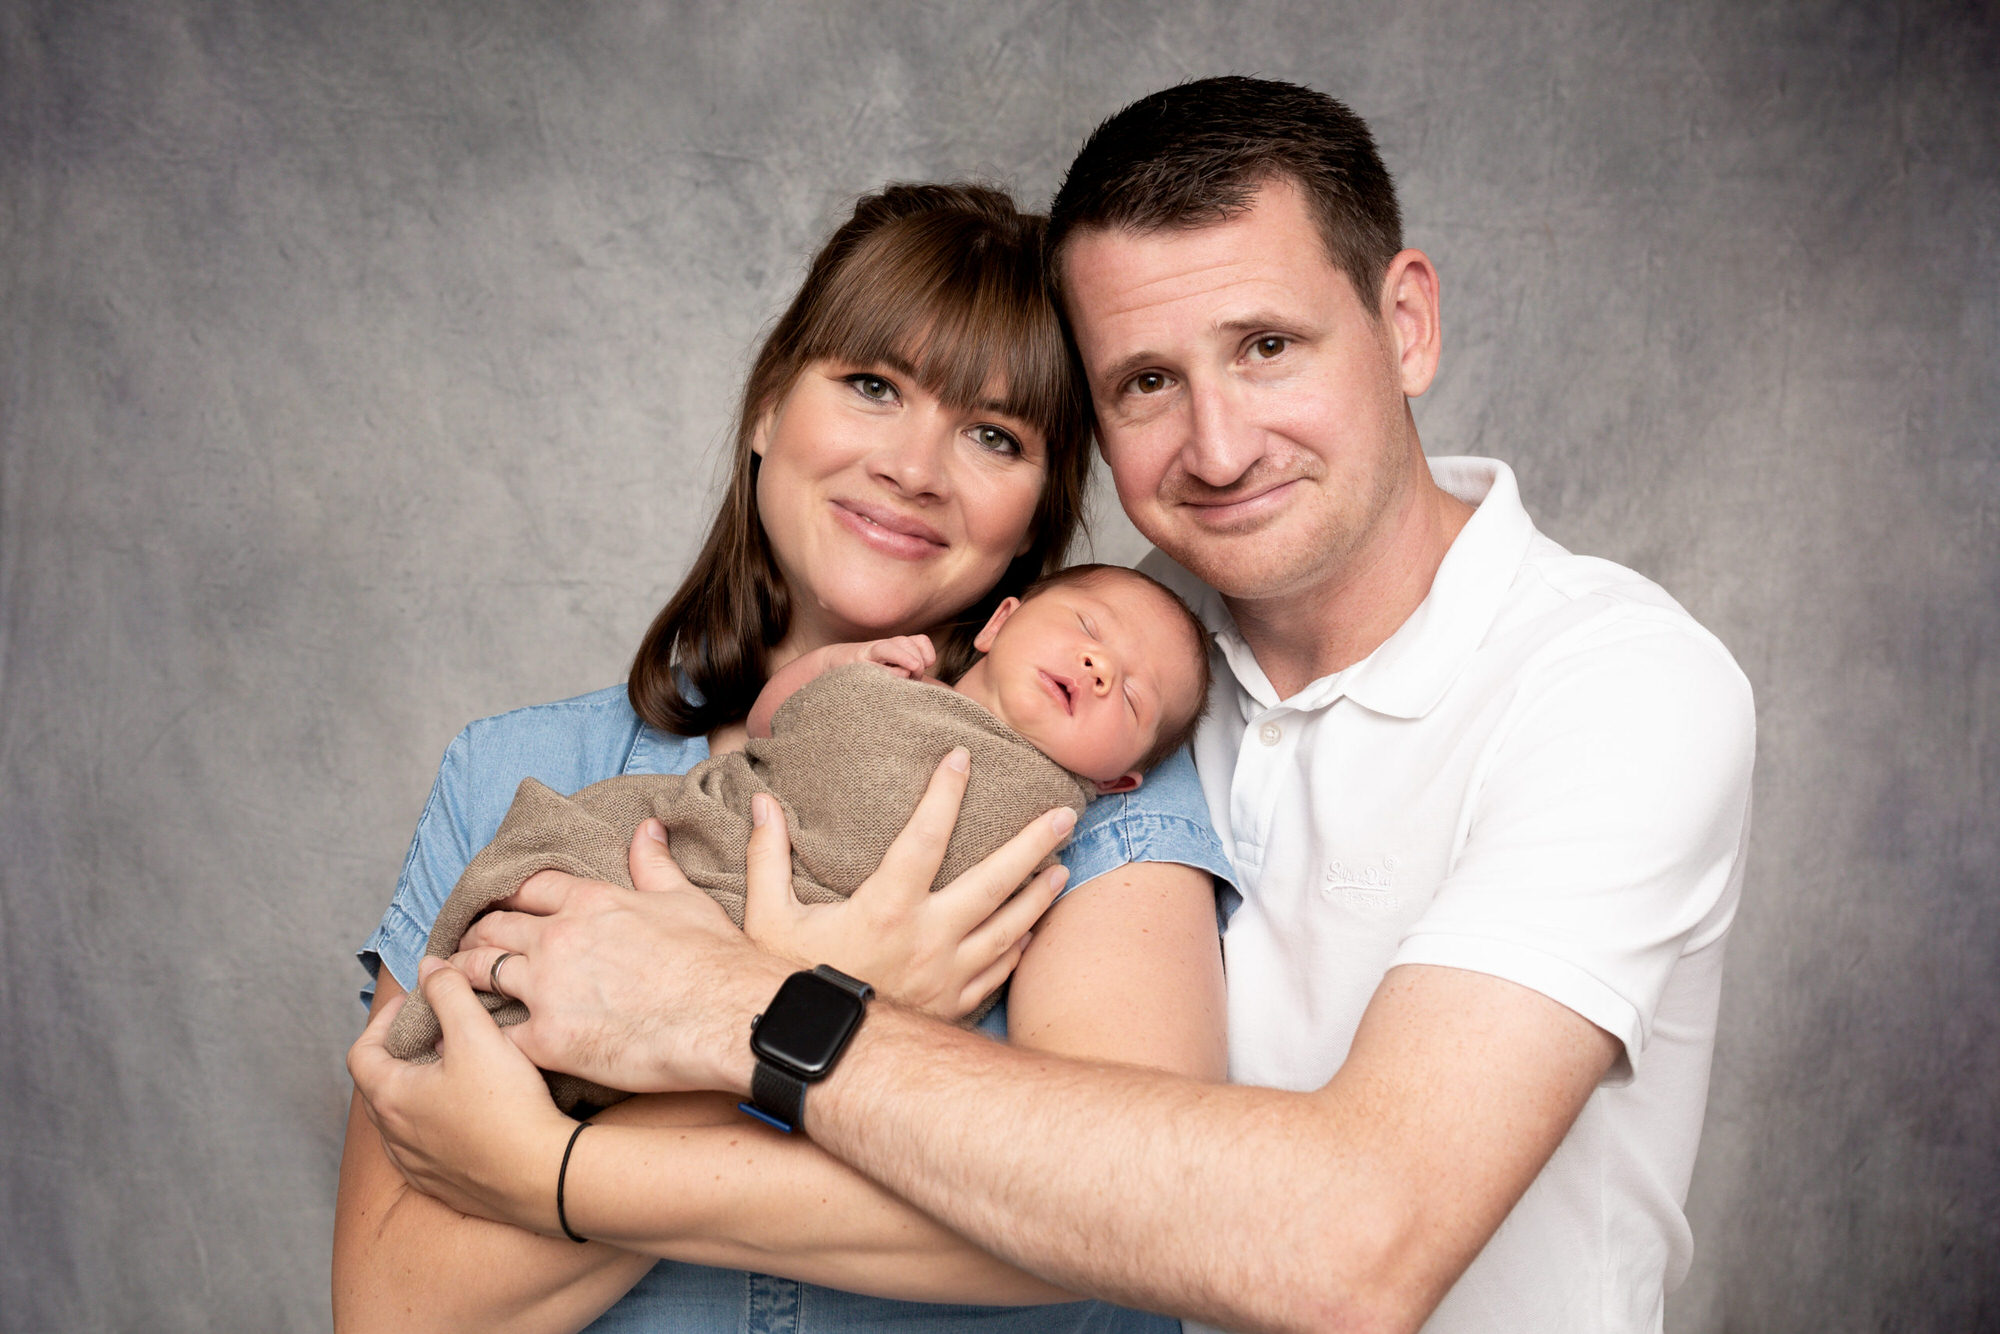
Photographing a family is about capturing a feeling. To me, it’s more about the love between a family and spending time together. Recording a precious moment in time. It’s not about getting the perfect pose, it’s about your family connection. Capturing YOU together and creating a memory for you, to look back on with happiness!
Whereas, for a competition all the details need to be perfect, right down to the smallest part.
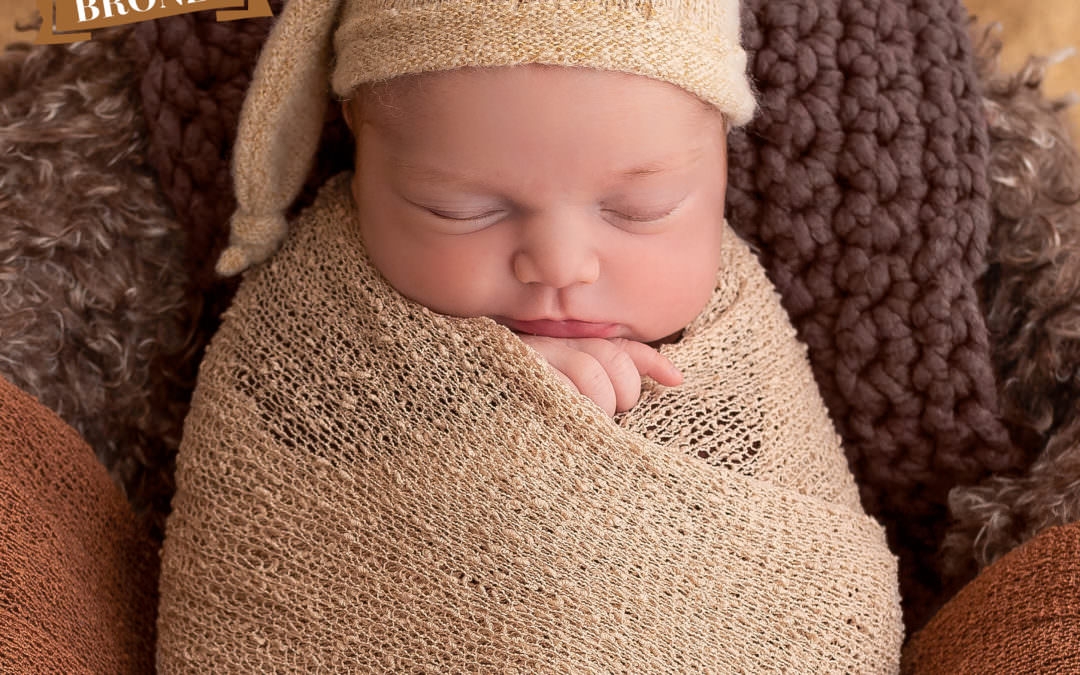
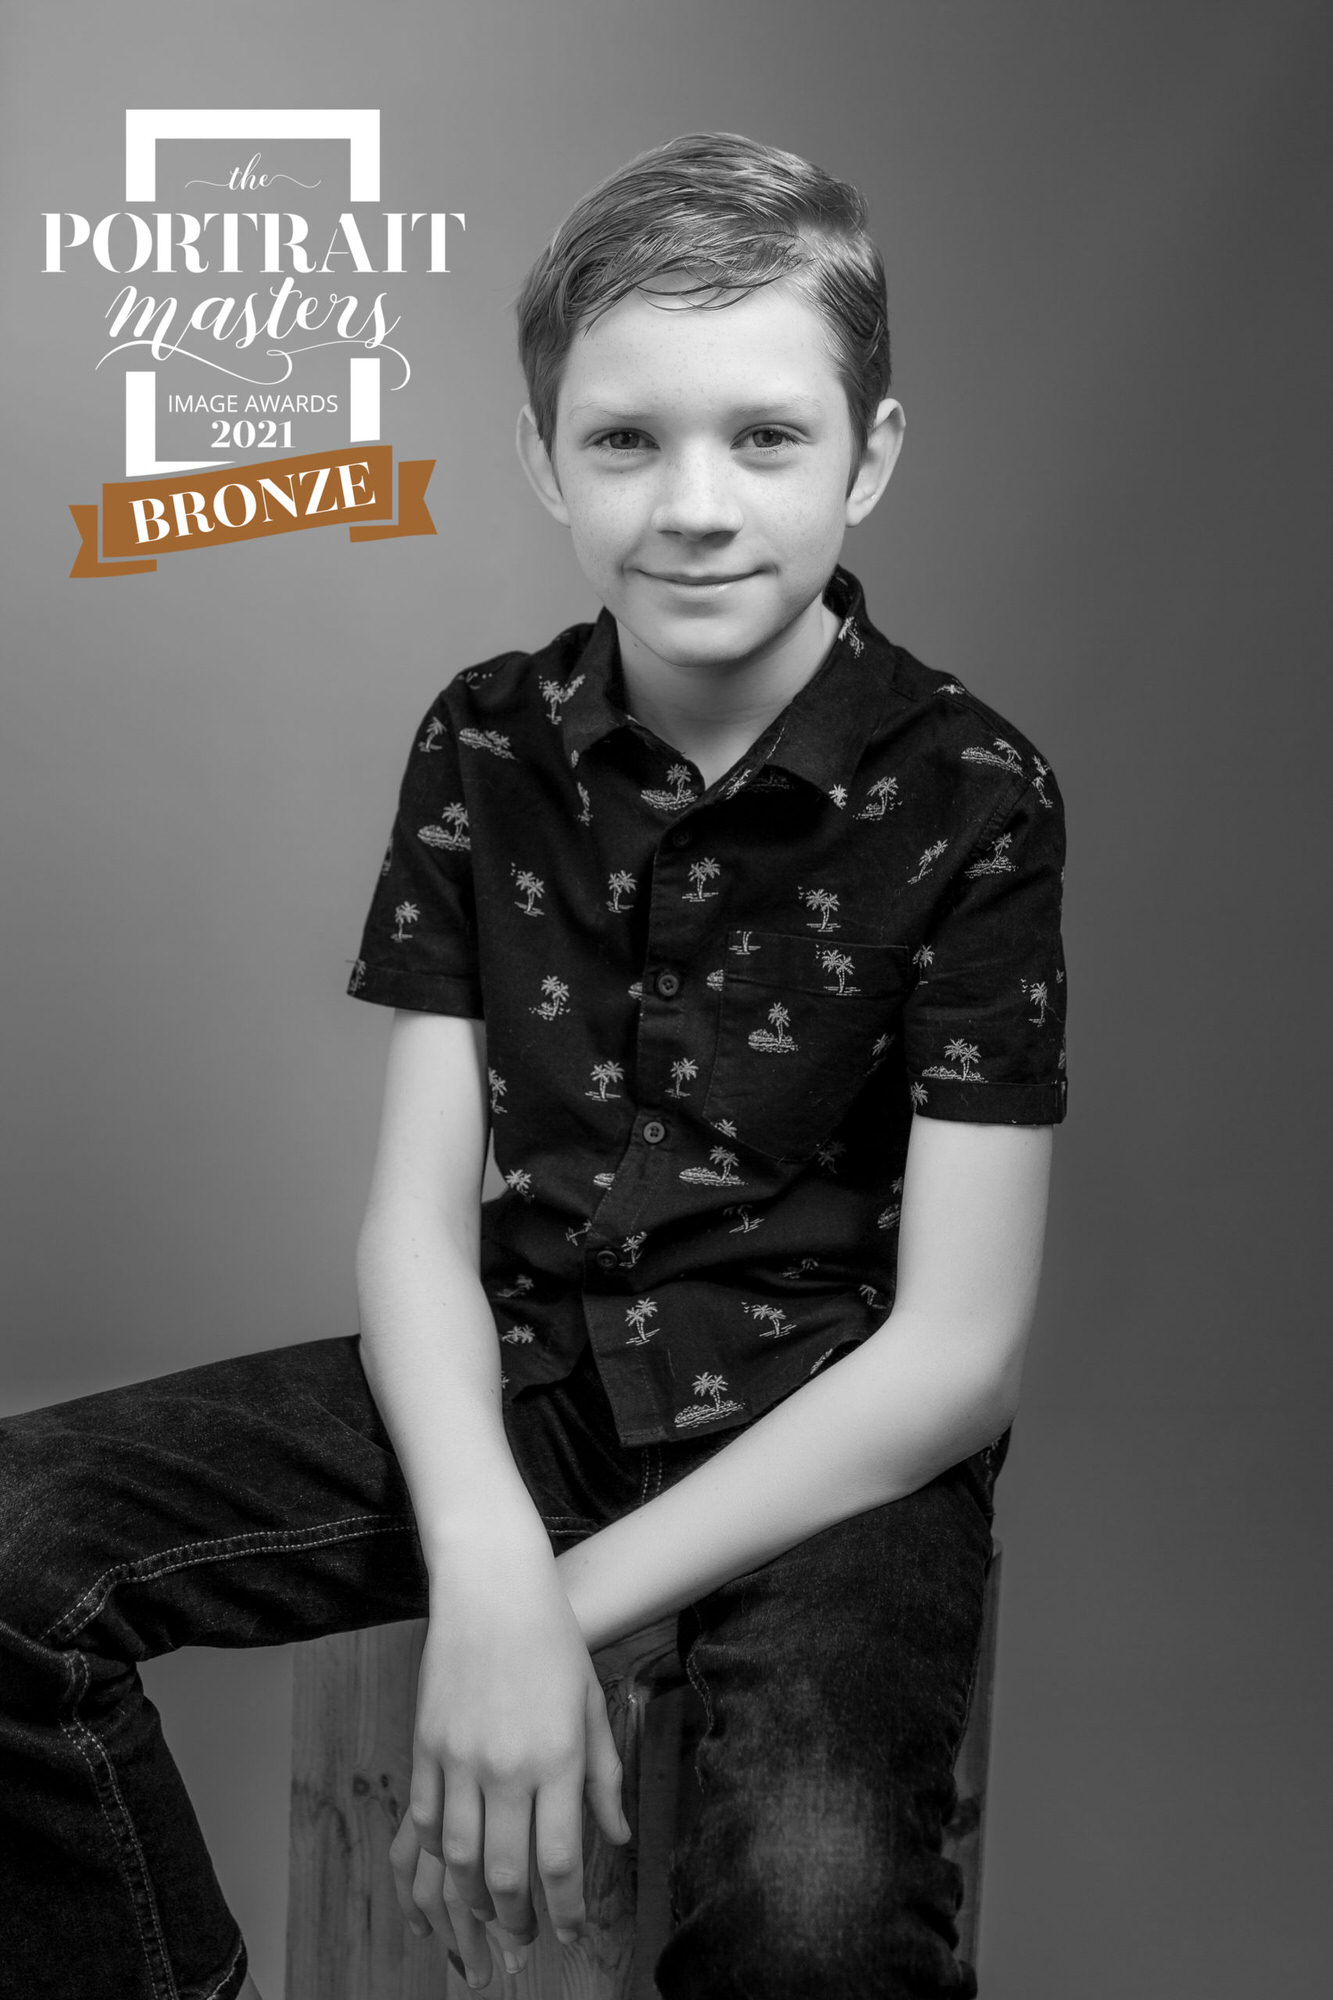
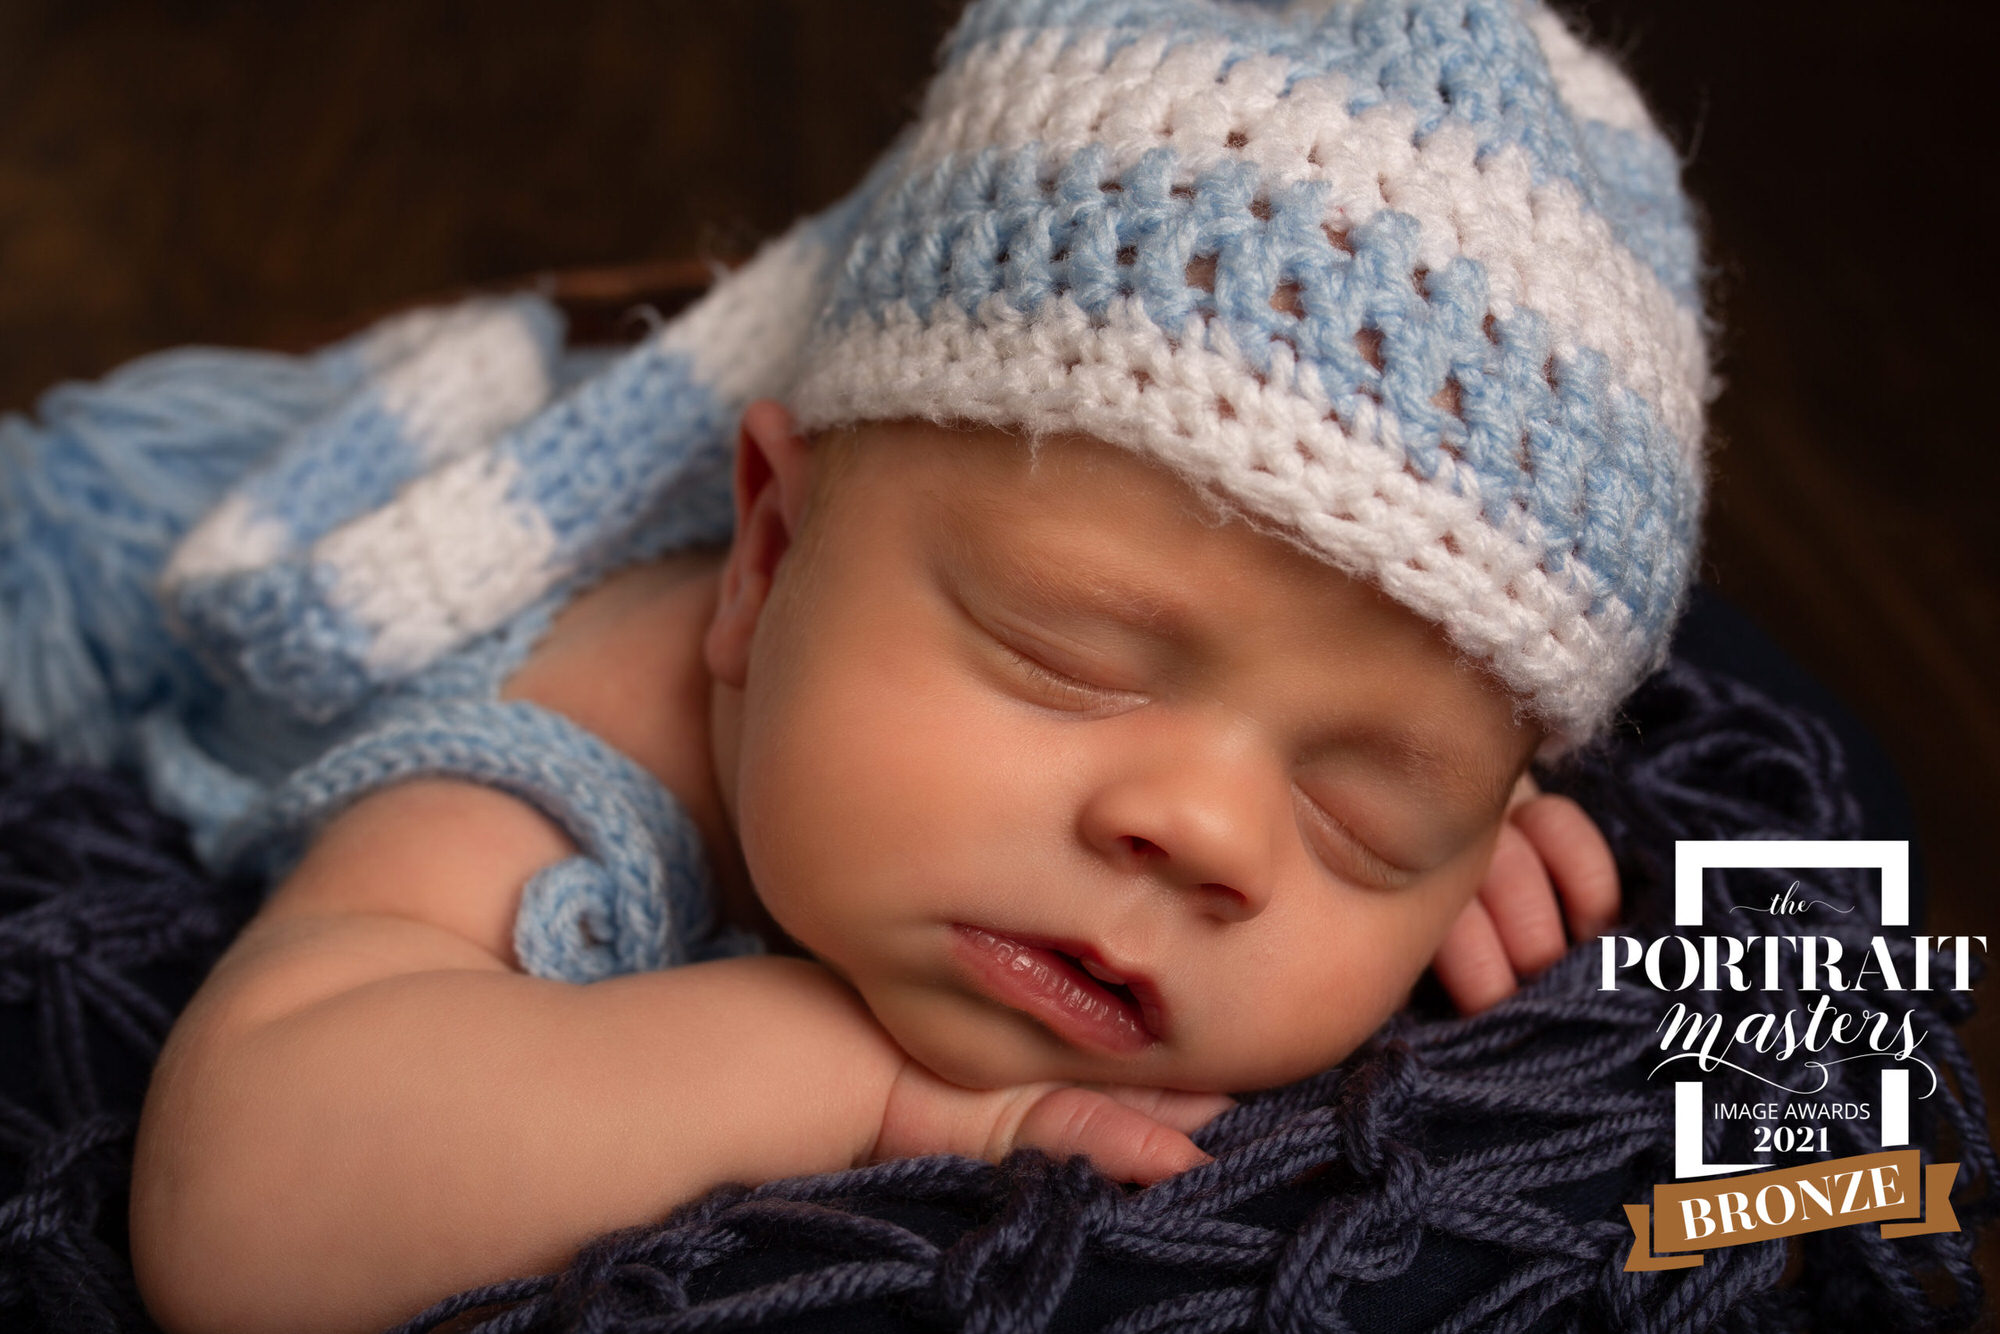
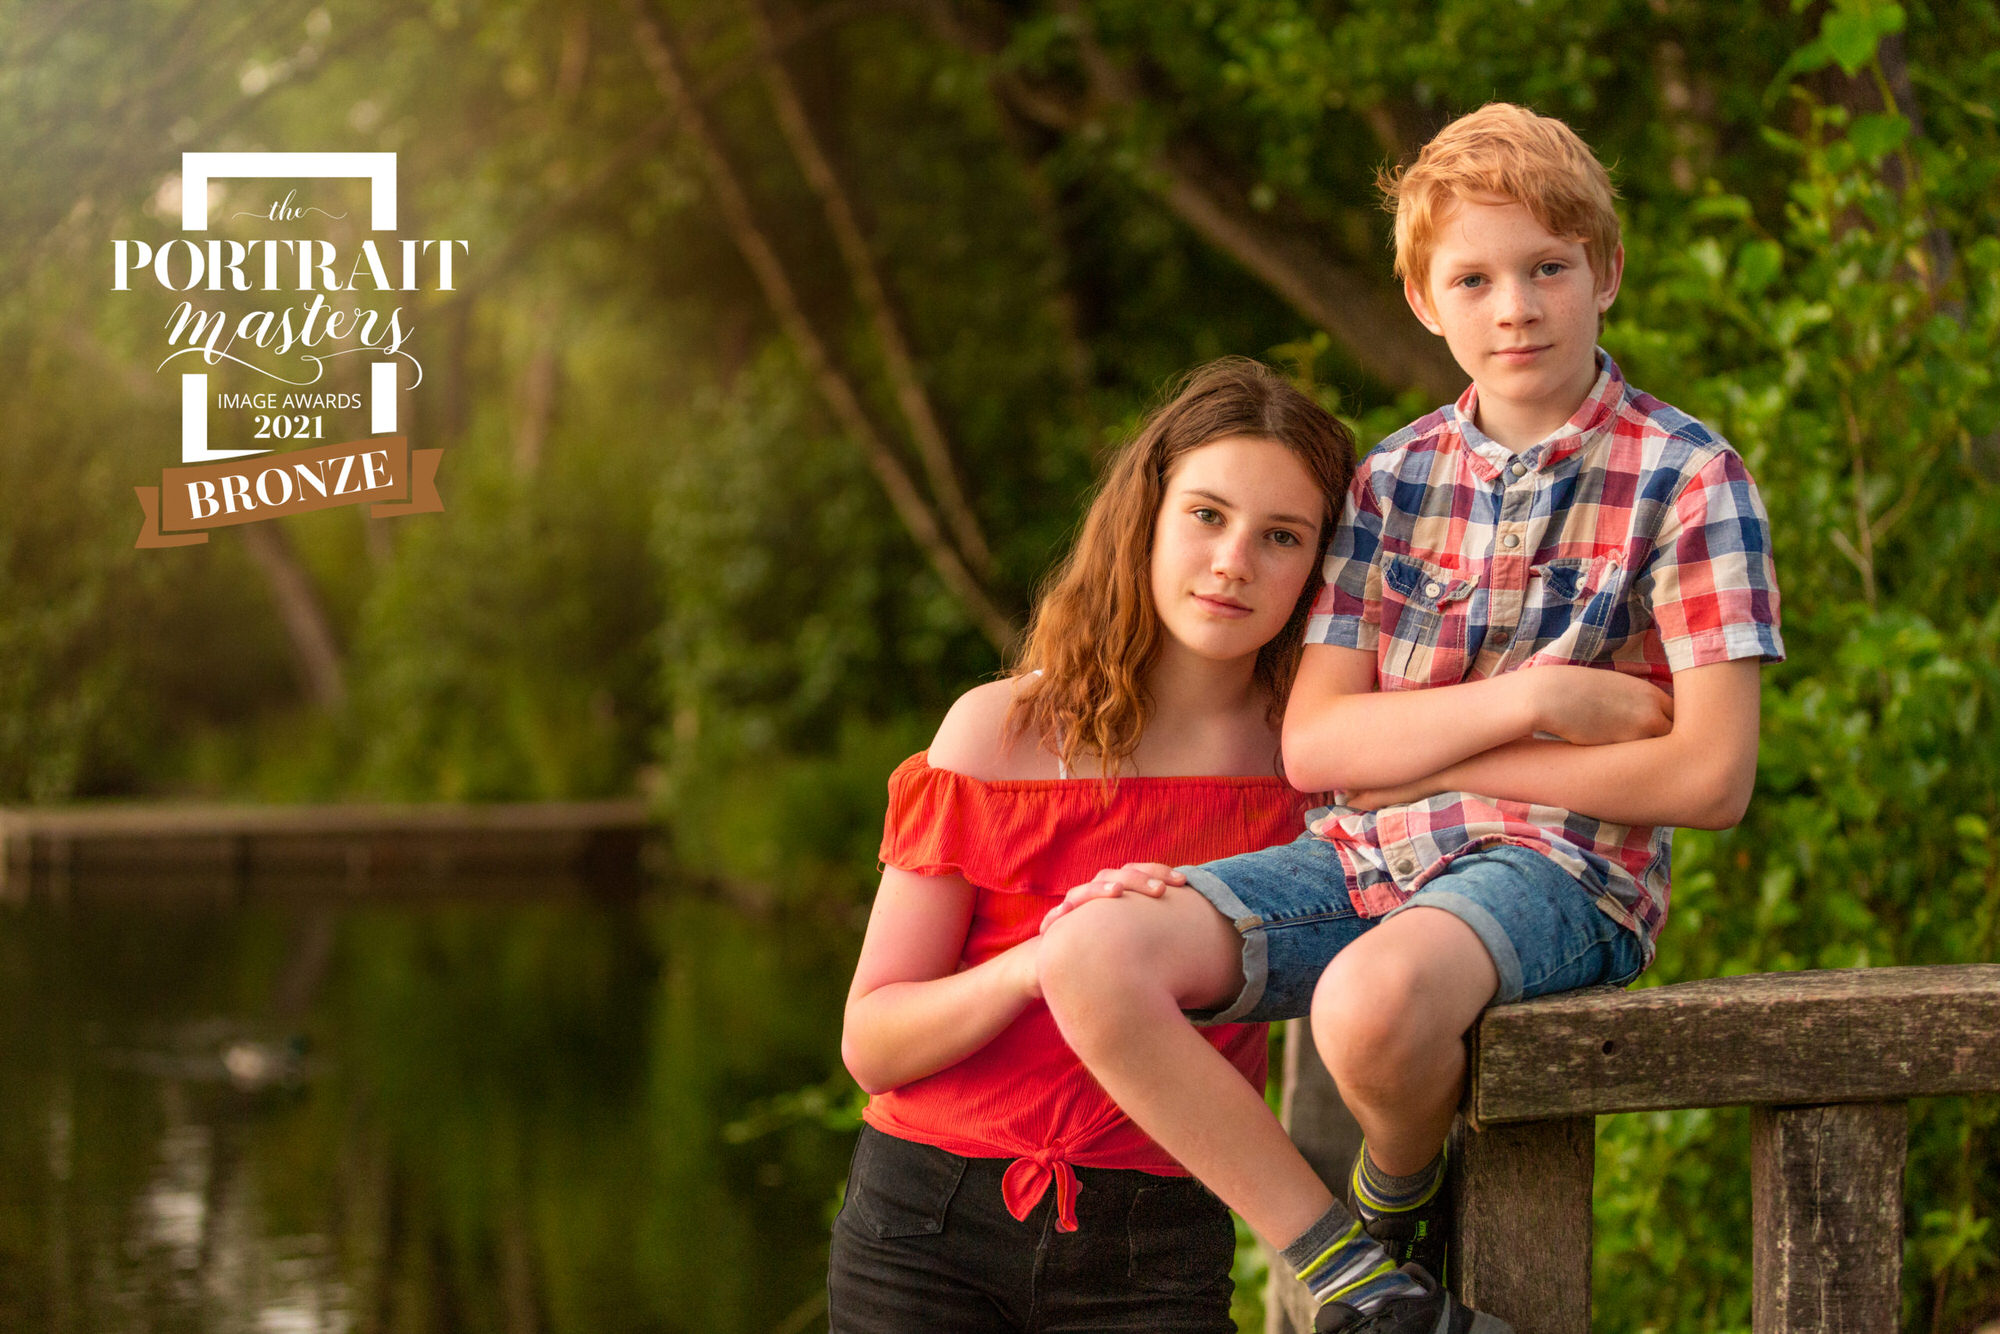
Because I was in lockdown, I chose to include 2 photos from newborn sessions and 2 photos of my children. Not everything is perfect but I do love these photos. (For example my sons socks definitely did not match the rest of his outfit).
the results
Choosing these four images meant it showed a variety of work that I do. Each photo is judge by 5 different photographers from around the world and the result is an average of these scores. To be awarded a Bronze you must score over 70 points.
Waiting for the scores to come out was very tense. But I couldn’t believe it, I was SO excited! I had been given a Bronze in all four images. I was expecting to be given a score under 70 but really hoped I’d get at least one bronze. So I was completely shocked to get four! And even more surprised that one of them was only one point away from a Bronze distinction!
This means that my photographs have been recognised to be of a professional standard by some of the worlds top photographers.
I am so proud of myself and my two amazing children, who are always there to support me. They are often dragged out to help me and rarely complain!
Next time, I will definitely set out to capture some “competition specific” photos to see if I can improve my score, so feel free to watch this space…
If you would like to book a photography session, when we come out of lockdown please head over HERE to my main website where you can find more information.
HOW TO MAKE YOUR OWN DIY CANVAS PHOTOGRAPHY BACKDROP
Being on lockdown and having watched many photography training videos I decided to attempt to paint my own DIY canvas photography backdrop.
WHY?
Photography requires lots of equipment to keep photos current but none of this equipment is cheap. However, there are lots of ways that props can be made on a budget so I thought I would have a go at one. A new backdrop.
EQUIPMENT REQUIRED:
Paint of your choice – being on lockdown I couldn’t get to the shops and because I wanted it beige or brown I used some old fence paint. I used Ronseal One Coat in dark oak matt because that is all I had. I also used some old white matt emulsion.
A 12ft x9ft canvas backdrop. Click HERE to visit Amazon where I bought the backdrop
A fluffy roller. Click HERE to see which roller I bought.
Old trampoline cover to lay on the floor to stop it staining the grass. Tarpaulin or plastic sheets could also be used.
The Method
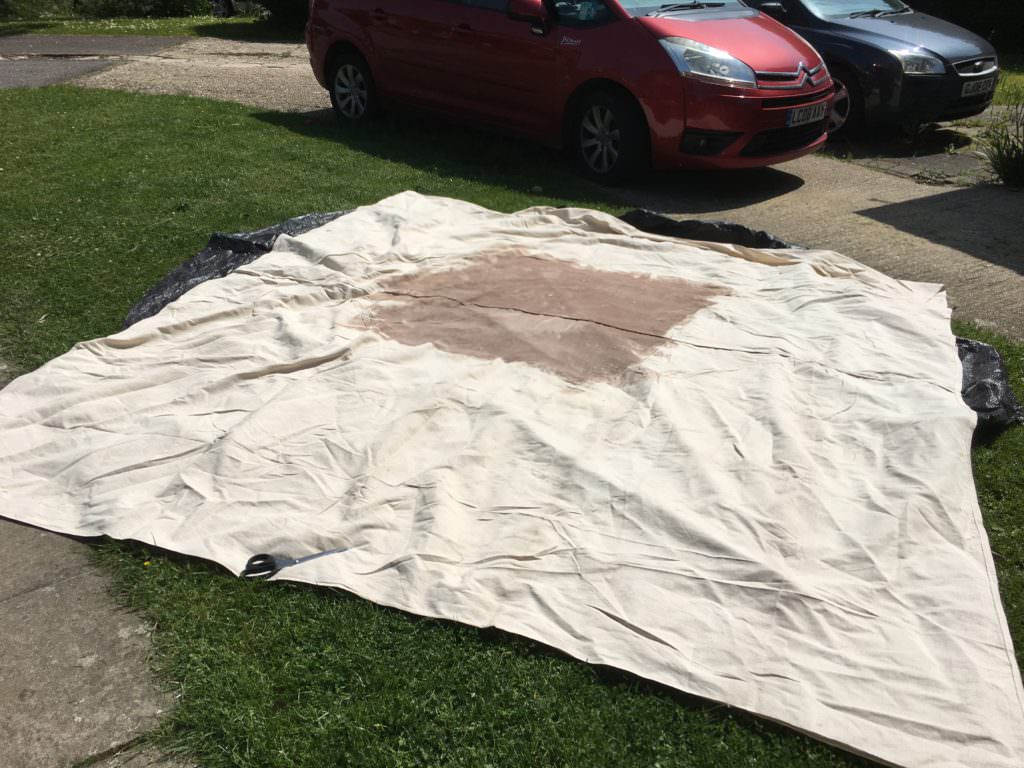
Being impatient when it comes to DIY I decided to just wing it! I laid the canvas on an old trampoline cover, so that the paint didn’t wreck the grass. I had heard of people priming the canvas or buying a primed one but I didn’t do either. Others had also pinned their canvas to the ground but I didn’t do this either. I wanted to use the texture and bumpiness of the grass to help me when adding texture to the canvas.
The start of the canvas
With the paint, I didn’t have a plan because again I wanted it to be random. Using a roller was easier because you could add a decent amount of paint to the canvas and then spread it around at random.
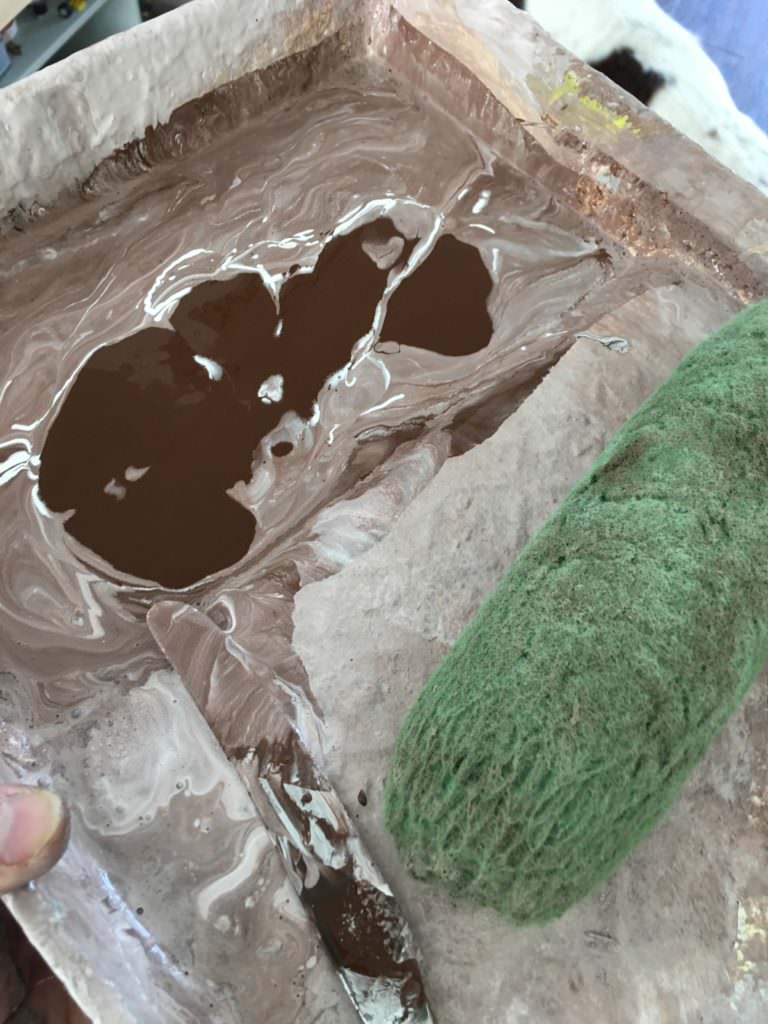
Mixing The Paint
To start off I added white emulsion to the paint tray and then added a small amount of fence paint so that its wasn’t too dark, as I wanted the centre to be lighter than the outsides. I also added a small amount of water to thin the paint down a bit. A few people have added fabric softer to the paint, so that the canvas is more supple at the end. I forgot to do this but the crustier feel doesn’t bother me. To paint the canvas I started in the middle but just slapped the paint on and continued all over the place until I emptied the tray.
Each time I filled the tray, the mixture got darker plus the paint wasn’t always mix it properly. Meaning there was bits of dark and light paint all over the canvas, to add to the texture. As it dried I did make certain areas a bit darker, as the white came through as it dried. Although this is better than the canvas coming out too dark. This day was also really warm so the canvas did dry quickly.
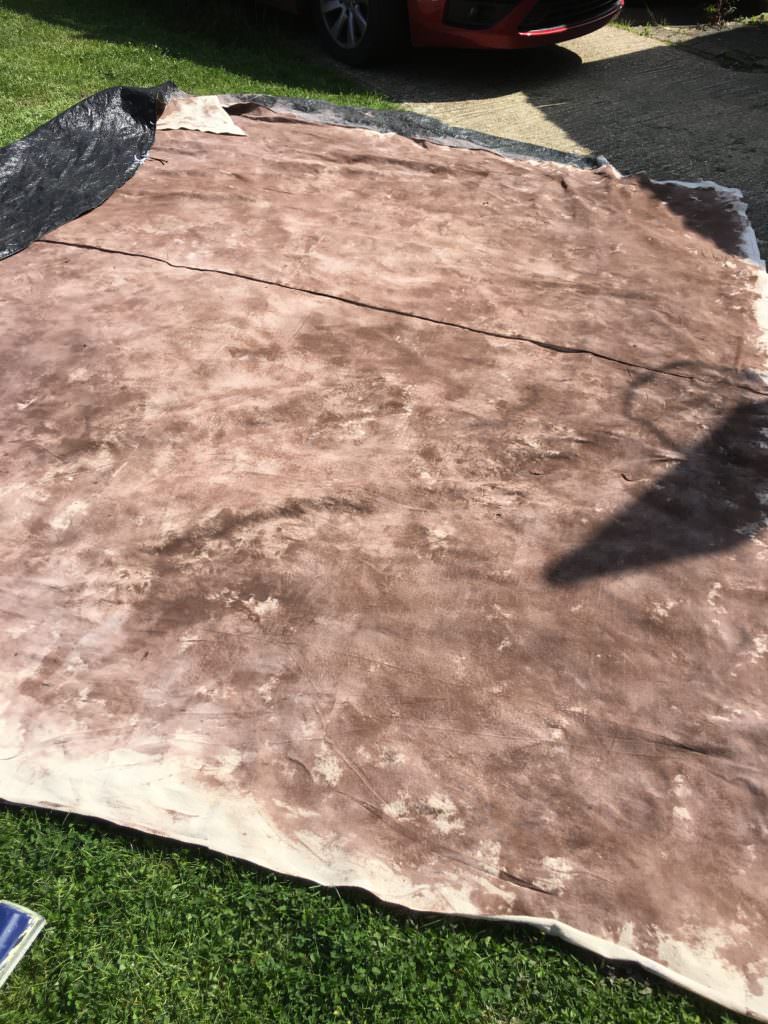
The Finished Product
As a first attempt I was really pleased with this canvas, especially as it only cost me the price of a backdrop. Which was £21. I did cut the backdrop down a bit as it was rather large for my space but the length is brilliant. There is a seem in the middle but with a wide aperture you can’t see it. Plus if you cut it down to make smaller backdrops, this won’t be an issue. TOP TIP… make sure you have the seam underneath.. you’ll notice mine is on the backdrop side! Something I didn’t think about in my haste to start painting.
THE VERDICT
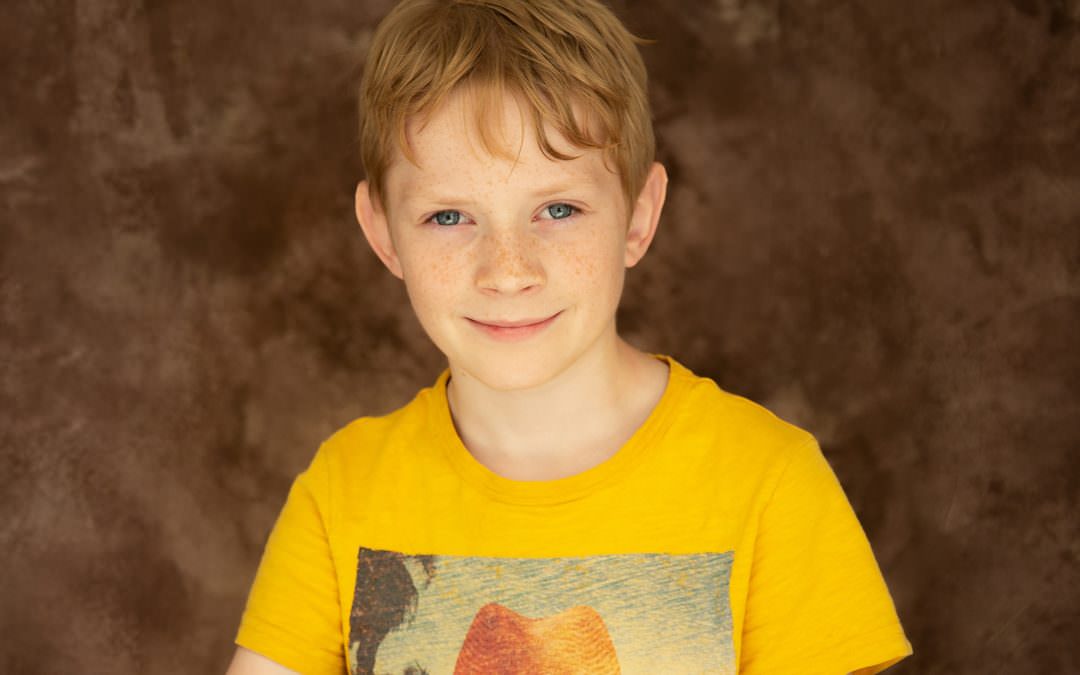
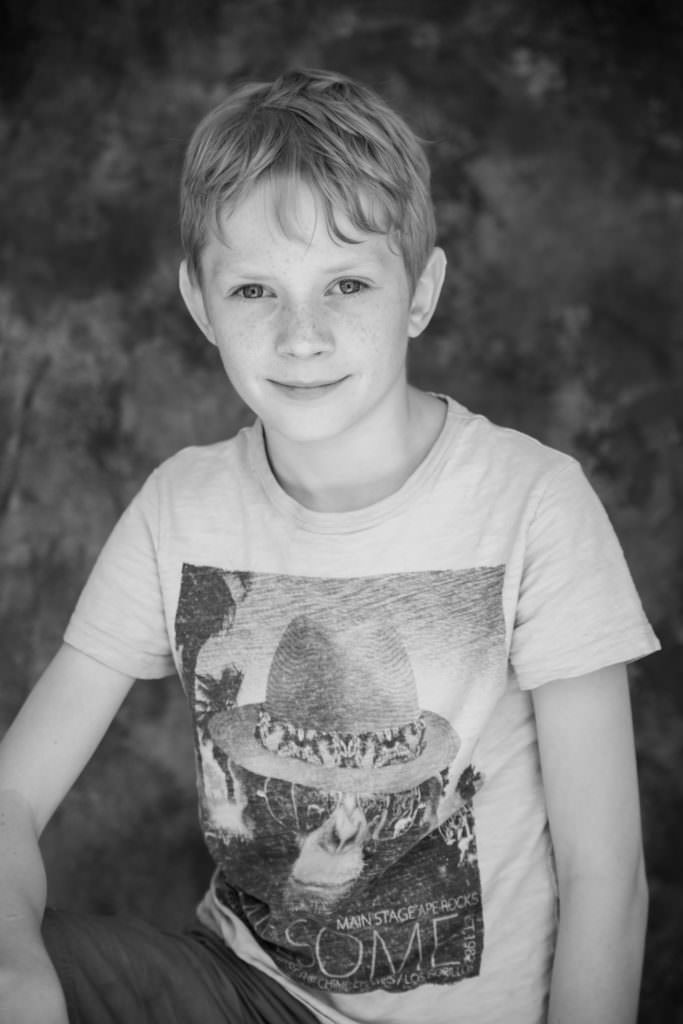
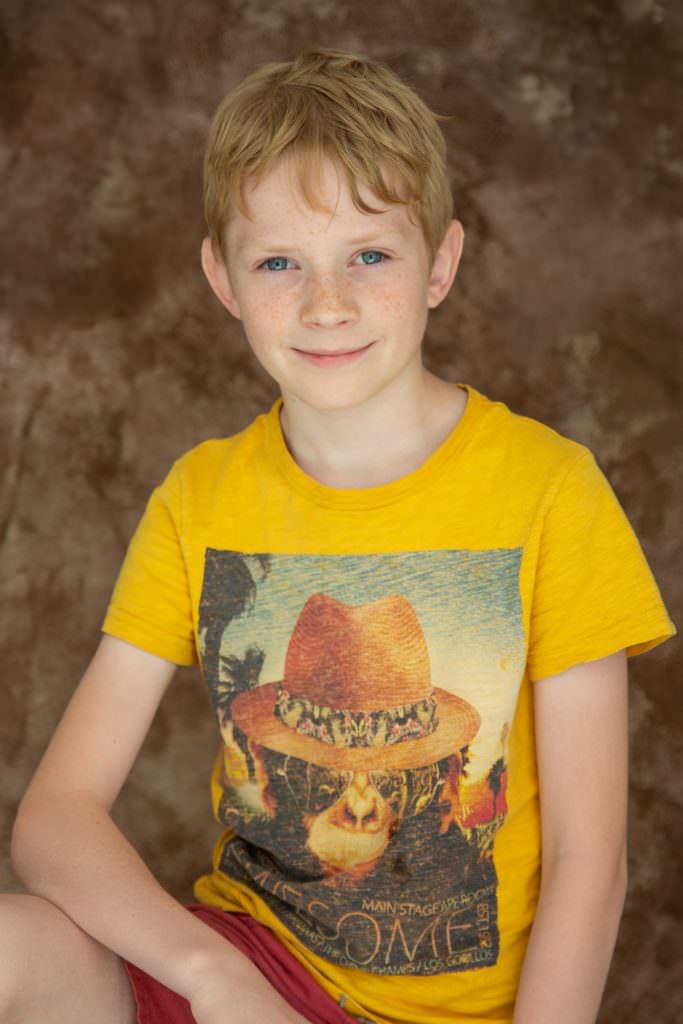
I’m really pleased with the finished product. It cost me a day out of my time and was pretty easy to do. Both emulsion and fence paint seemed to work okay and I really like the texture it gives in both colour and black and white. Neither of these photos were taken with studio lights, the canvas was hung up and I took a quick photo of my son looking out of the window. Am I going to paint more? YES! Watch this space!!
If you’d like to see this backdrop in use during your photo session please visit my Families session to view details.

")


")
")
")

")
")
")

")

")
")
")
")


")

")
")

Recent Comments